In the first part of this sort of tutorial, I made the back of the arena. Next up are the panels!
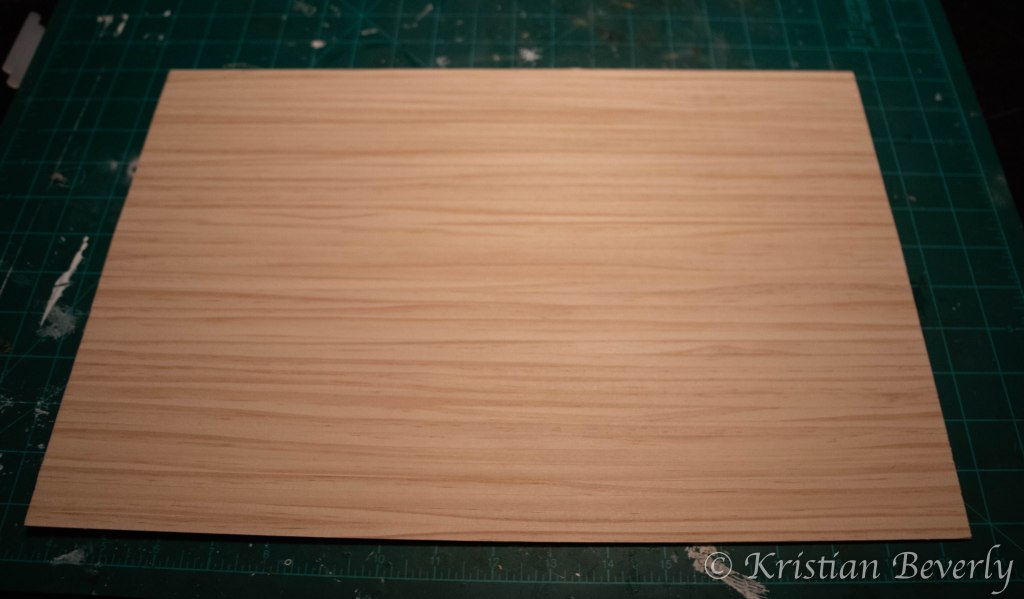
I bought a sheet of flooring, crossing my fingers it’d work. You never know something will work for models until you try.
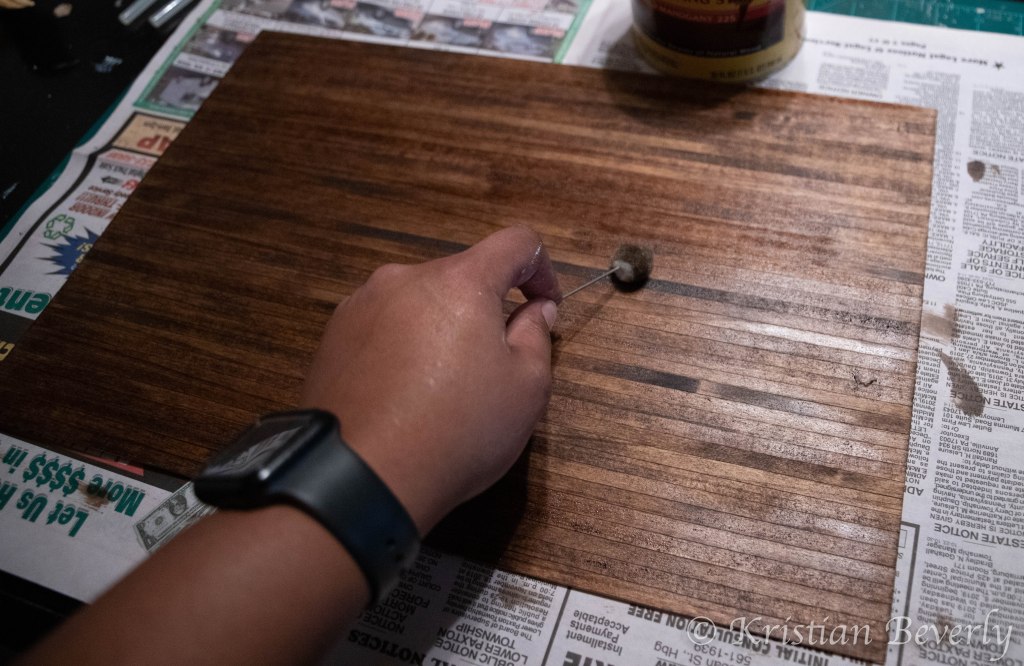
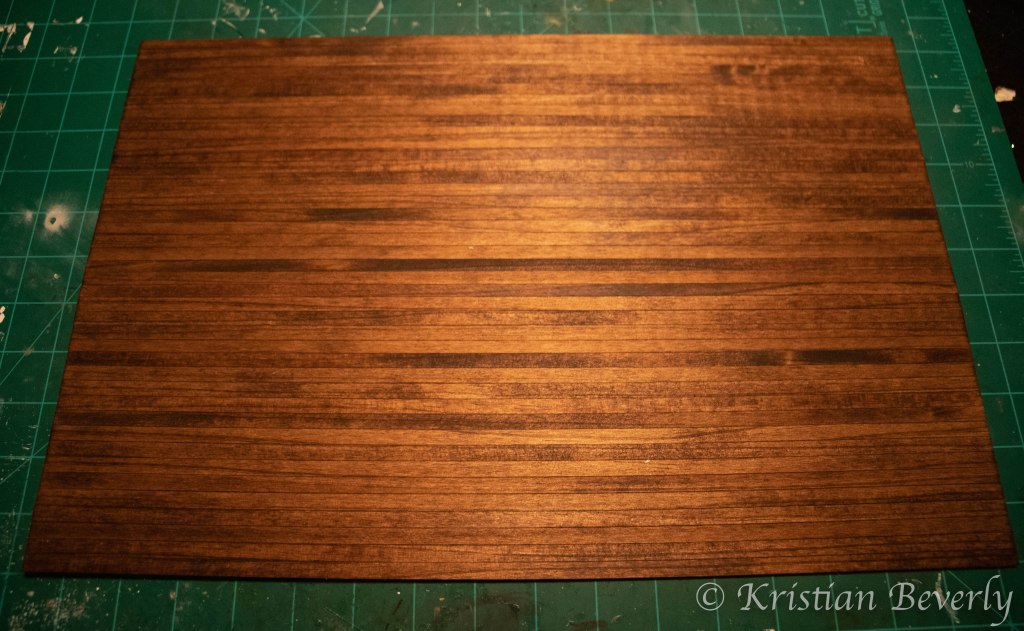
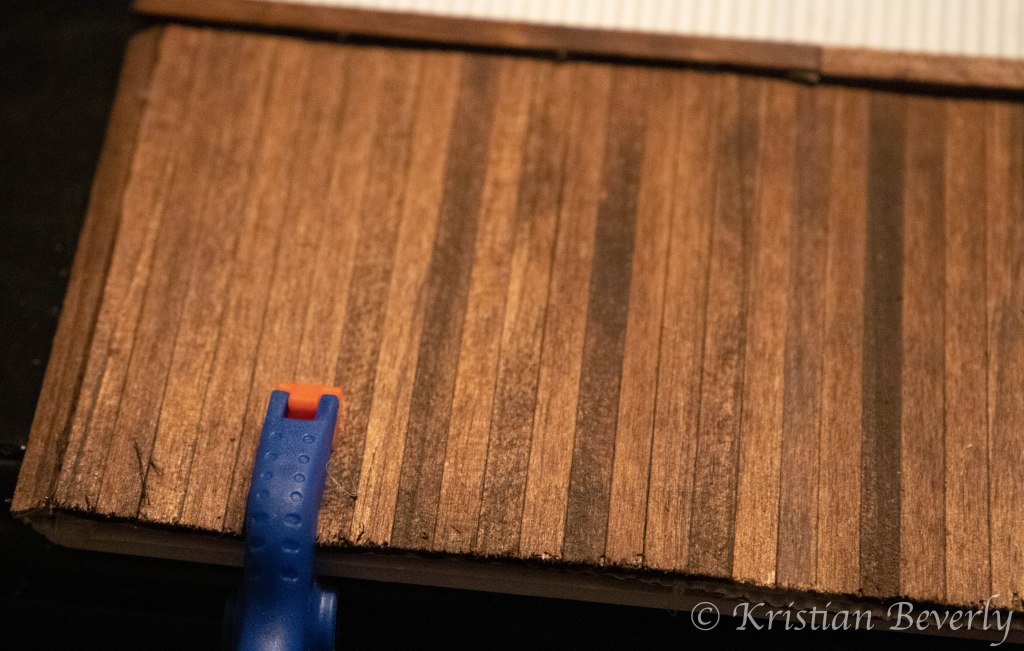
I dyed it to be mahogany, since I didn’t want it to be natural colored.
I love the finished color!
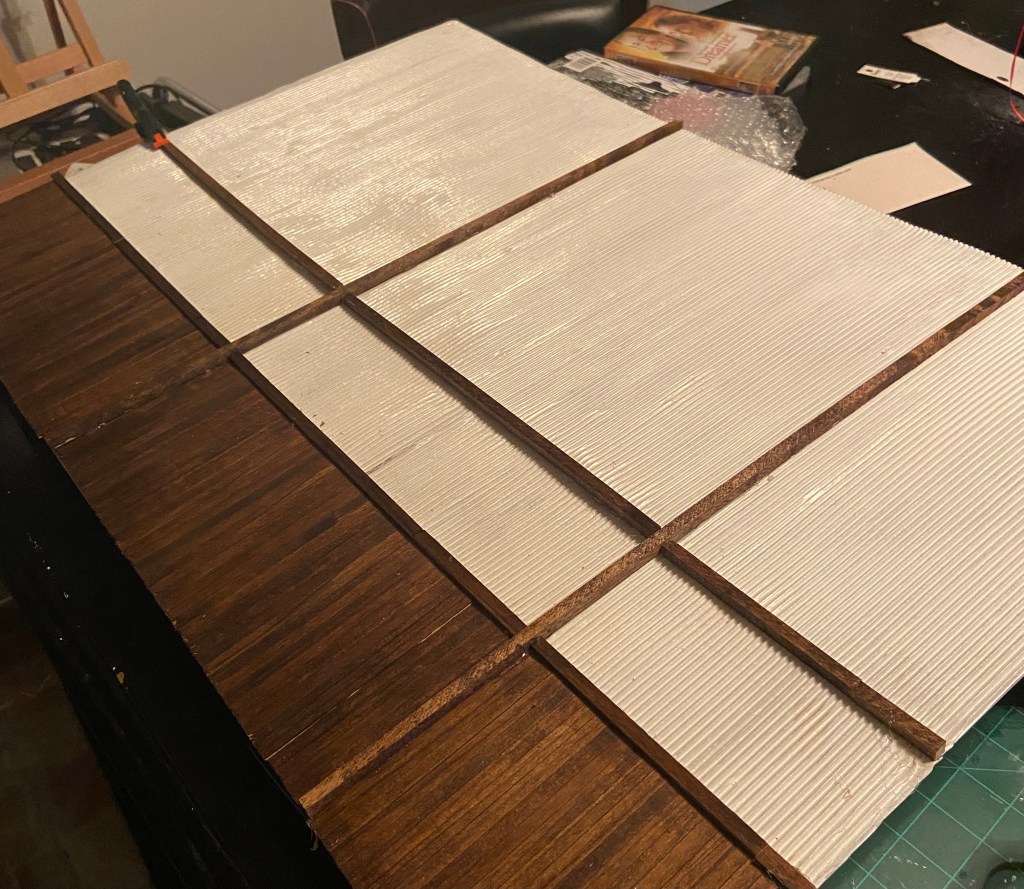
Next I used my saw to cut it and my dyed poles. The left over board I used for the top of the paneling.
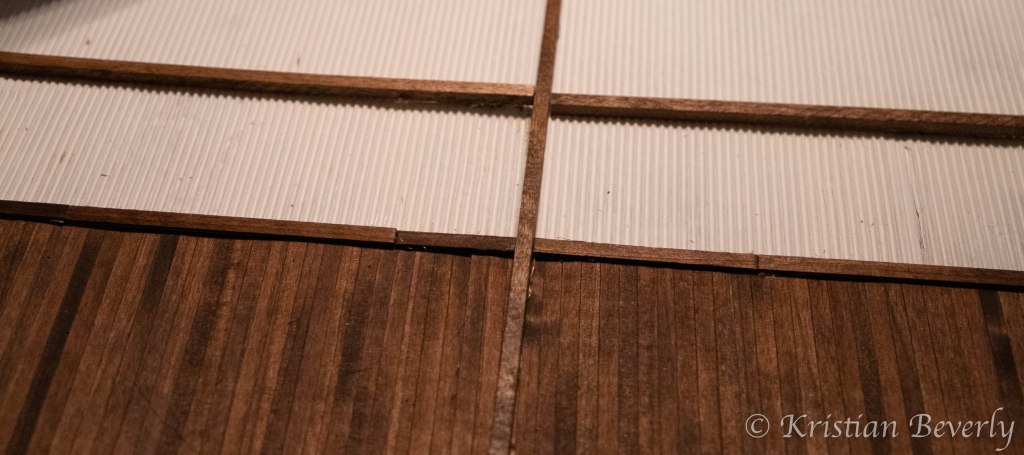
The foam board warped a bit, so I clamped it to the table to flatten it.
And it’s finished! Good photos will be coming. I enjoyed crating this and am happy with how it came out. I’m excited to start taking photos with it.
The final part is adding horse signs. Which comes next.
