To make a zombie doll there are a couple of things you need to do. This how-to will be only for making a basic zombie doll. I will do one on making a hard one later (With sculpting and such)
First here are the supplies I use
- Doll
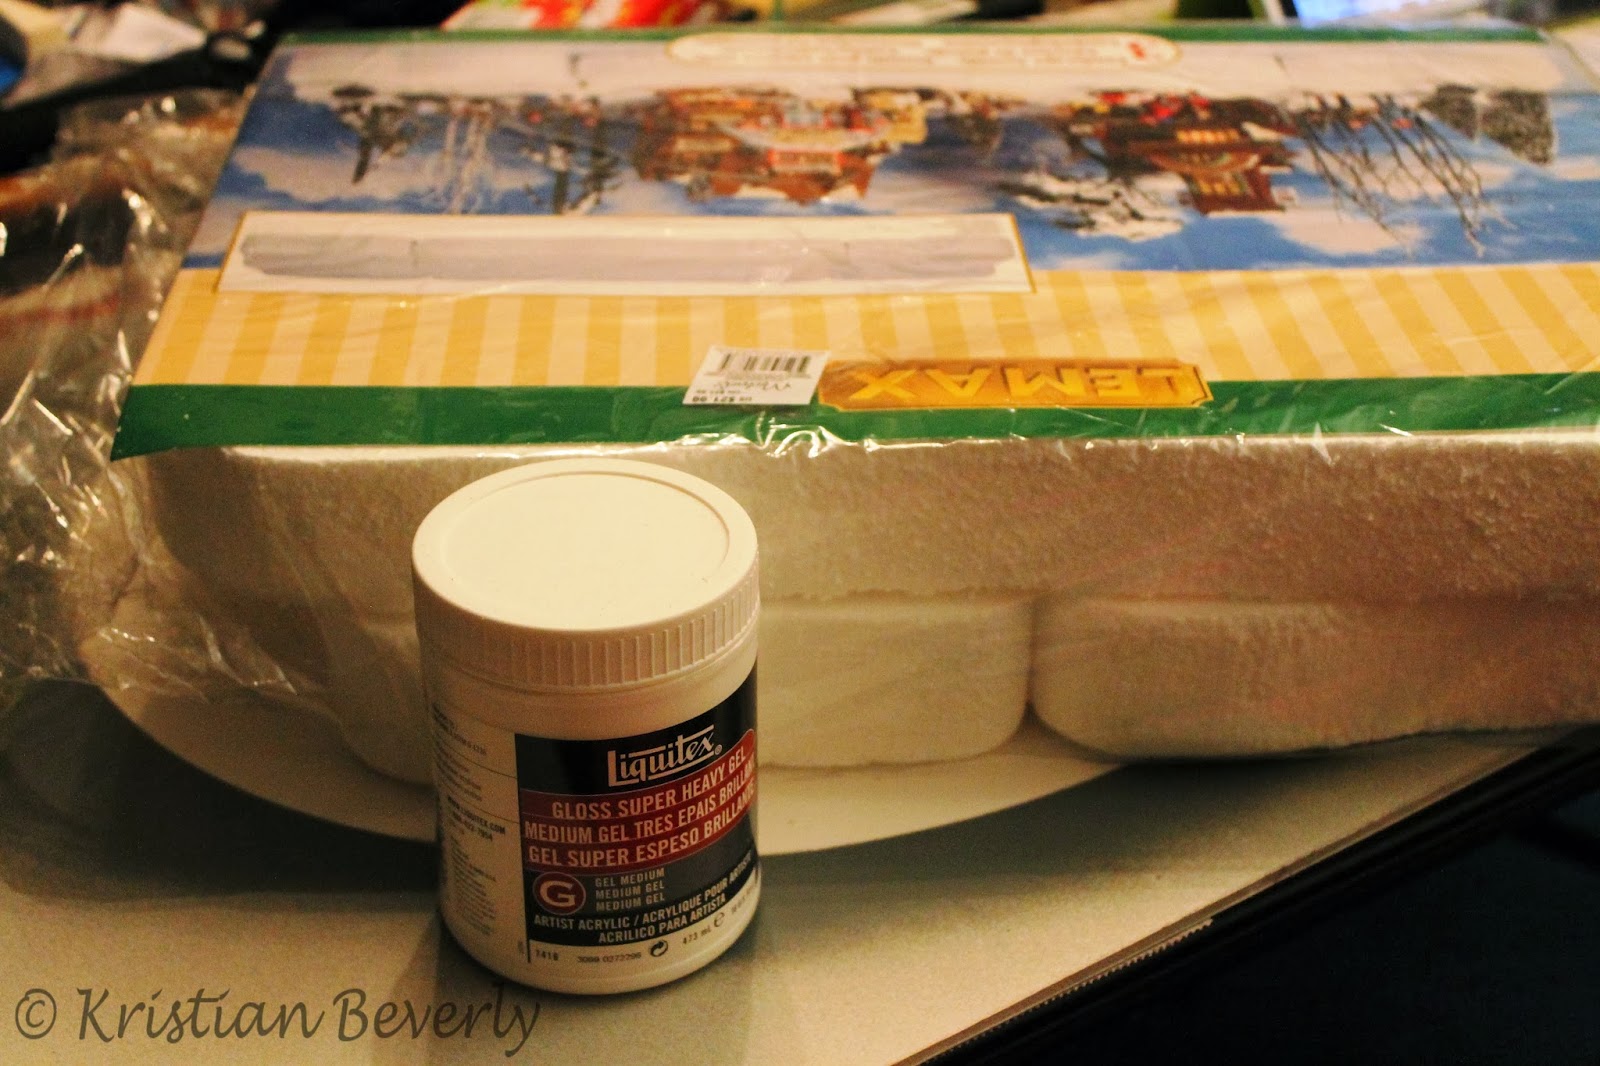
- modeling paste
- Pastels
- Acrylic Paint
- Makeup of some sort ( I use Halloween)
- Reference pic
Your zombie reference is very important right now. There are so many different ways that you can do this, so having a reference will help with any shading (just like painting horses, right?) and general ideas of what you want.
I started with a stripped doll. You don’t want to get your doll’s clothes dirty.
Then I took out my heat gun and heated the face up. The face looked very ‘normal’ so I wanted to make the eyes look shadowed and deep in the doll’s face.
Once it was heated up I stuck the end of a paintbrush where the doll’s eye socket would be and twirled it around until I had the eyes deep enough and wide enough.
Beautiful? Just like when customizing horses, the doll will go through an ugly phase before it gets better.
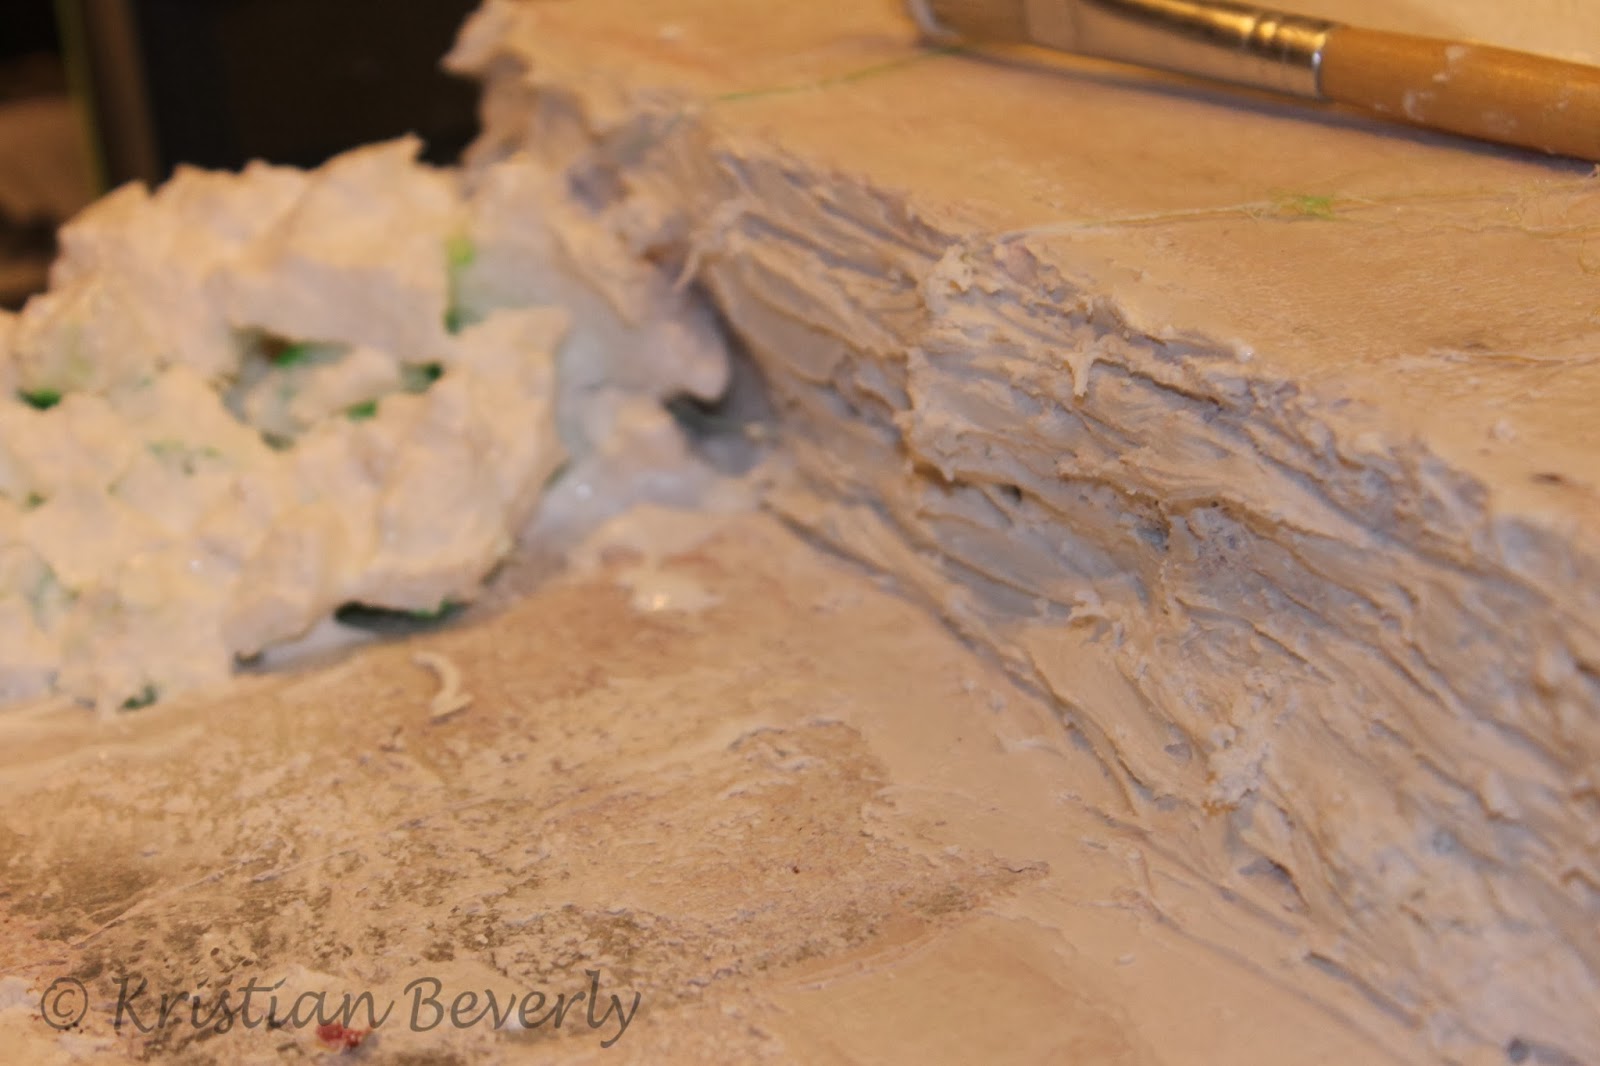
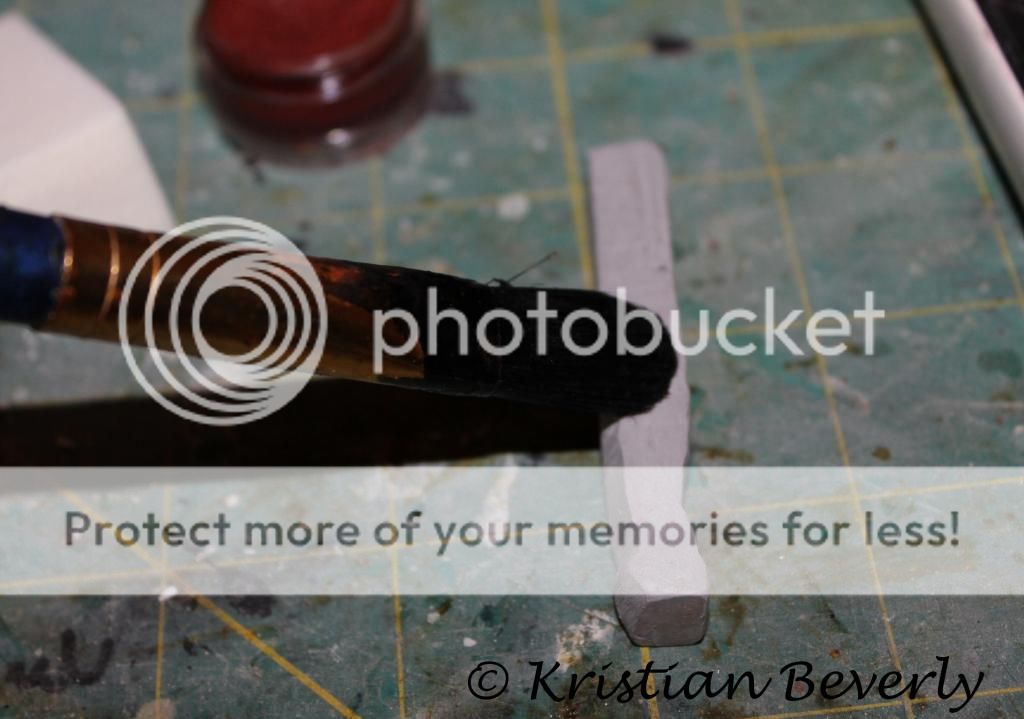
Then I grabbed my modeling paste,
And dabbed it onto the doll’s face. I wanted the zombie to have uneven skin and some wounds.
I put a layer of Fawn Acrylic paint onto the doll’s face and neck. Doing it in multiple light coats is best.
I broke out pastels,
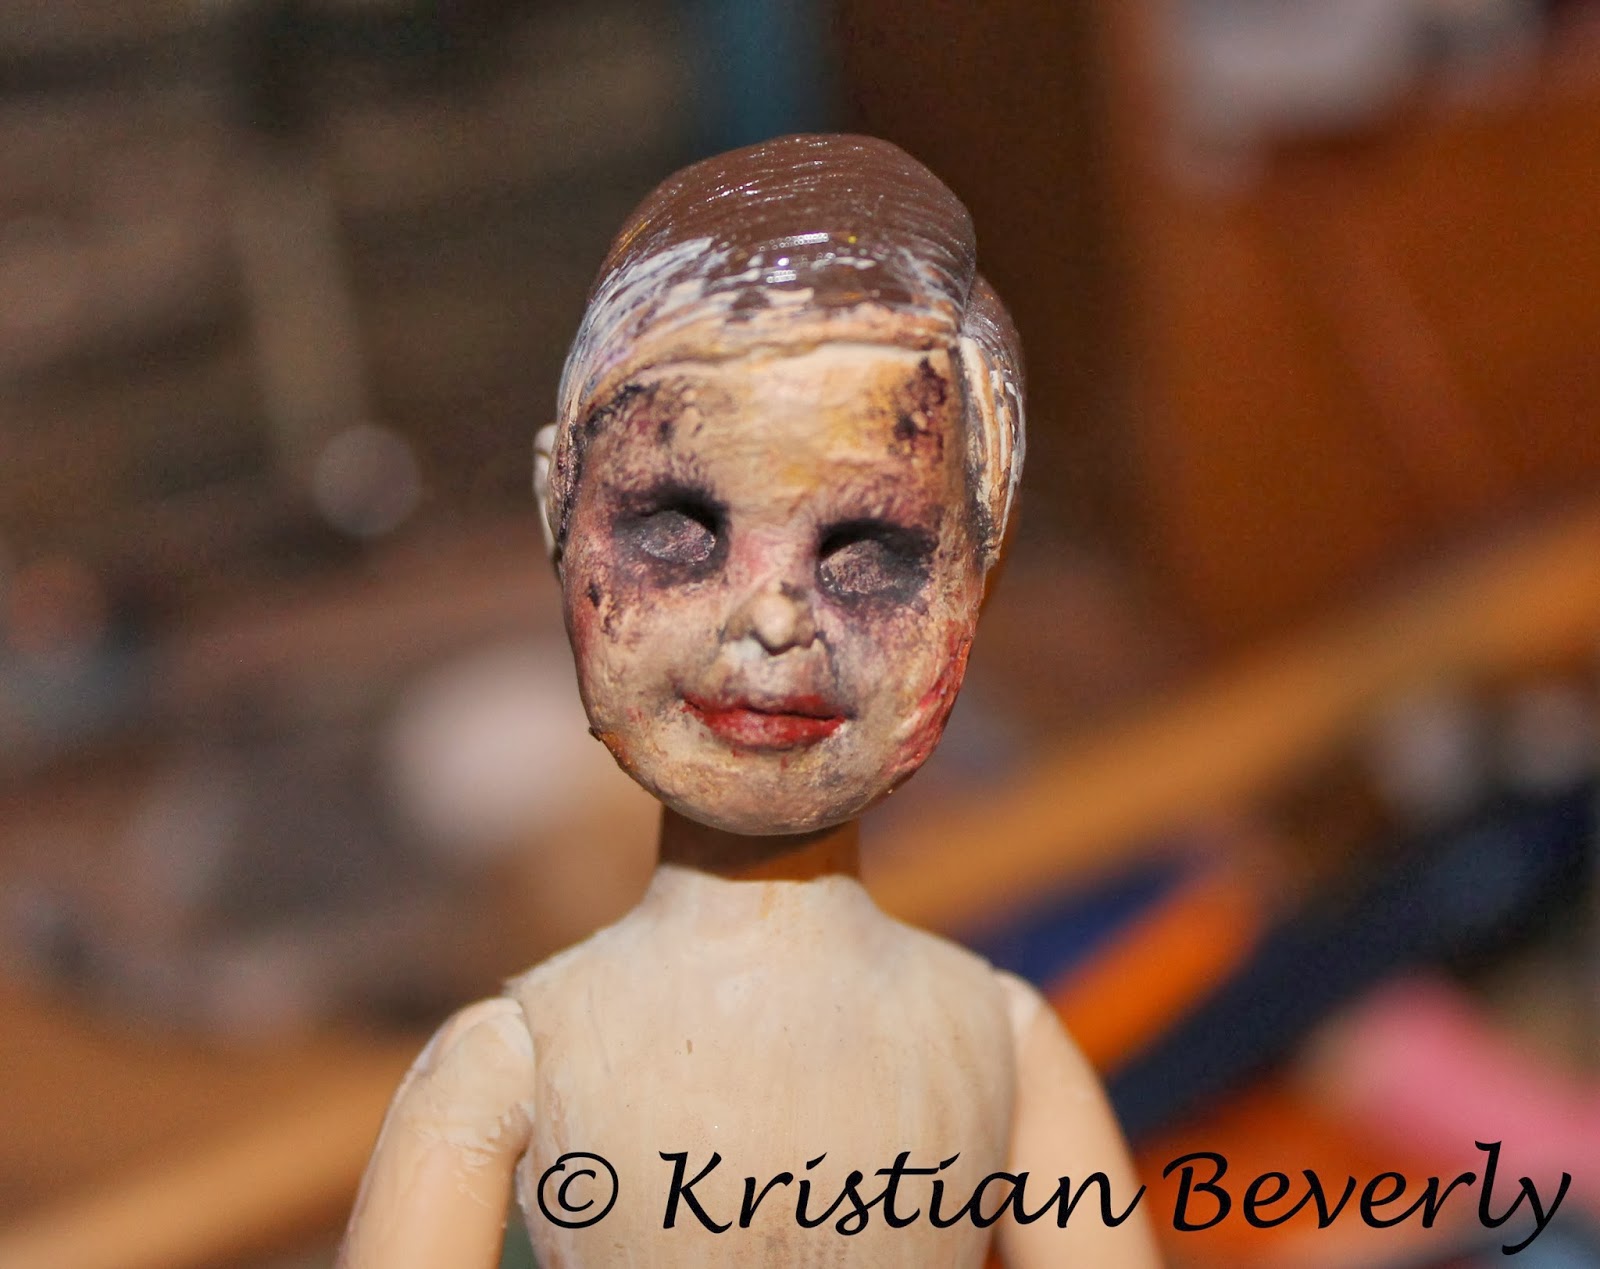
and gave a layer of light grey onto the doll’s face, focusing along on the hollow eye sockets.
Next I used purple pastel and further placed pastel into the eyes, trying to go for a sick look and make the eyes look even more hallow. I also put some on the mouth area, and some red pastel where I wanted some wounds to be.
This part I used my halloween makeup for. It is thicker than paint, and wettish-but not runny. It’s more of a paste. Anyways, I put that on the nose and into the eye socket.
I put some of the yellow halloween makeup and placed it here and there on the doll’s face. I also put some black into the eye socket.
Blend. I blended the colors together until I got the contrast that I wanted. So here, you can take some liberty (not that you can’t for the whole thing.)
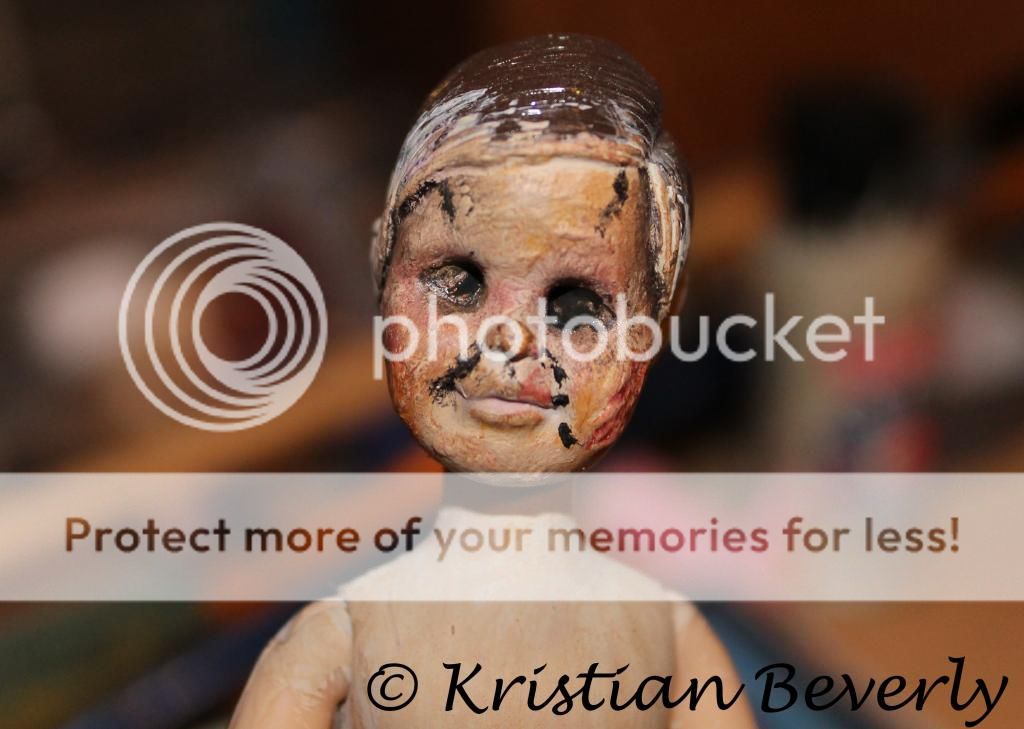
Using some black halloween makeup, you want the face to look haggard, so I put it in the upper part of the head and along the side of the of the nose.
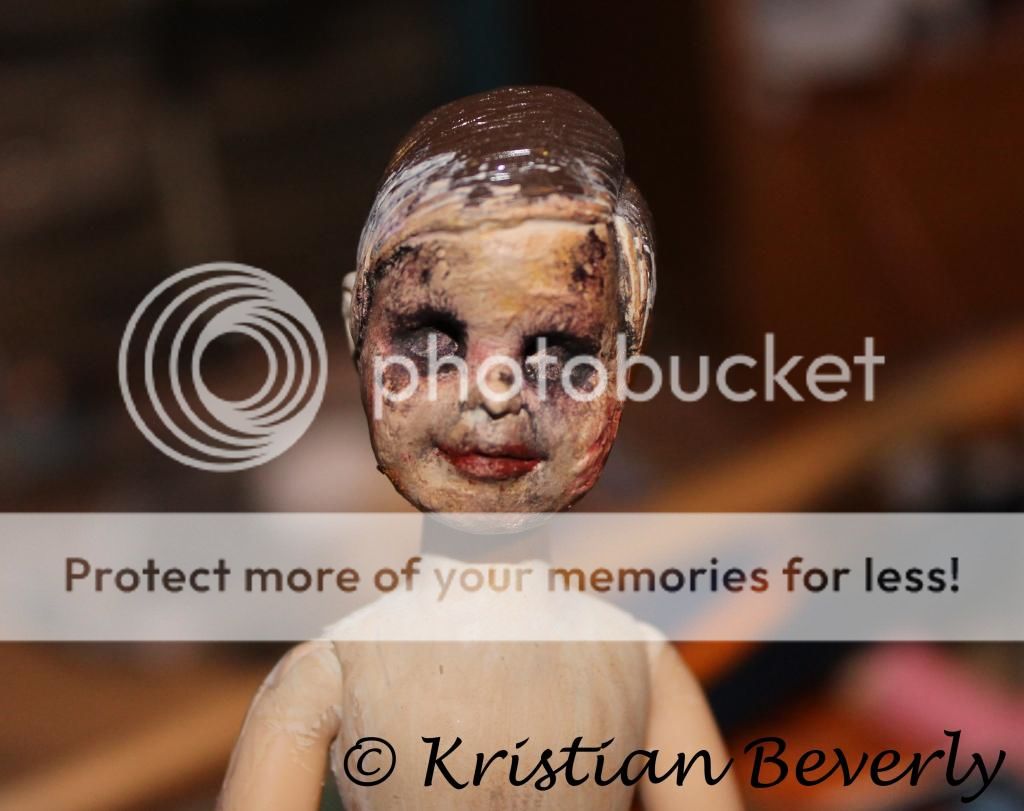
Blend it, and then add color to the lips. Keep playing with the colors until you are happy with how it is.
I did the same with some of the body.
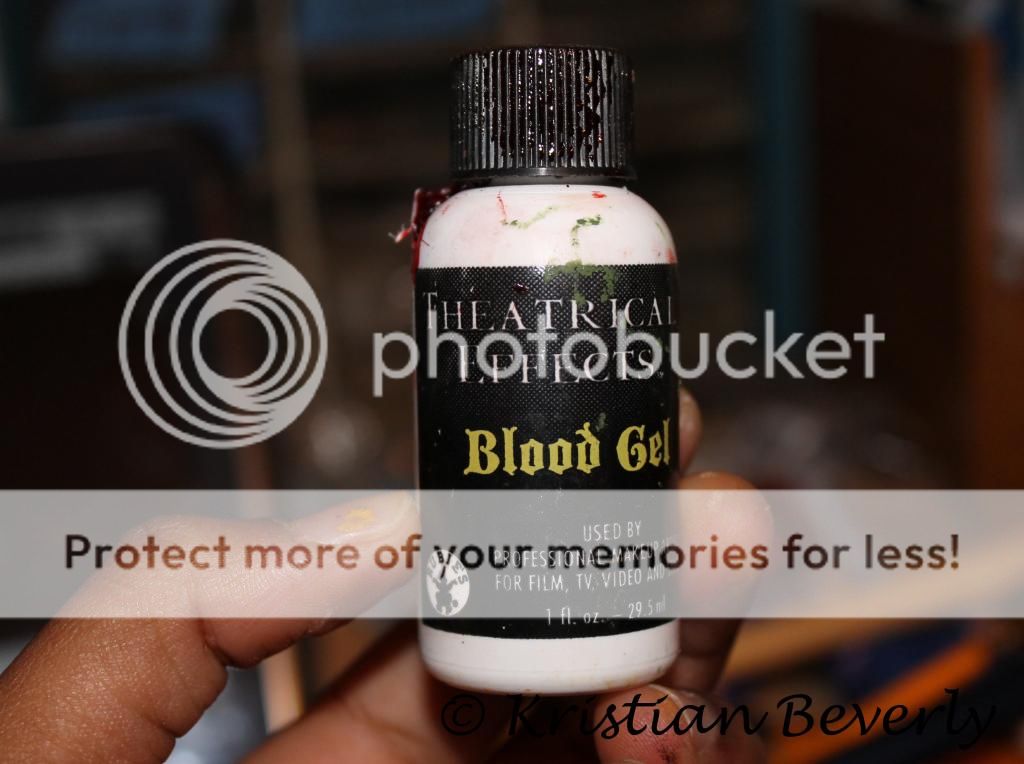
Grabbed my blood gel.
And added it to the wounds on the face.
Done.
The eyes. You can make them completely white, or you can blue, or red. The sky’s the only limit with this. I made mine white and then put the pupil and iris area in as a goldish color.
Done!
PS.
If you make a doll using this how-to, I’d love to see pictures of it. Send me pics of it at breyerhorselover11@gmail.com and I will do a post showing them off. :)