In honor of today being my last day of school, here’s a how-to!
How to Sculpt The Moving Mane
Ingredients:
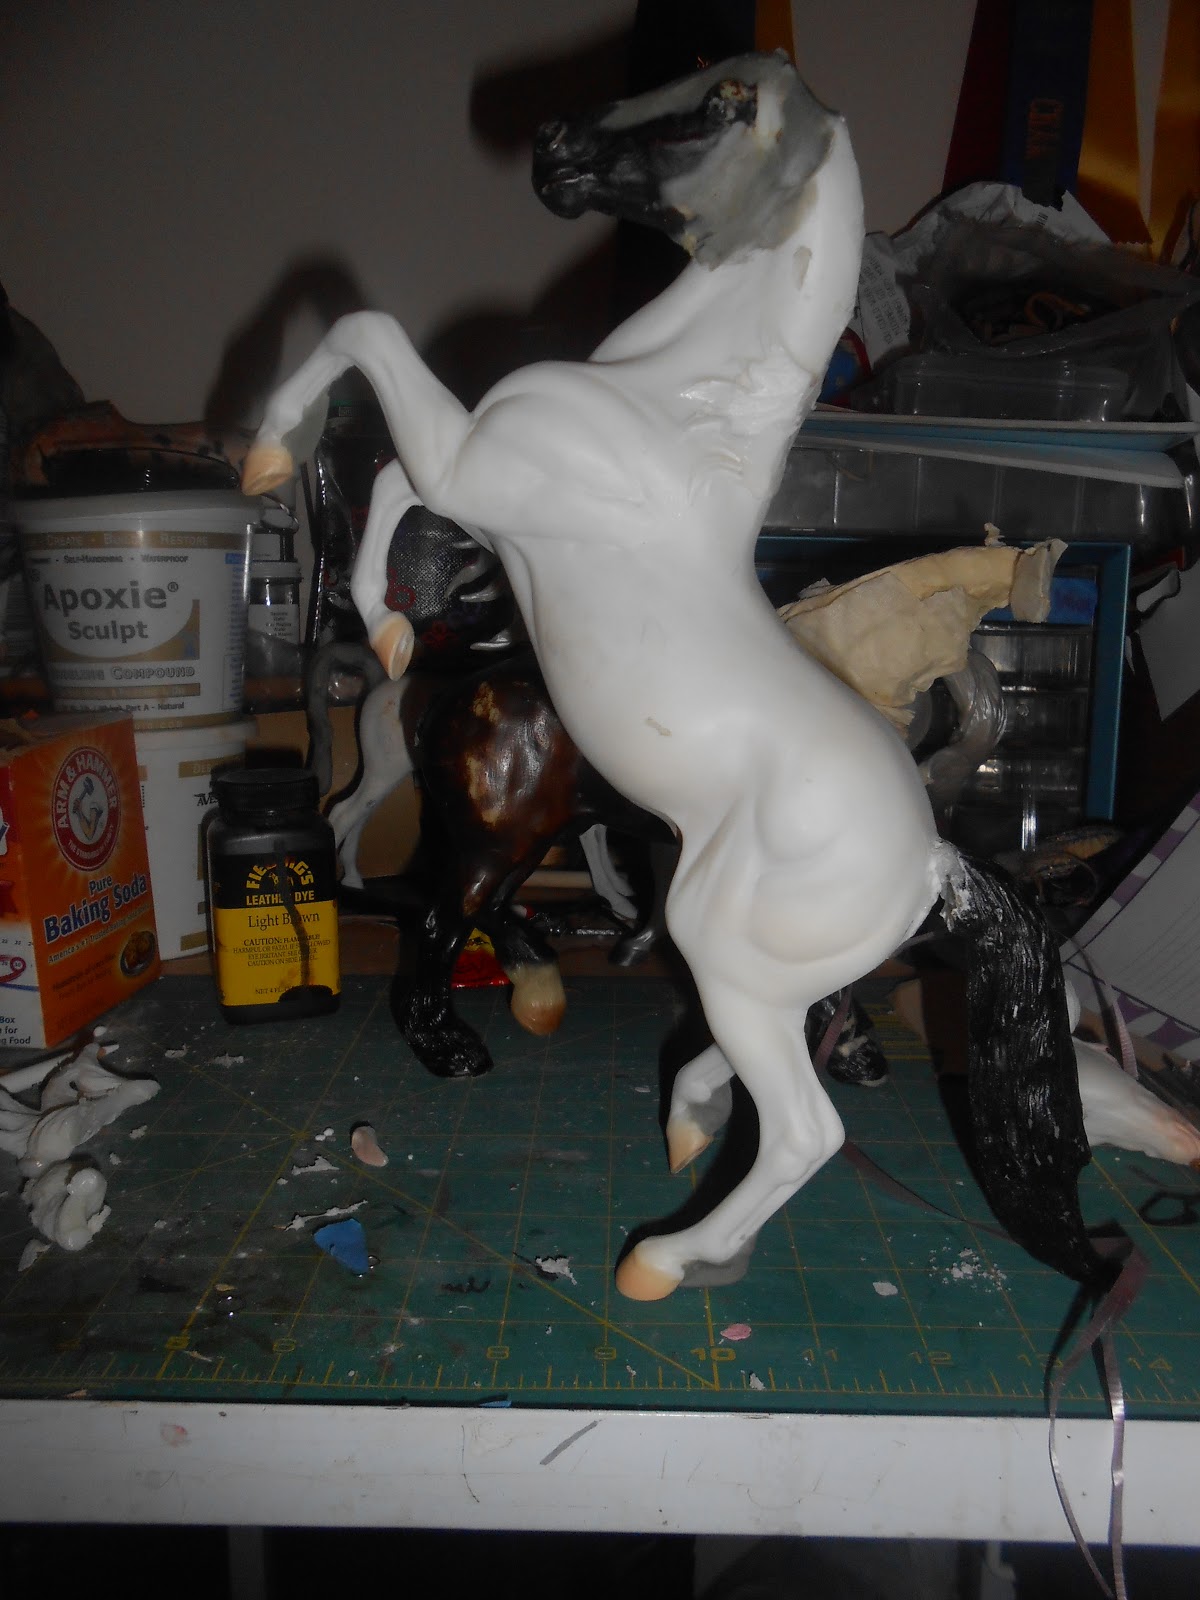
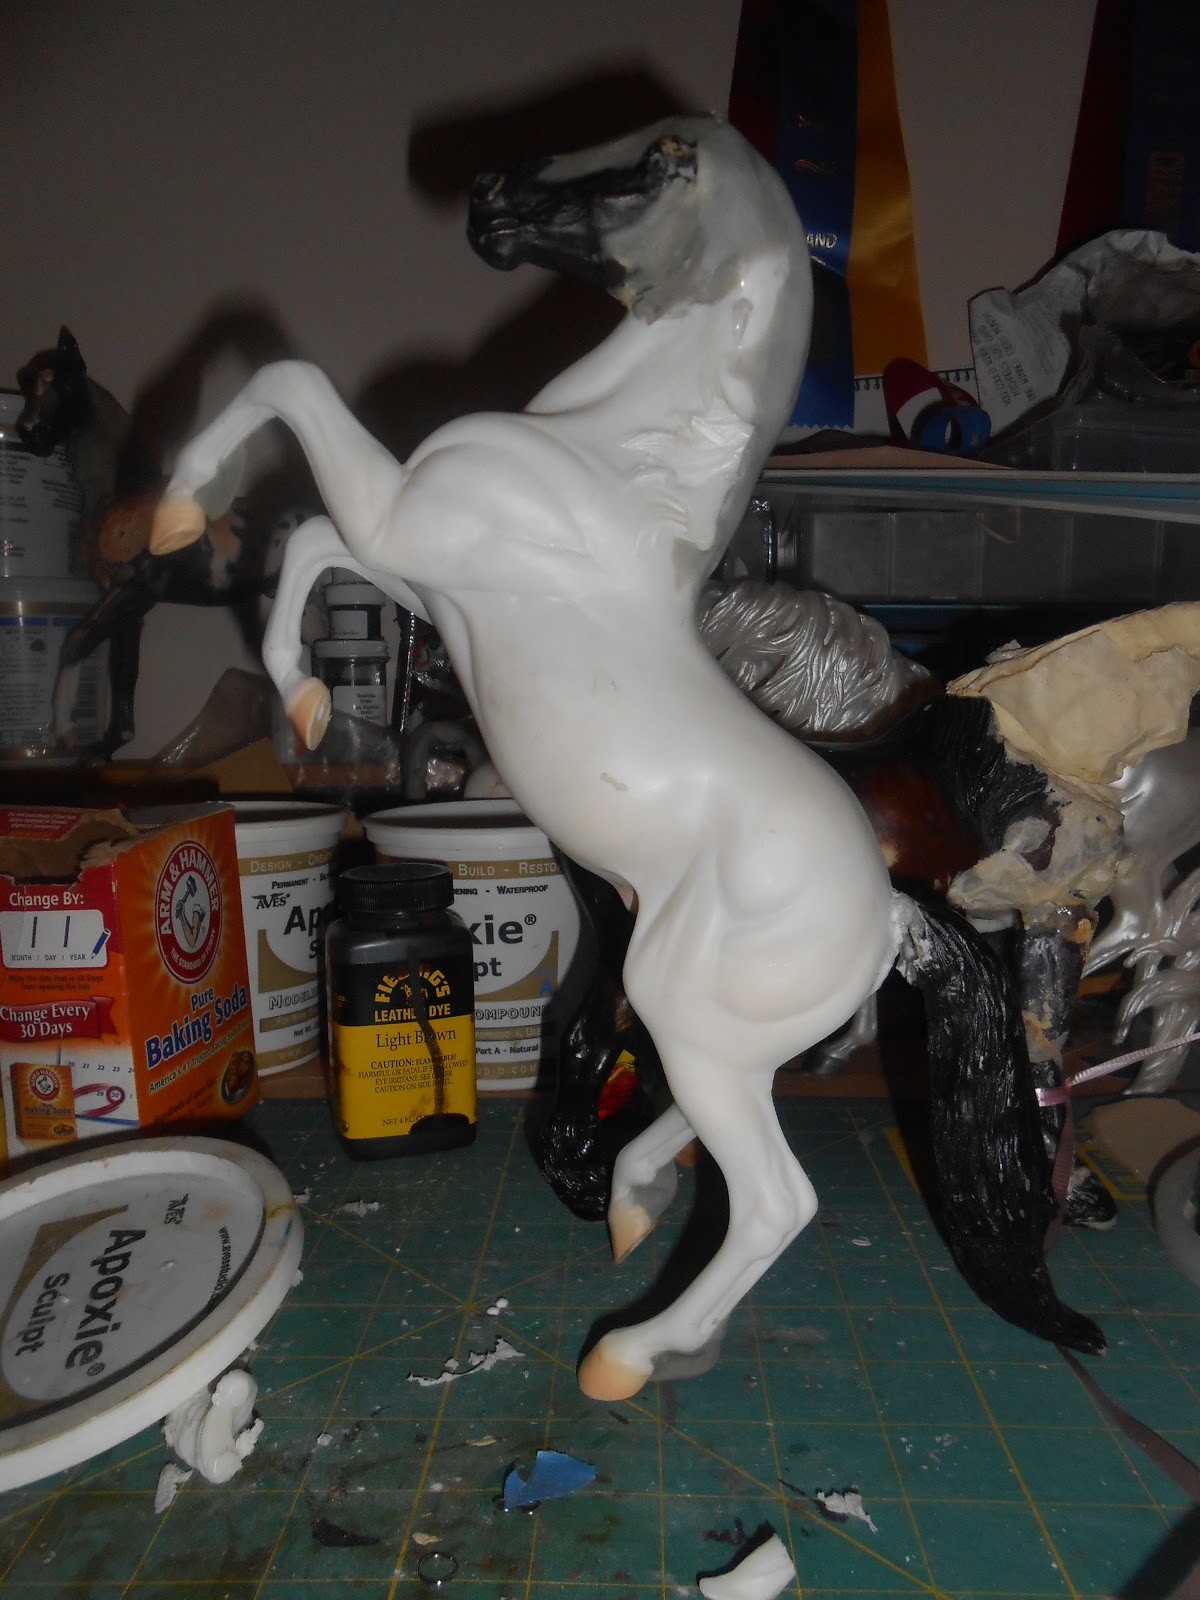
Horse
Wire
Super Glue and Baking Soda
Apoxie
Sculpting tool
Sculpting tool
First find reference pictures of what you want the mane to look like. This is the most important part. If you don’t have a reference picture, how will your model turn out right?
Now I use wire that you can buy at a craft store. You do not want it to be flimsy like a noodle, but you want it to be loose enough for you to be able to move it but stiff enough for it to hold its shape.
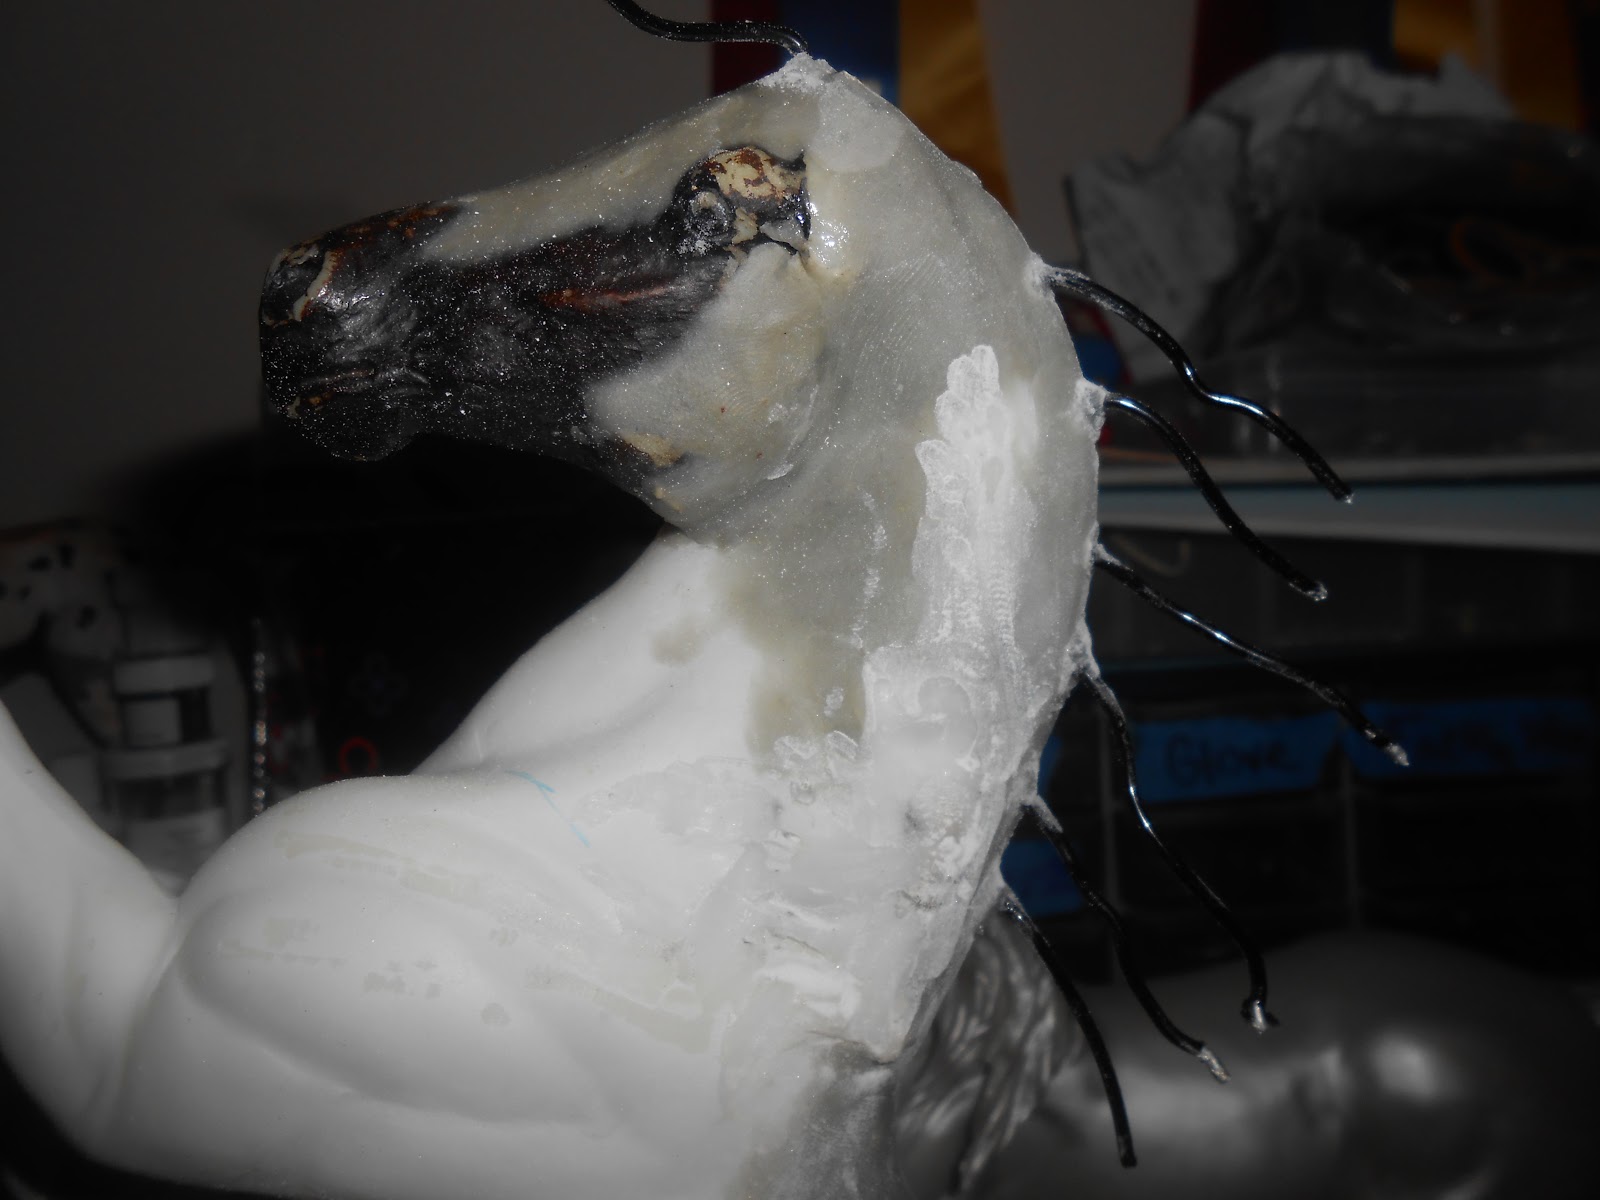
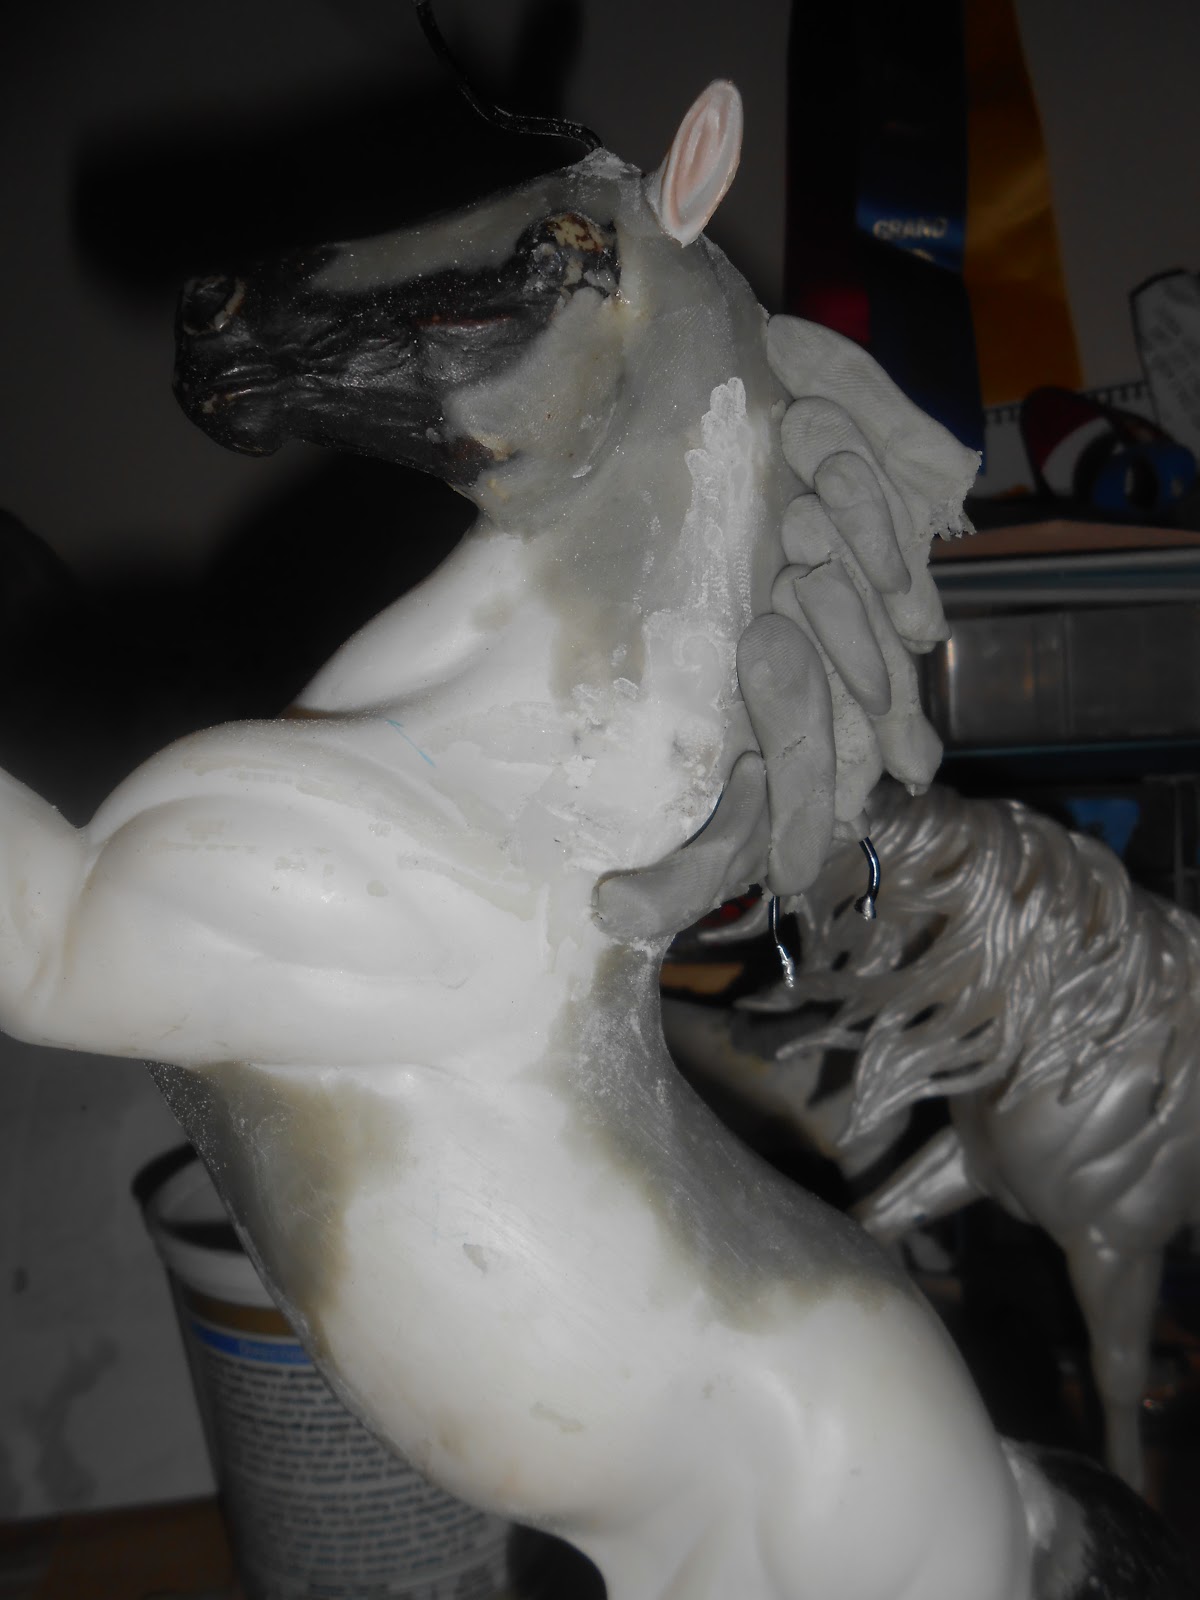
Next, with a marker, draw where you want the holes to be. Then drill them in. They do not have to be deep.
Cut out the number of pieces of wire you want in the length you want. Make the wire pieces longer than what you need. It’s always easier to chop off than to add on. Hold the wire with your hand while you pour super glue in. Then sprinkle baking soda onto the super glue. Repeat until all of the pieces are done.
Take out some Apoxie and put it onto the wire. You do not want a ton. Just enough to cover the wire. Here is where you figure out how long you want the mane. Only use Apoxie to cover where you will want the hair to go.
Here comes the patience part. Let the Apoxie harden/ cure.

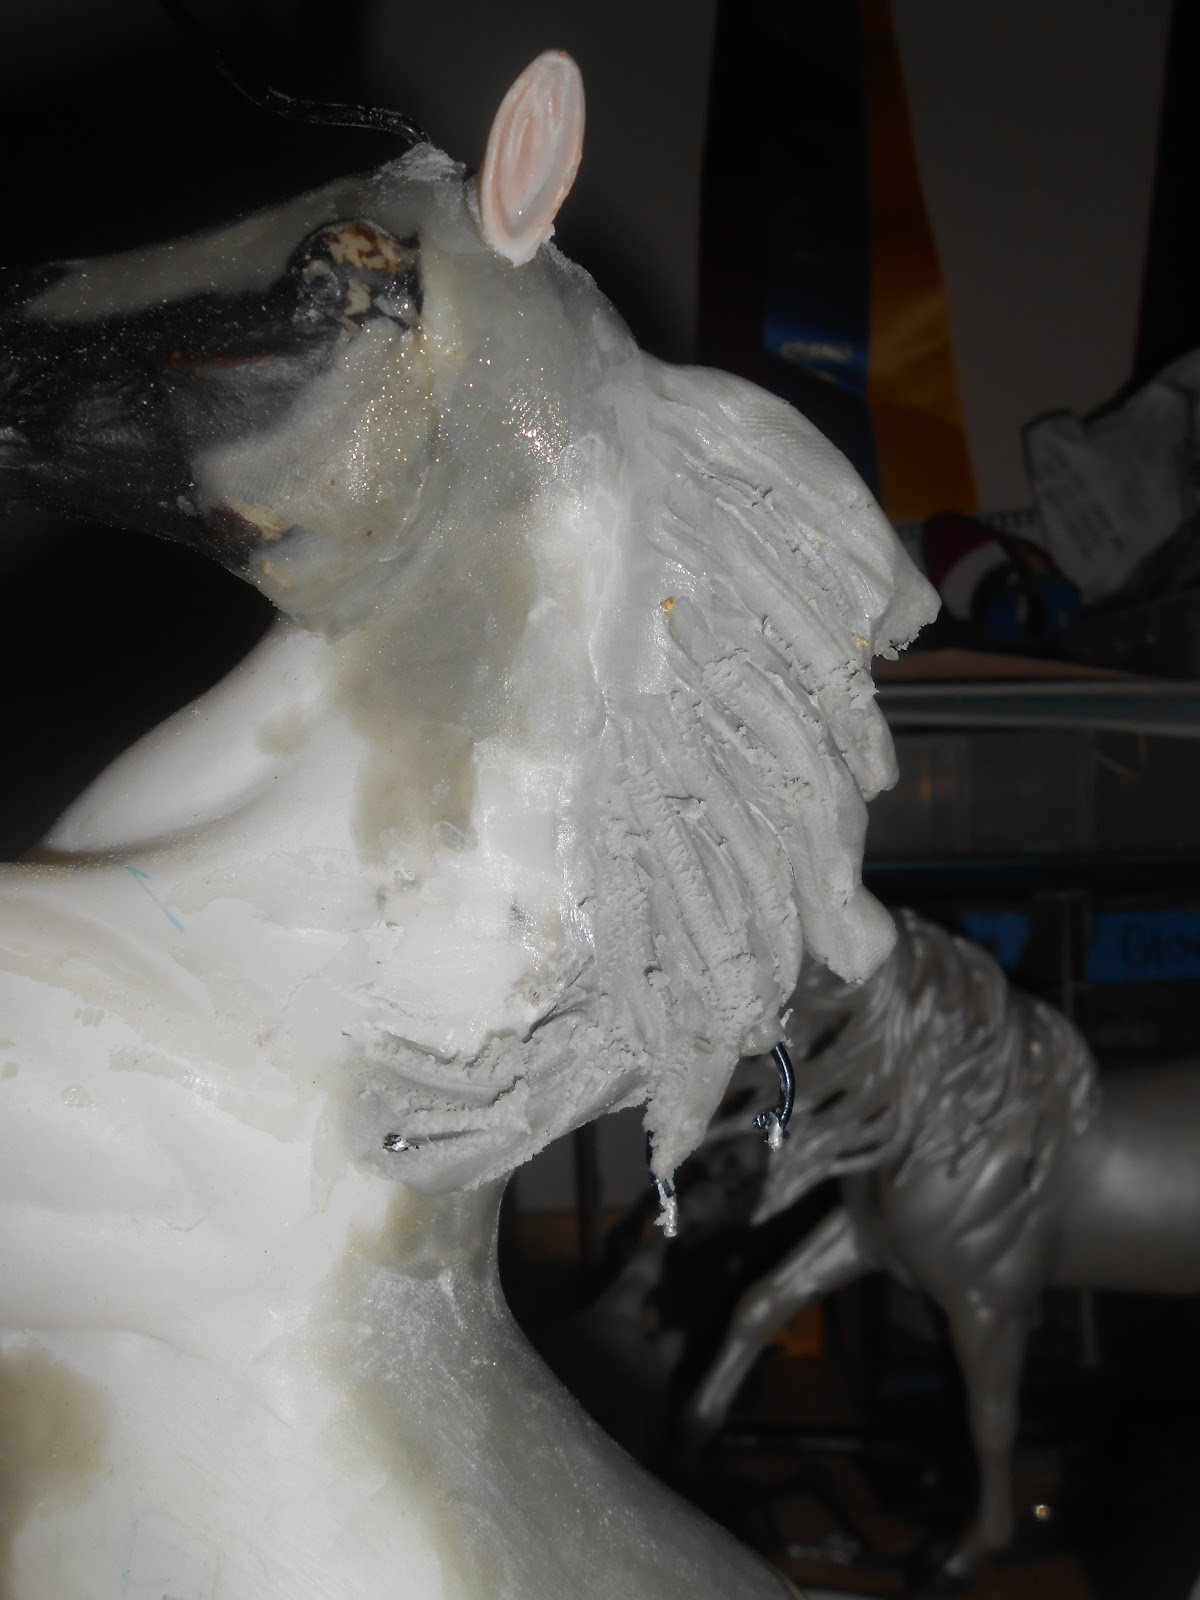
Here comes the fun part! Mix some Apoxie and roll it into fat noodle shapes. Layer it onto the cured Apoxie, in the direction of the hair.

Using water, I blend the noodle shapes.
Now I get out my sculpting too. You can use anything from actual tools made for sculpting to paper clips. It all depends on what you like. This is what I used for this

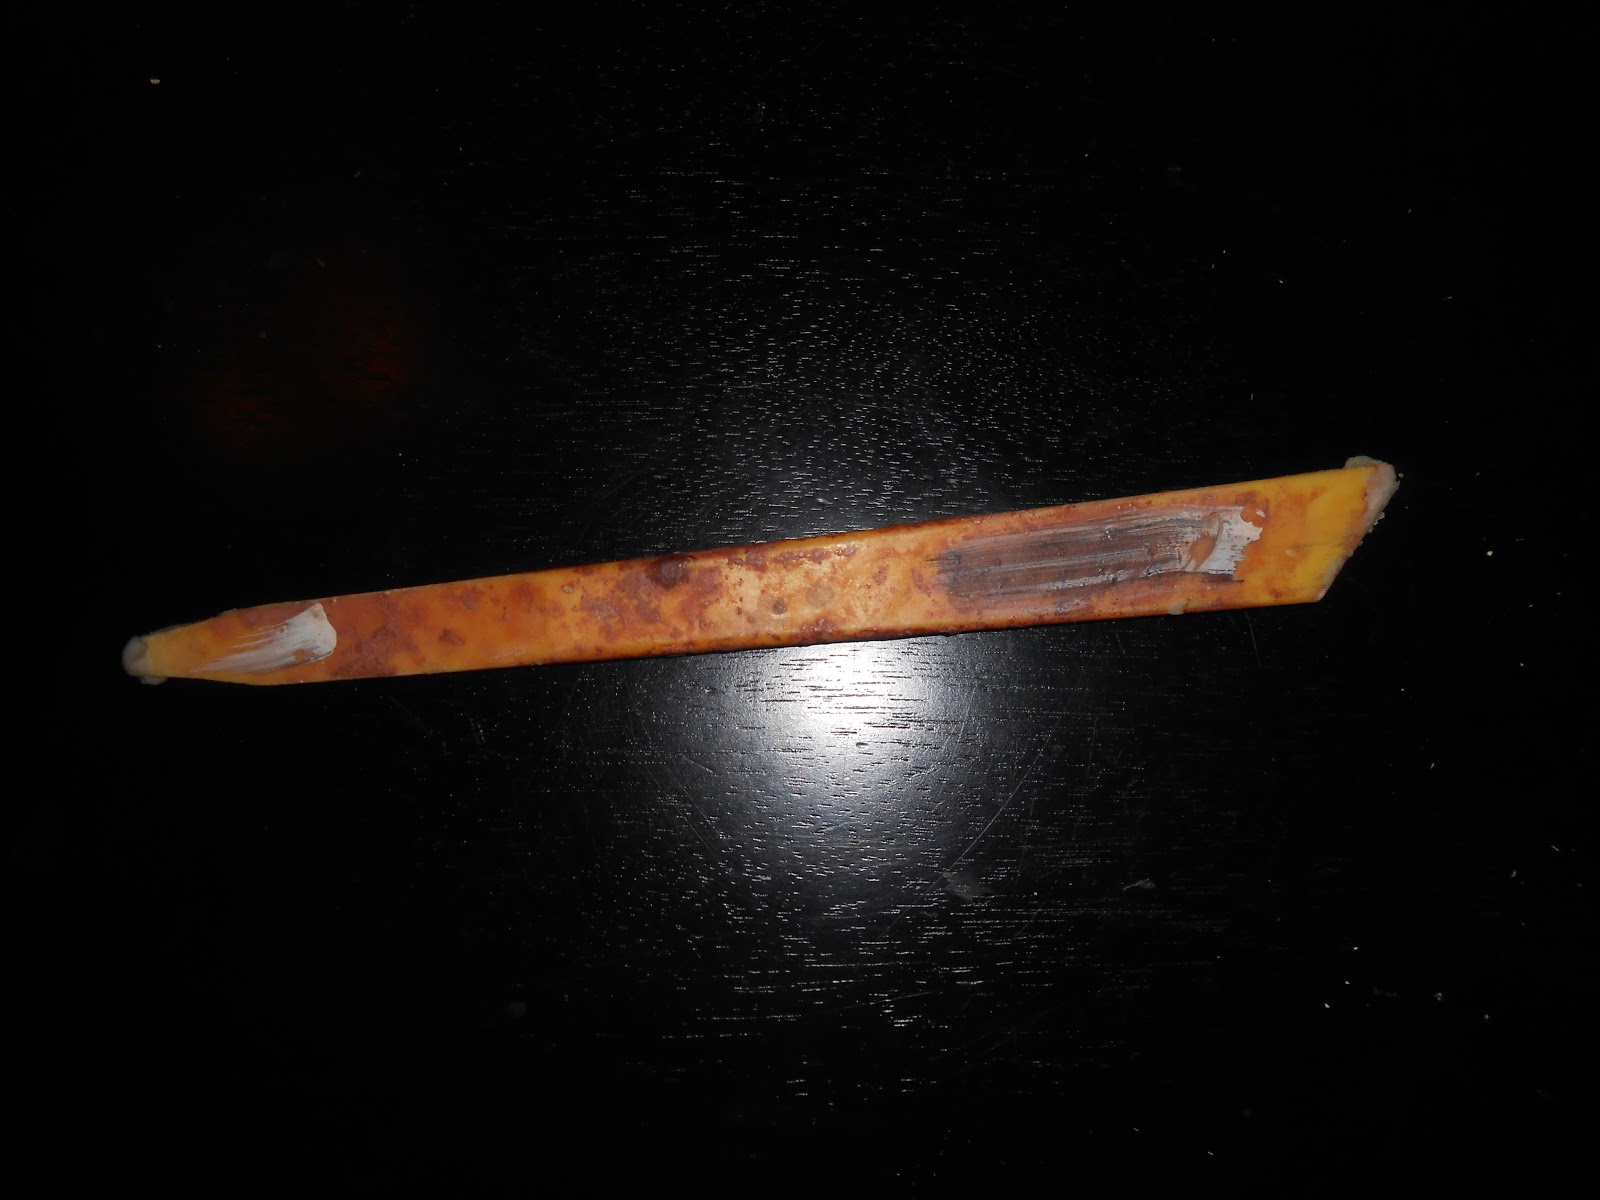
Press into the Apoxie and make divots in the general direction of the mane. This is not the detail part. This is just to keep the mane from being in one shape. I smooth the mane with a stiff paint brush dipped in water.

Now here comes the detailing part.
You can use the same tool or something different. It’s all up to you. Look at your reference and start drawing into the mane in the direction of the reference. Don’t go all in the same direction. Vary it a bit. Have some strokes be long and others be short. Once you are done, use the paint brush to get rid of the extra bits of clay and smooth it down.


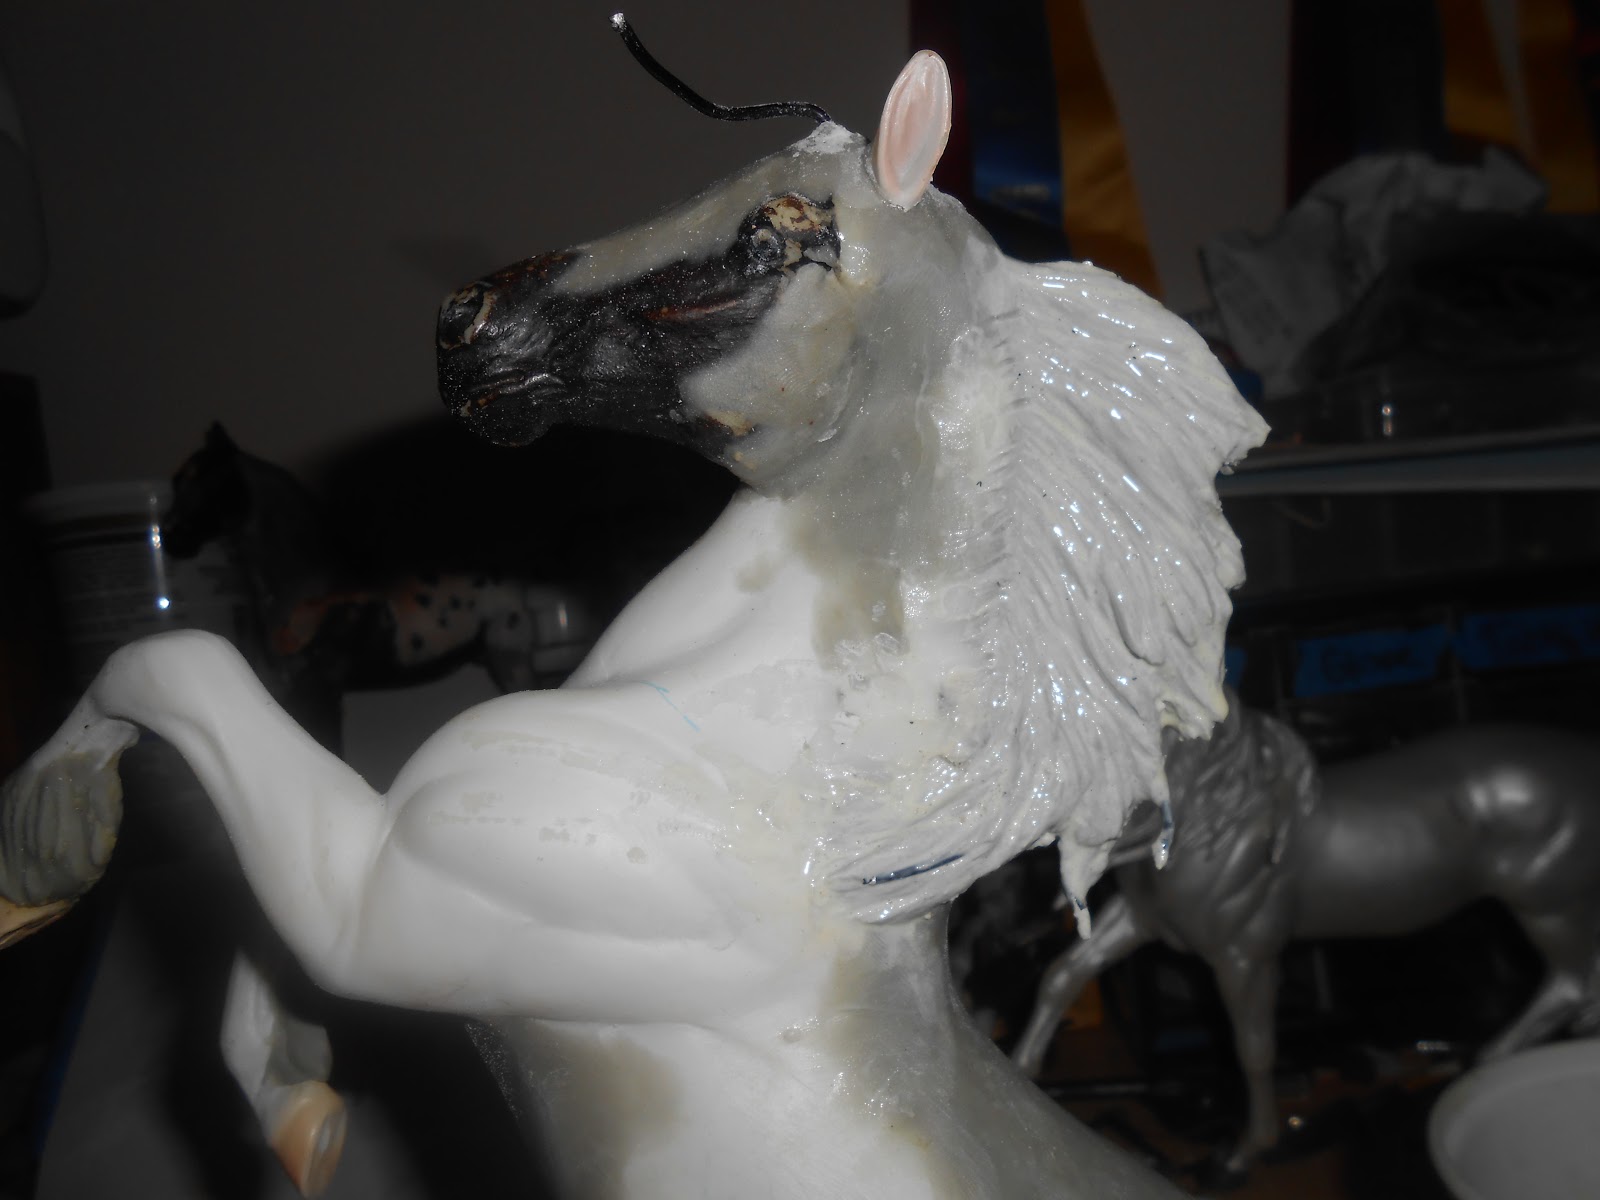
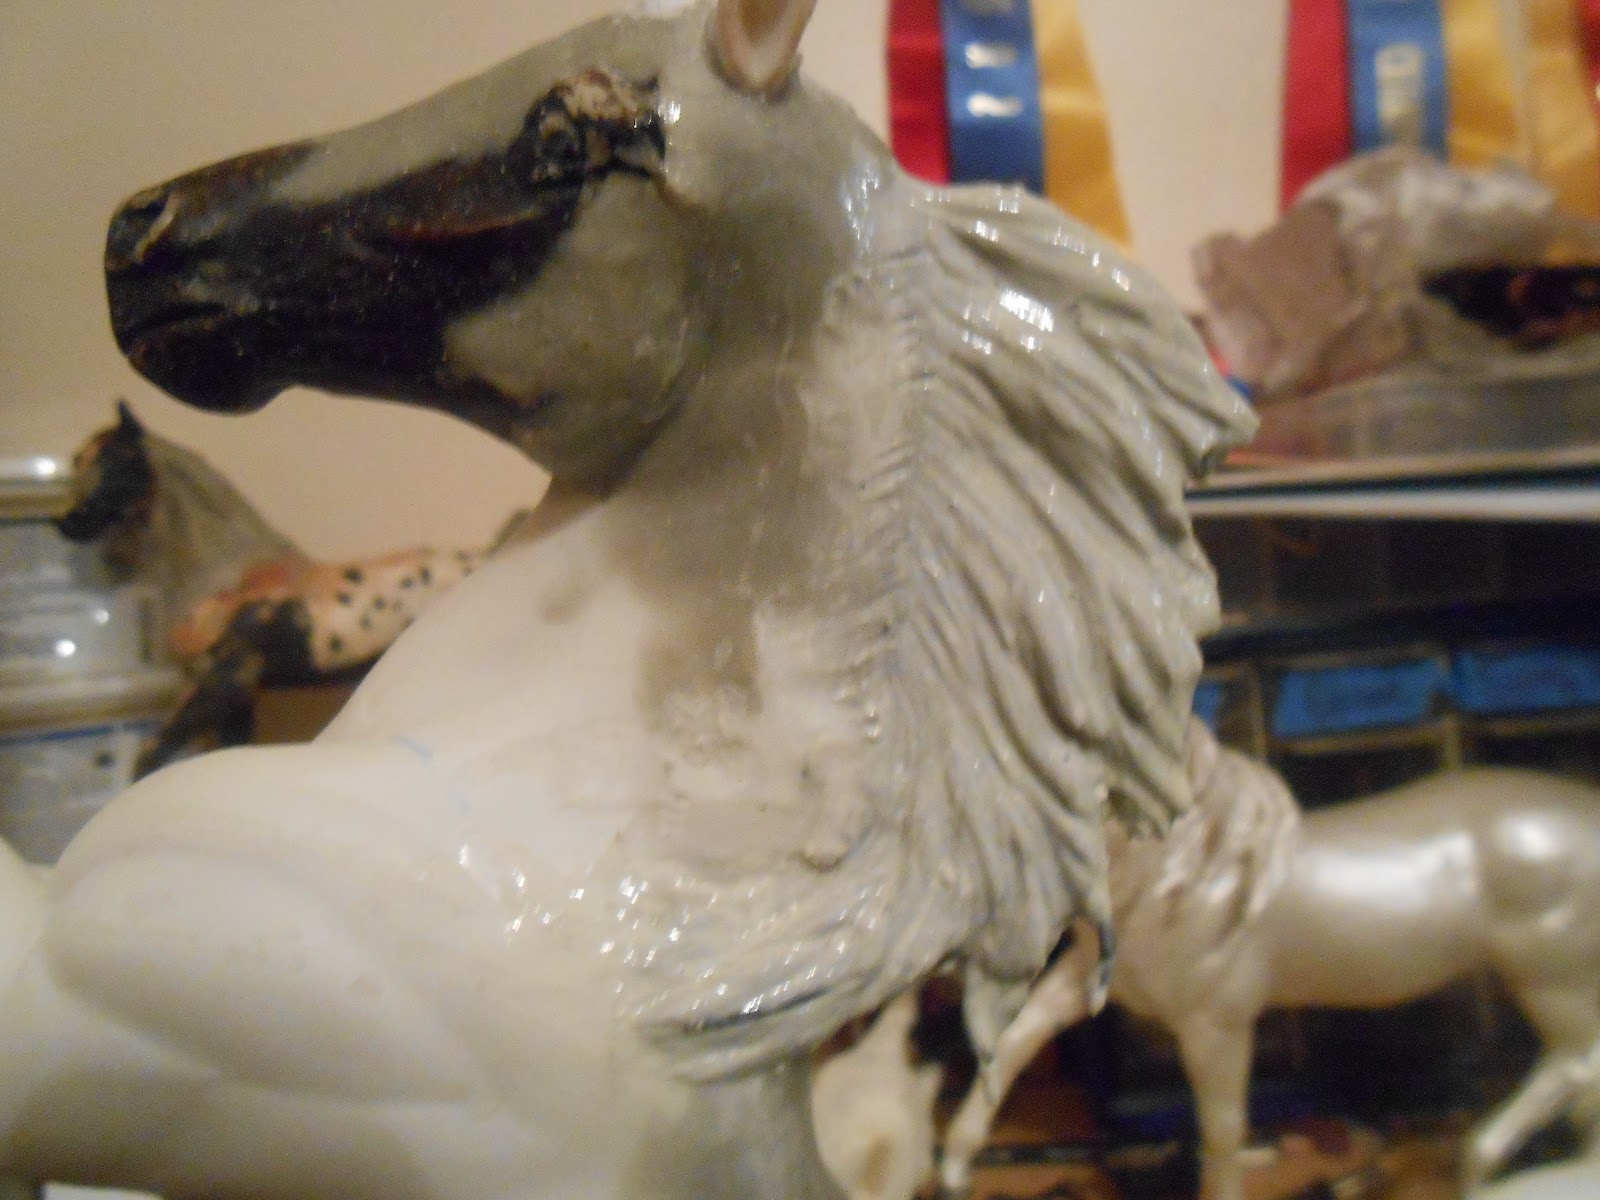
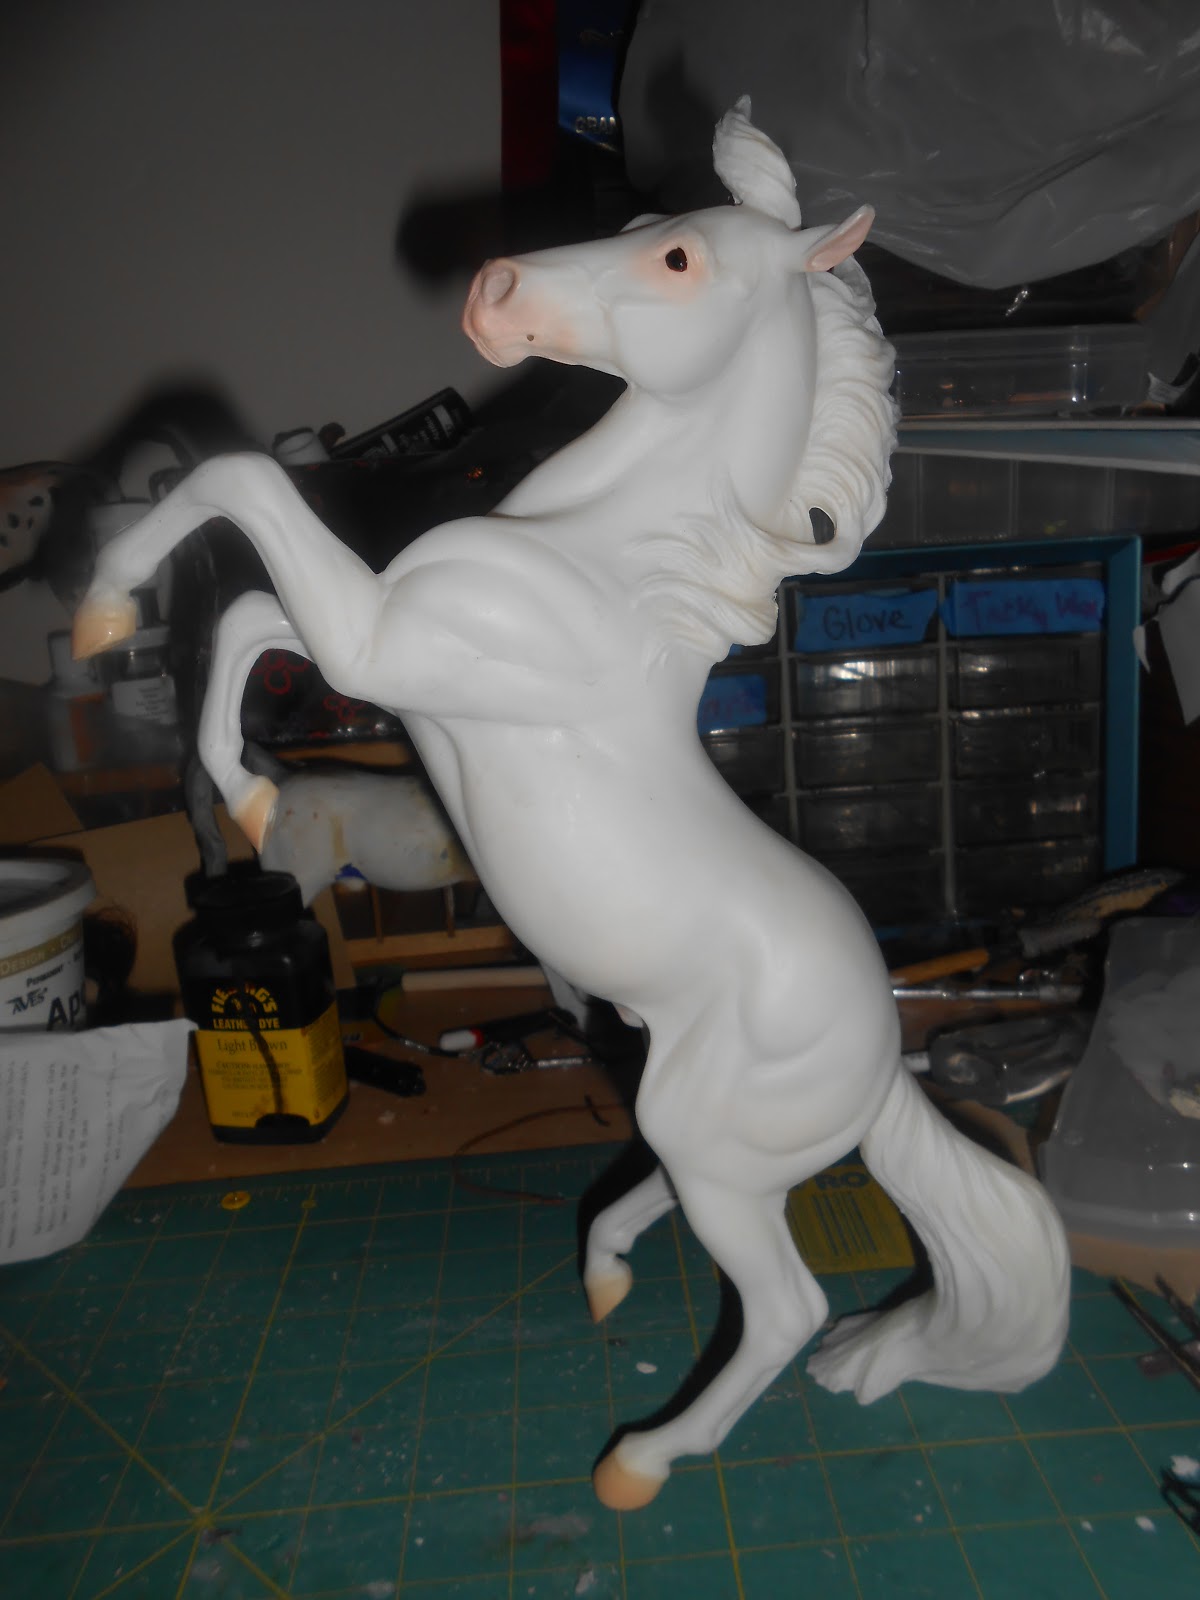
There ya go! You have a flowing mane!