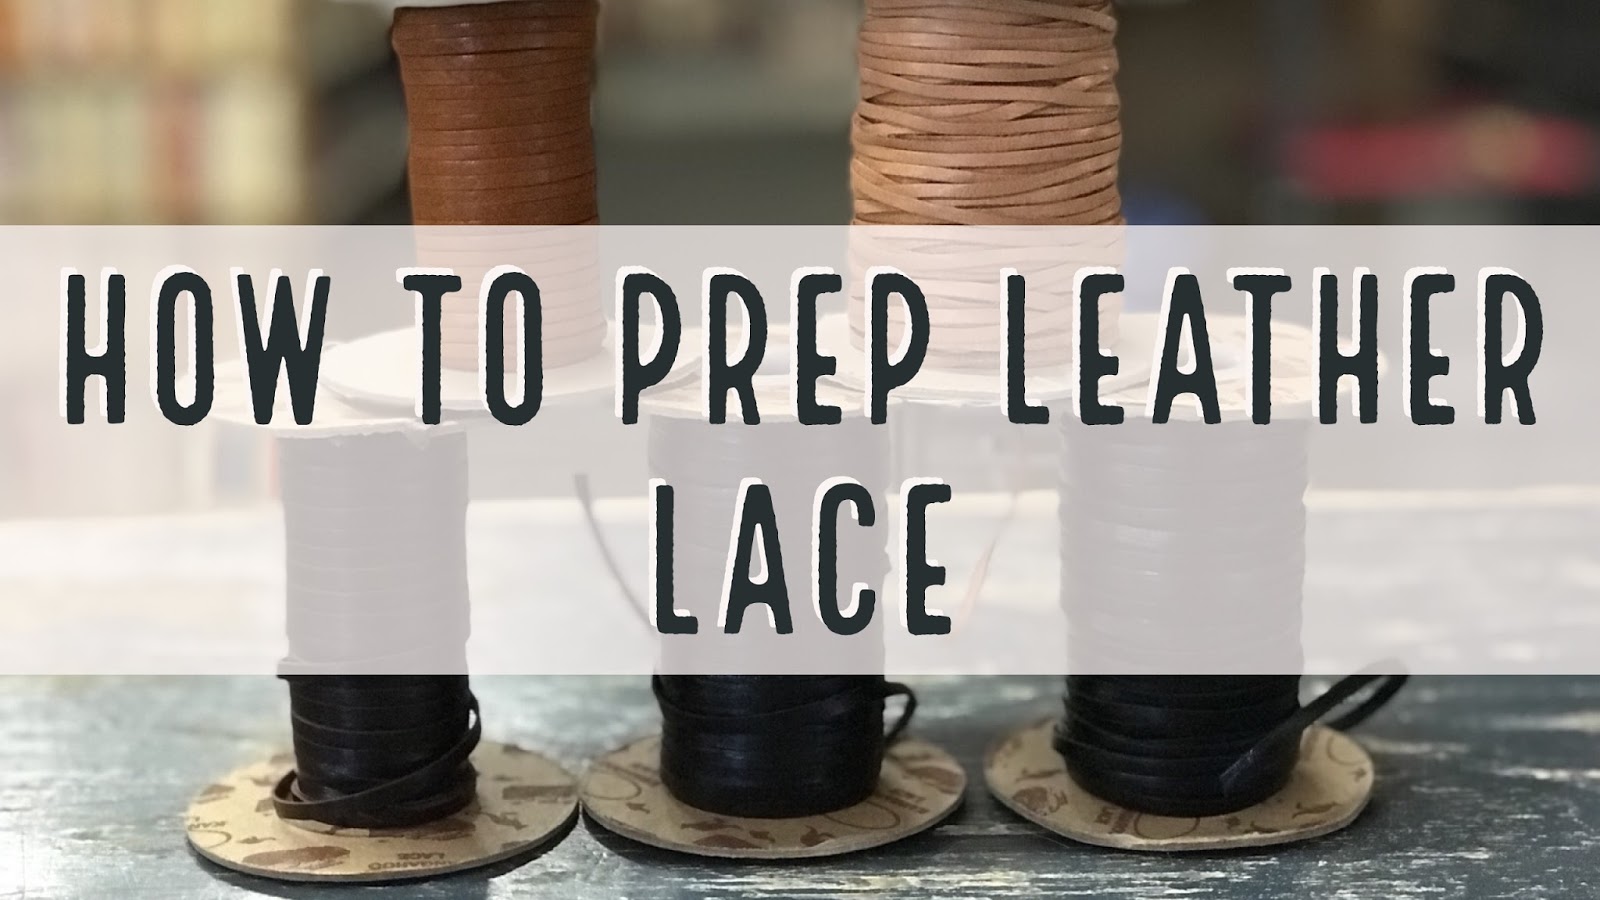
One of the most important parts of tack making is prep work. You can’t have a nice finished product if the material used is sloppily prepped. Prepping leather is far from my favorite thing to do, even if I do love the end result.
Leather lace is different from cow hide. It generally doesn’t need to be dyed, sealed, or split. It’s finished but not enough for a hobbyist. To make lace model horse friendly, one must prep it. It’s one of those skills that applies to all aspects of tack making.
Supplies
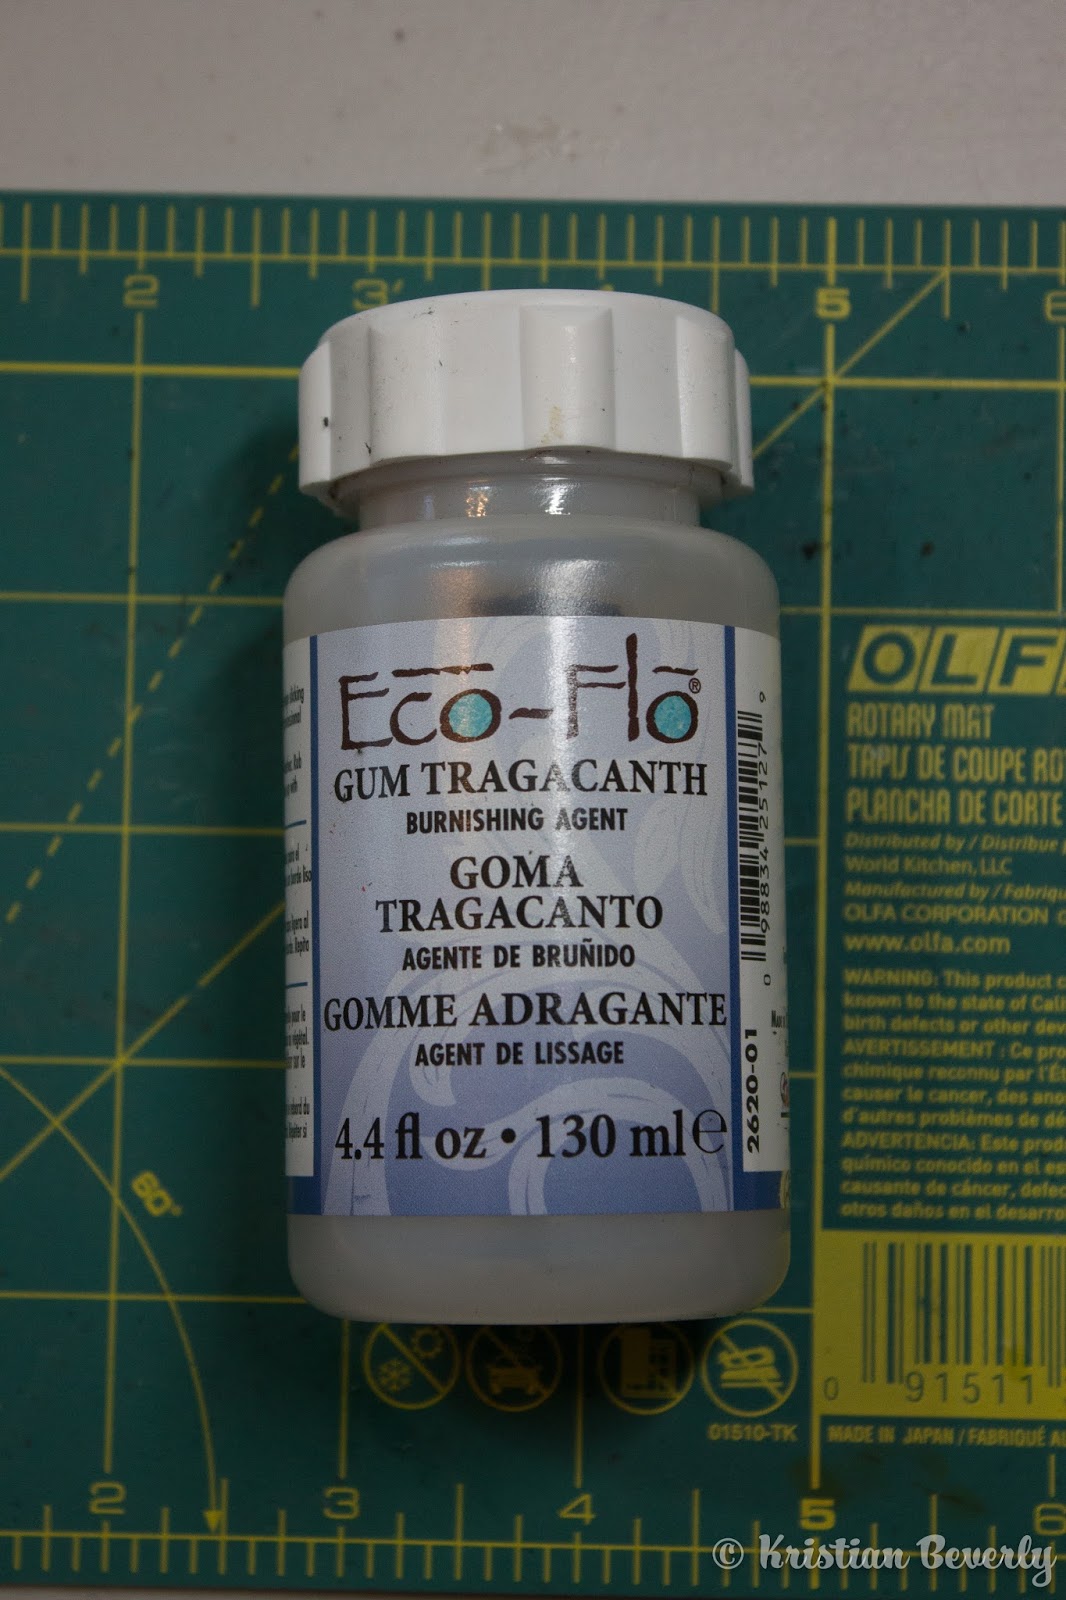
Gum Tragacanth
This is used for sealing and smoothing your leather. It has a gel like consistency and you don’t need to use a ton on the lace you’re prepping.
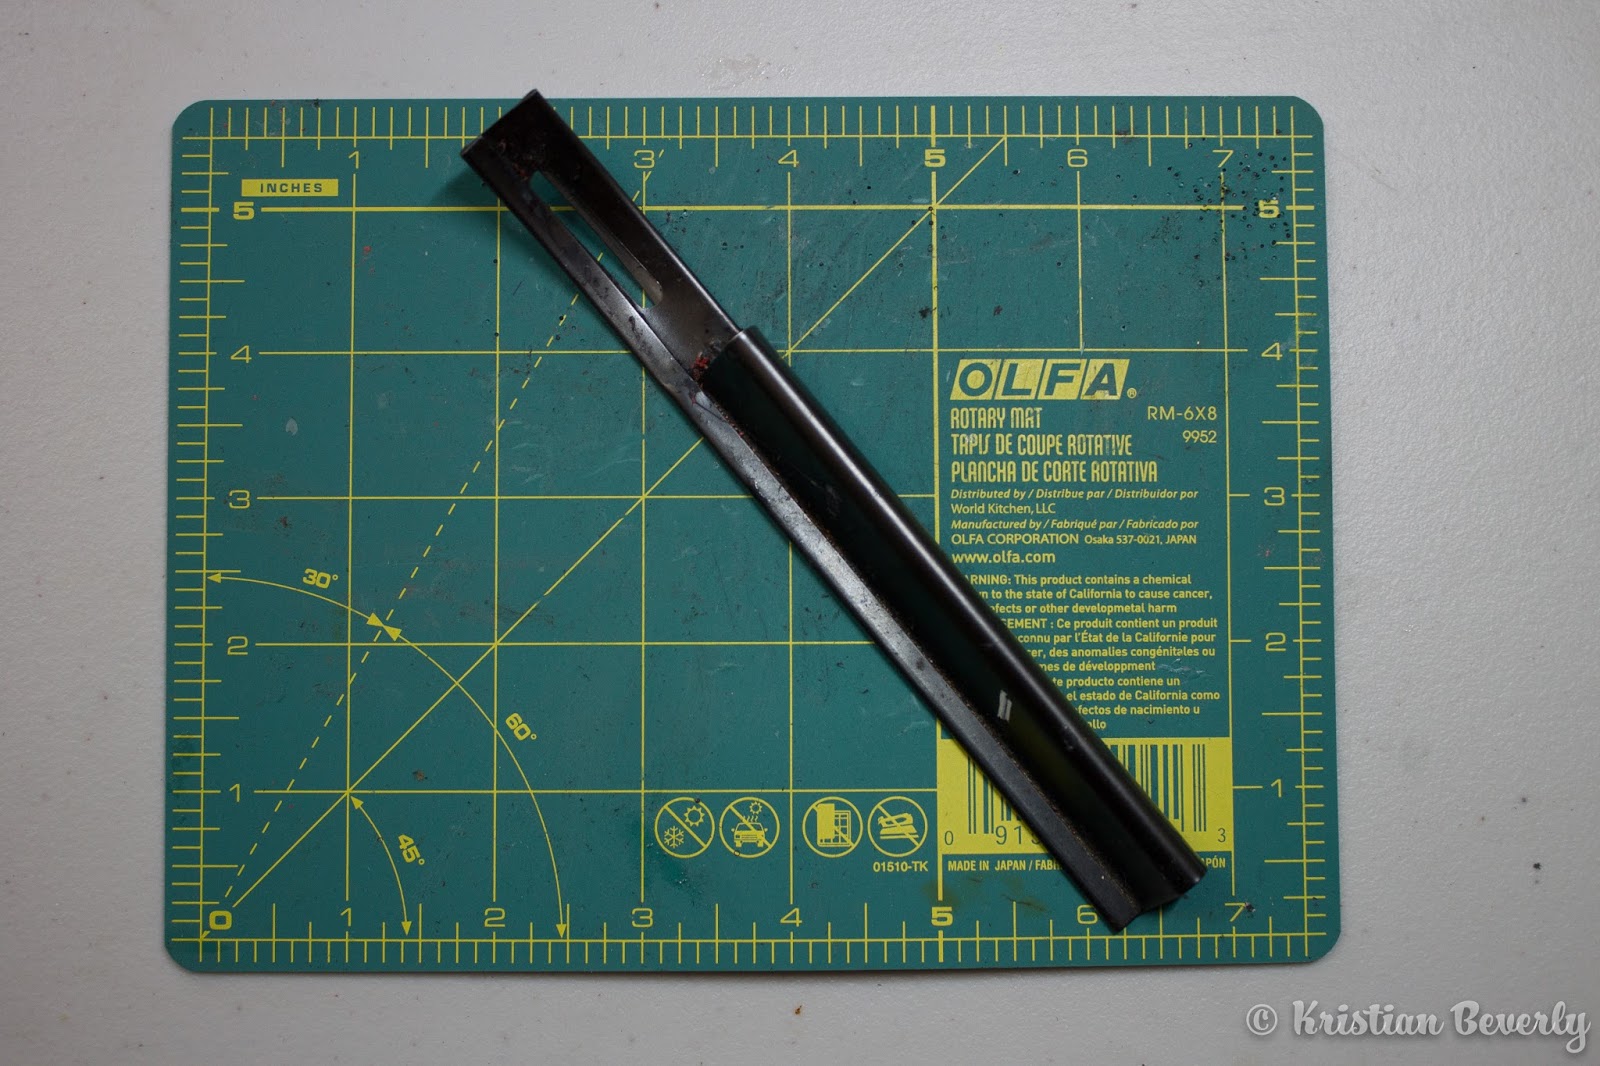
Safety Beveler
This is what I use to skive/thin the leather. IT’S THE BEST THING EVER. I like my blade to be a little bit dull, so whenever I get a new blade I use it to thin large pieces of tooling leather before using it on lace.
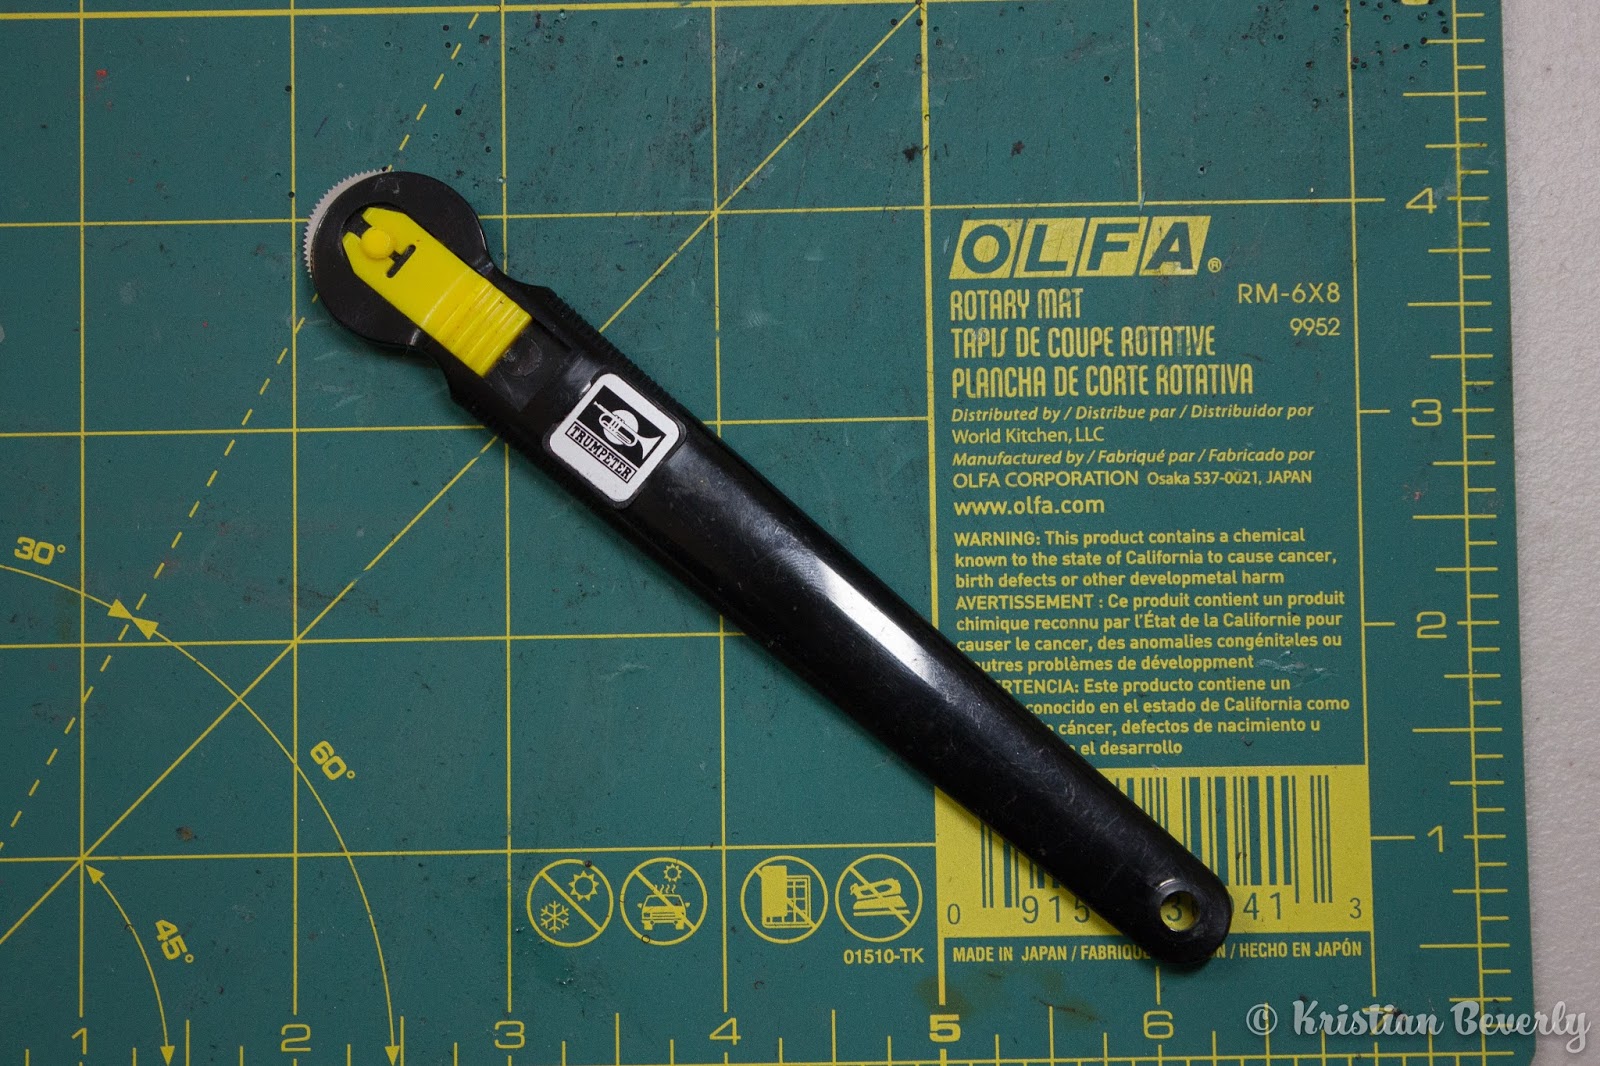
Rivet Maker Hobby Tool Master Tools Trumpeter Scale Model Accessory
I use this to make faux stitch marks on lace. It adds the next level of detail. I used to use another one until I came across this one because it has a higher marks per inch. I did modify mine so the teeth of the wheel can dig into the leather a bit more. I took the outer layer off, which can be seen in the video at the bottom of the post.
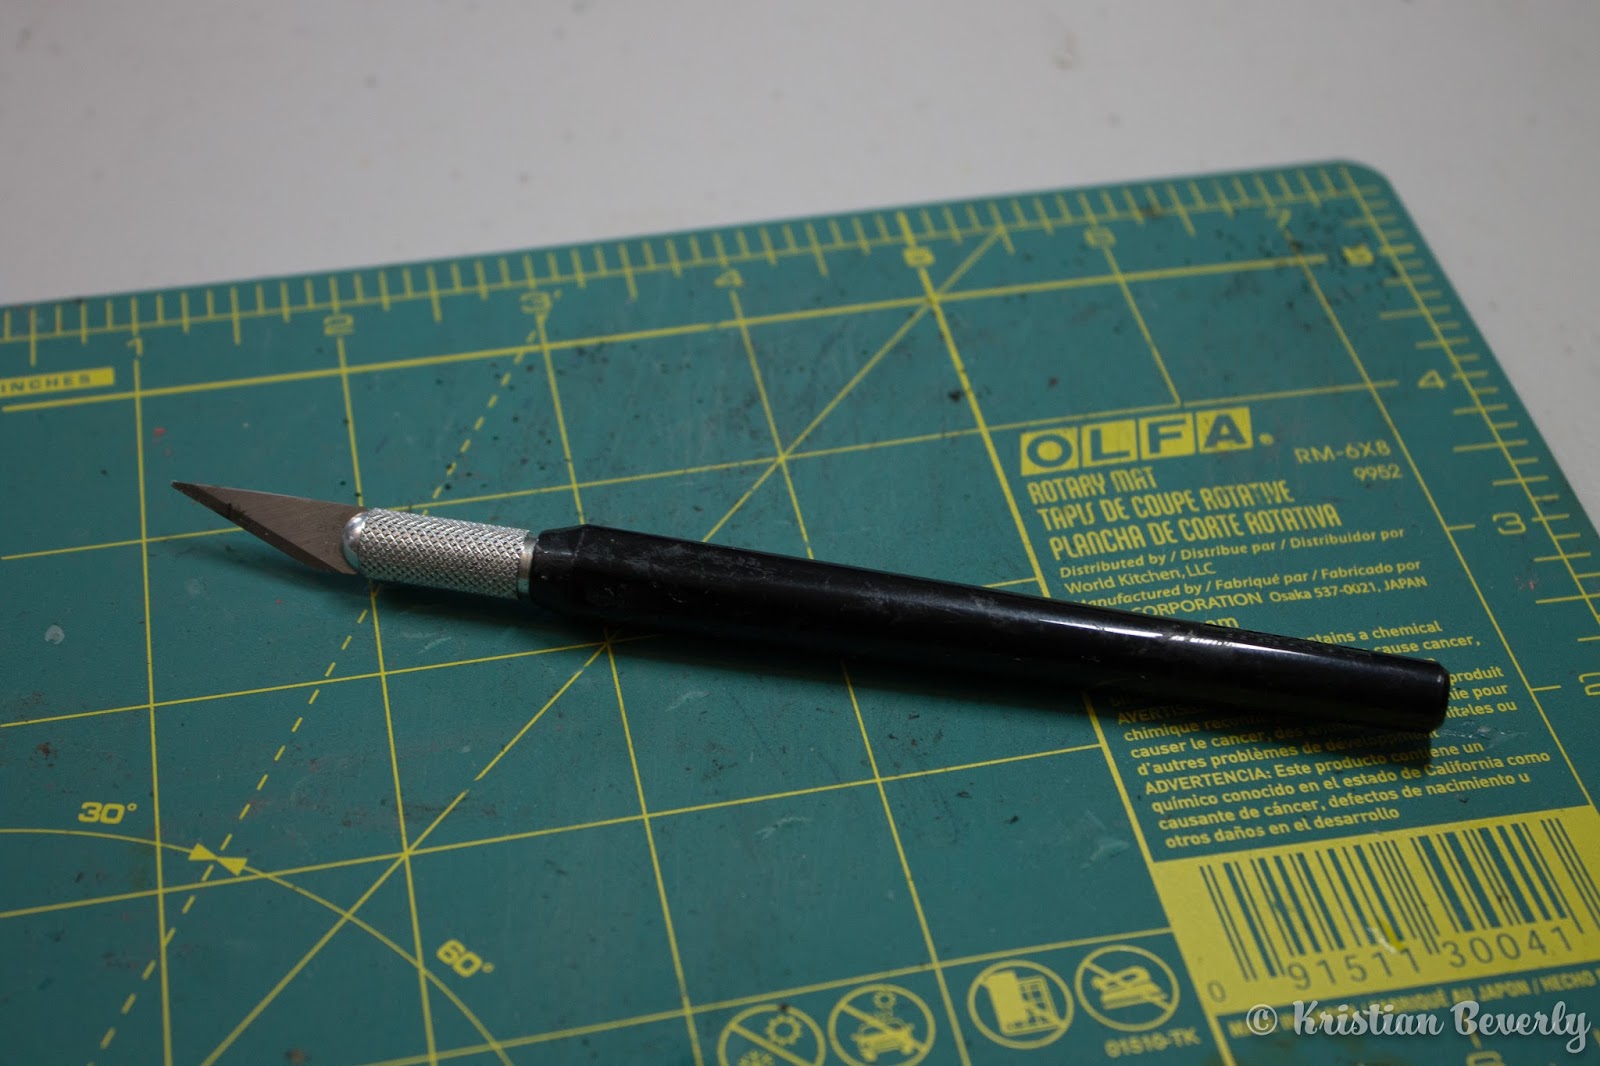
X-Acto Knife
I use this to cut lace and cut away any fuzzy bits. You can get one of these at pretty much any craft store. The blade size doesn’t really matter. I never spend a lot of money on these since I have a habit of misplacing them!
Leather Lace
I use Kangaroo Lace. I find that it’s tighter and more flexible than lace you buy at craft stores. I also like it better than calf/cow leather. If you’re serious about tack making I recommend buying higher quality materials. It’ll leave you frustrated to be in the process of learning a new skill while also battling subpar materials.
There are plenty of places to buy lace. Tandy used to carry it, and sometimes you can find a spool of it for sale. They had nice Kangaroo lace. The last time I stocked up on lace I got it here. The seller was incredibly nice and even sent me extra lace and pieces of Kangaroo hide.
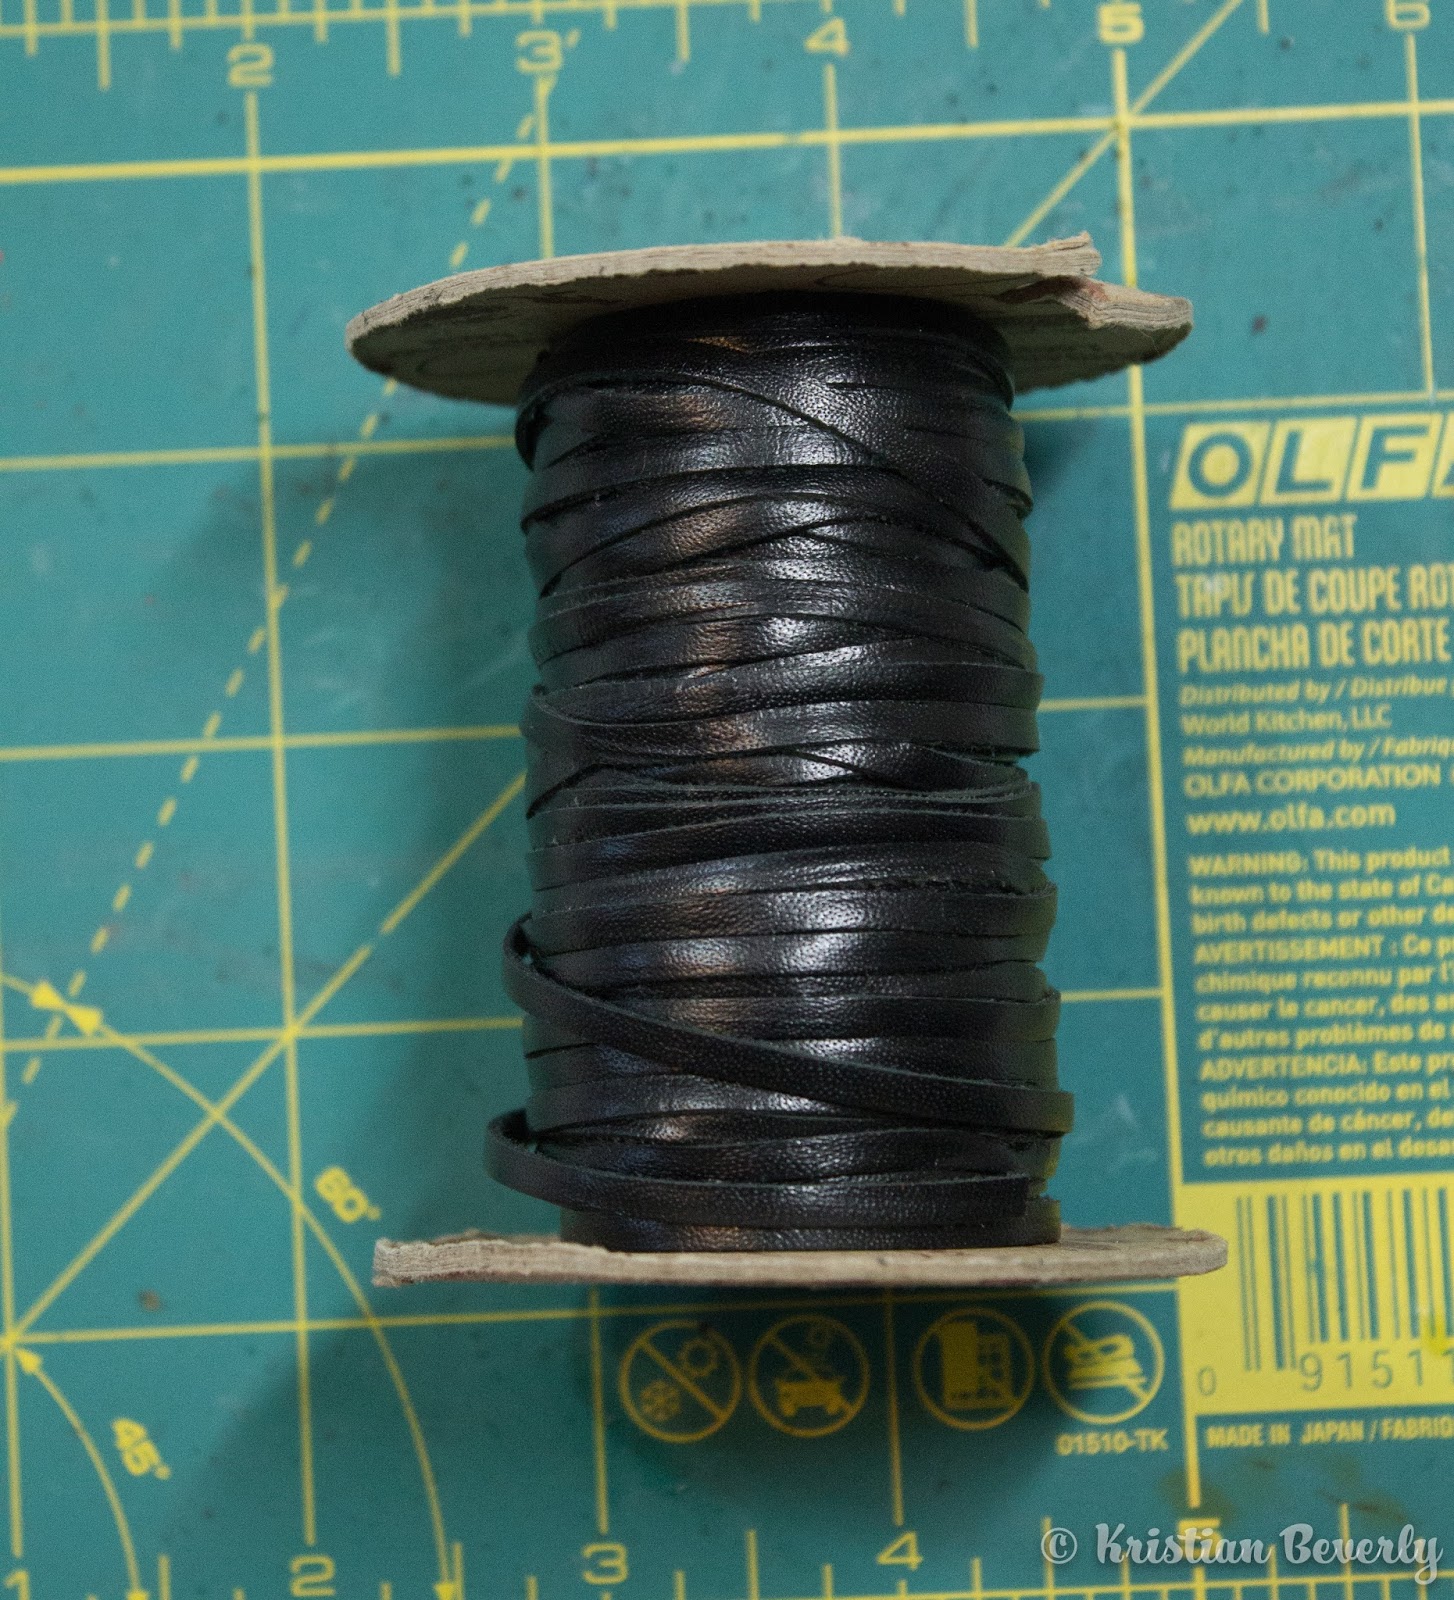 |
| This is Tandy Kangaroo Lace |
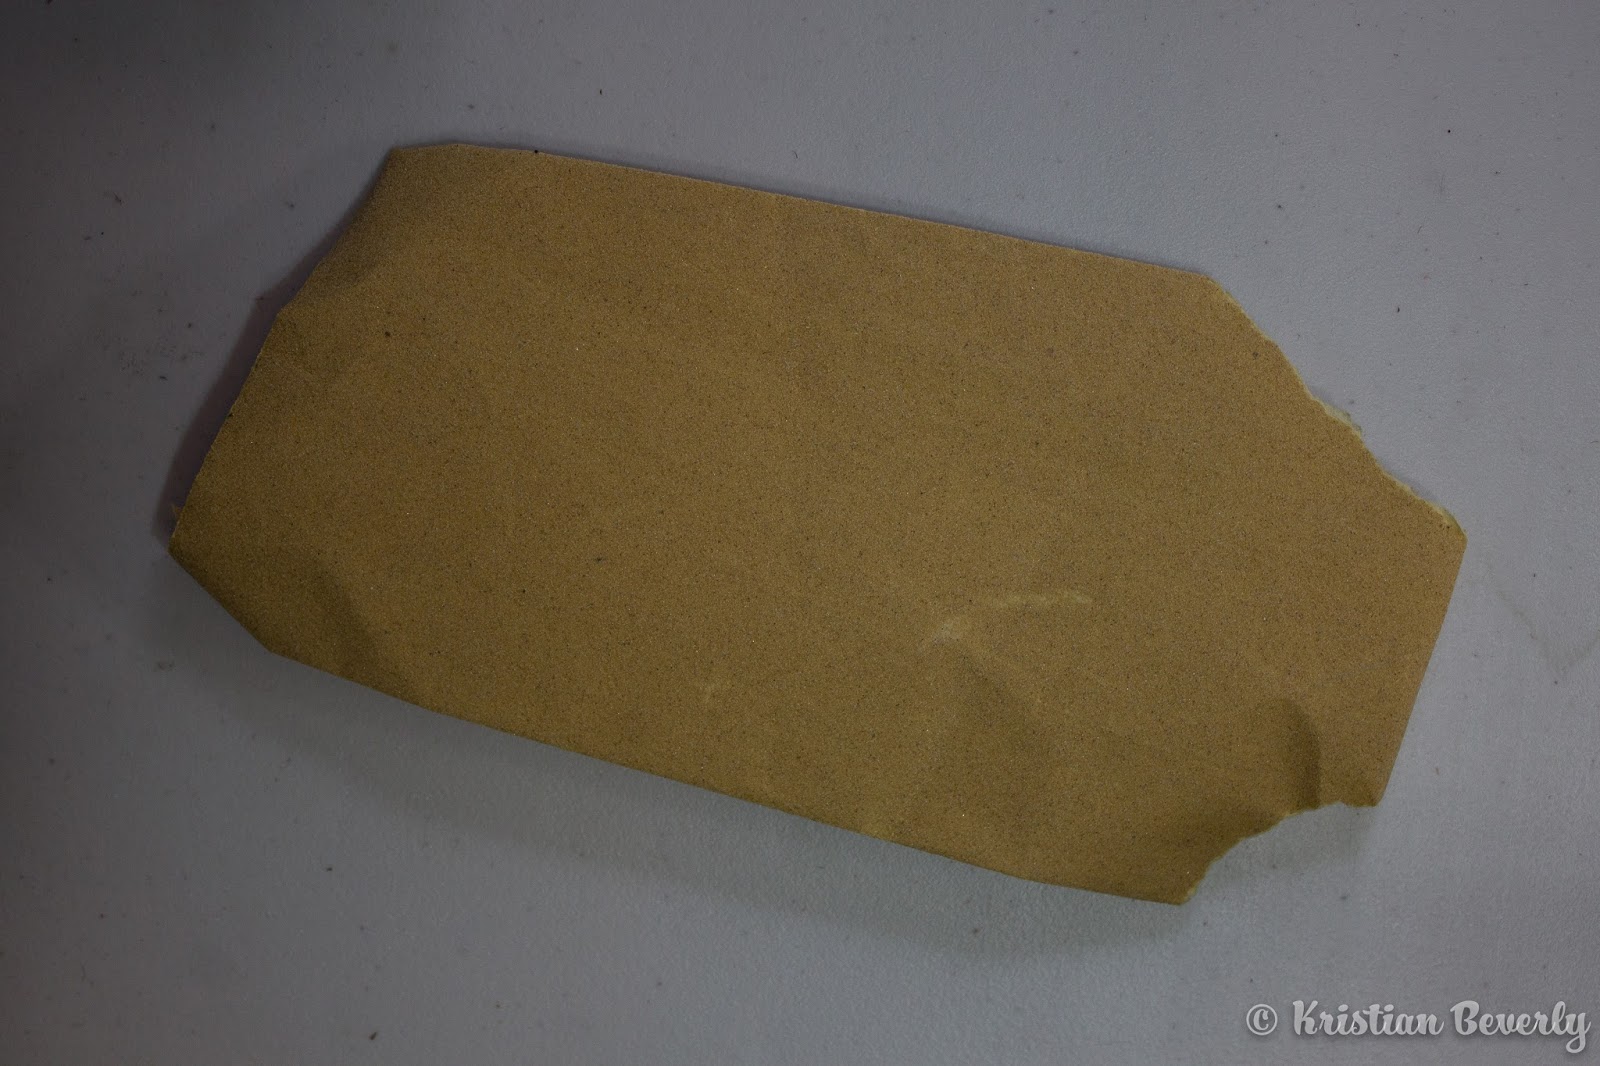
Sand Paper
I use this to get the leather to be even throughout the whole piece. I just buy the packs of it at my local dollar store and it works perfectly fine.
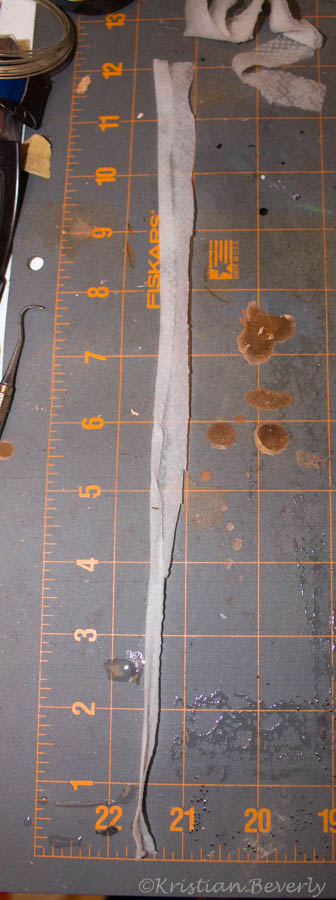
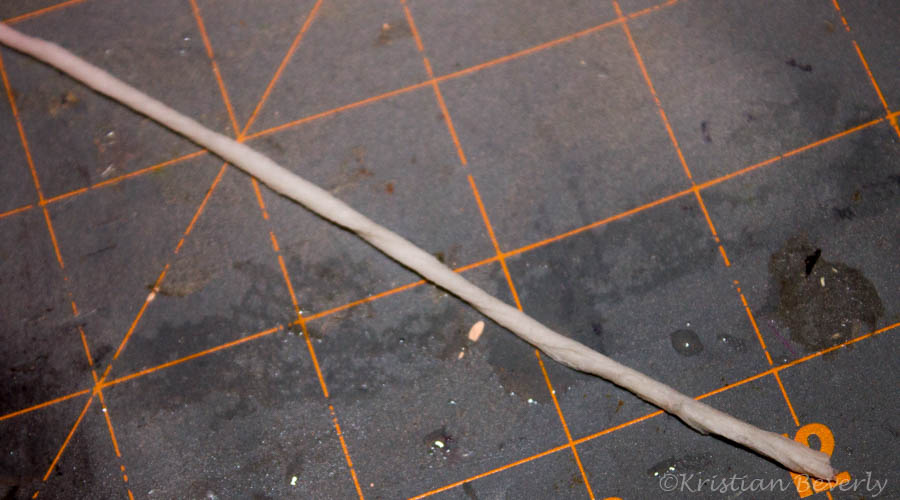
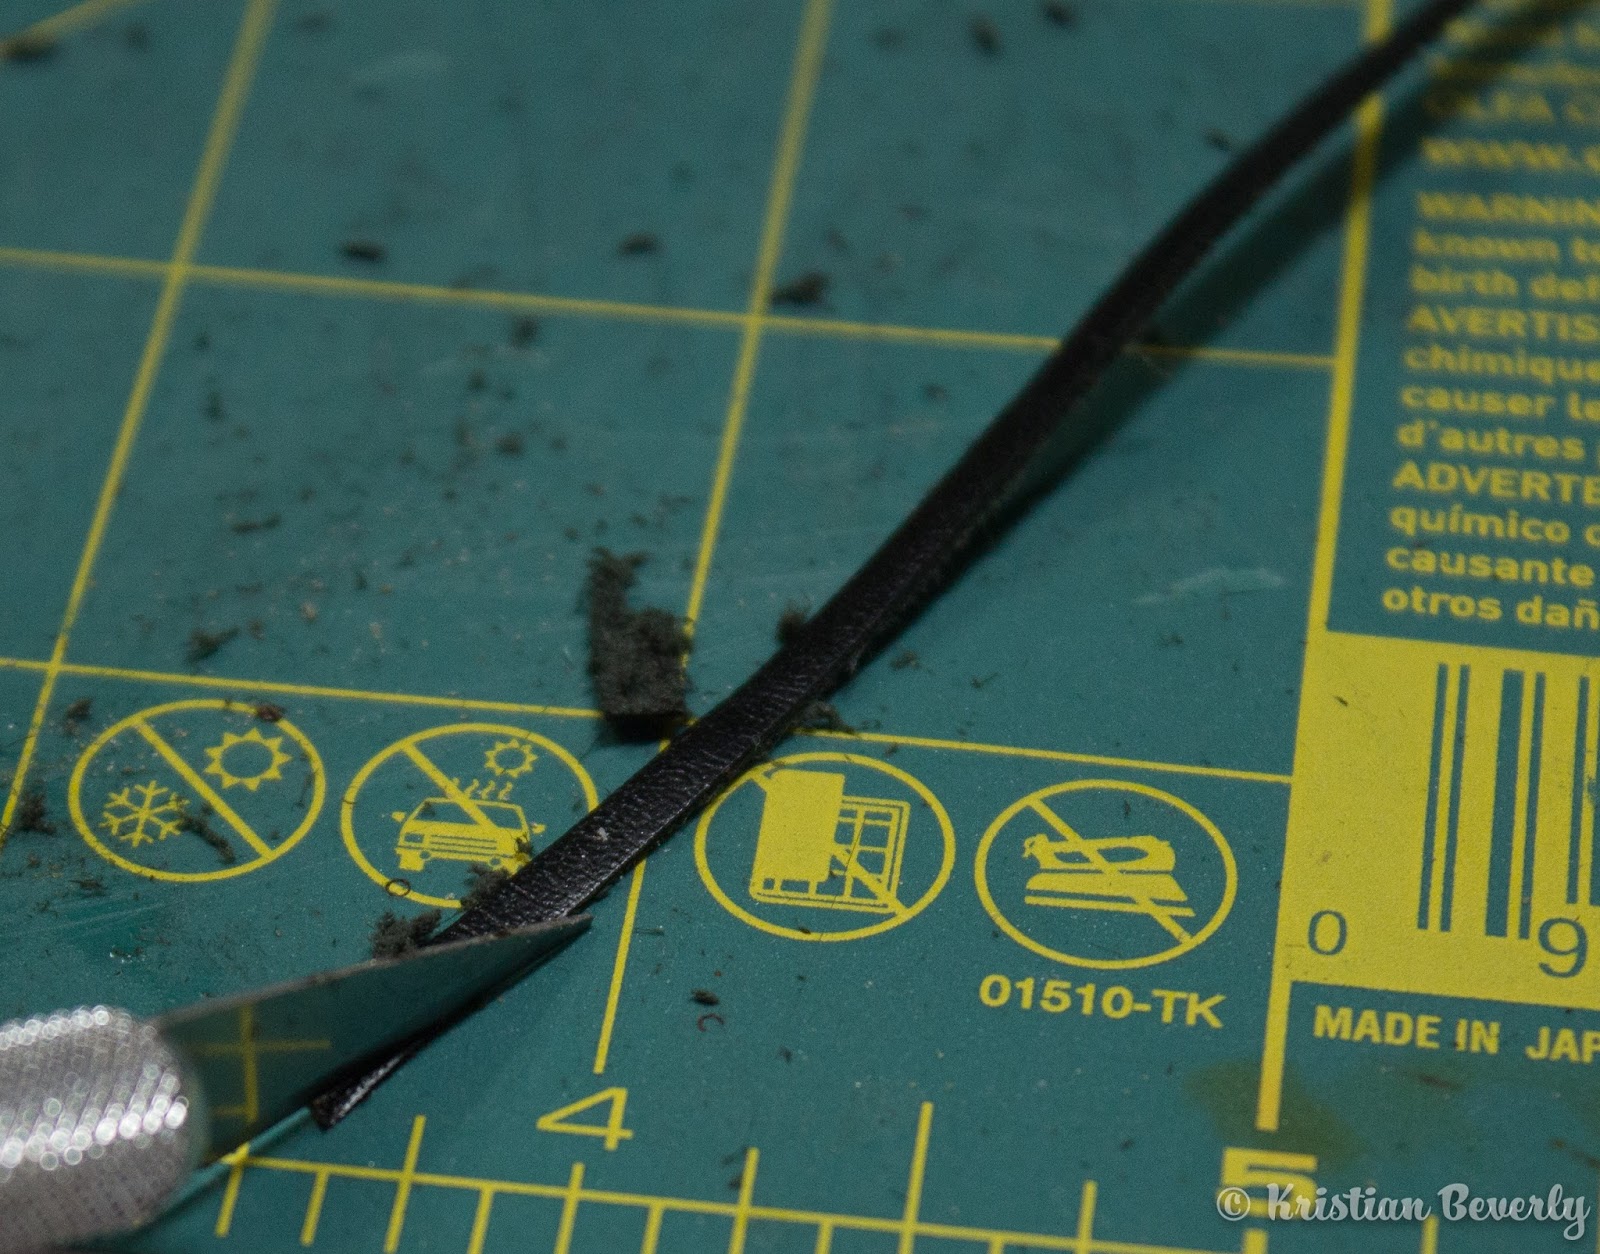
To start, take a piece of lace and the skiving tool (Safety Beveler). You want to thin the rough/off side, and not the smooth side. I thin the leather to about half of its thickness. You want it thin enough so that it drapes nicely but not so thin that it’s like paper. Paper thin lace has its place but not for the majority of tack making processes. Paper thin lace is more likely to tear and the thinness detracts from the realism of the tack piece.


Pull out your X-acto knife and cut away any fuzzy bits along the side of the leather. The nice thing about using the skiving tool is that it usually leaves the leather pretty smooth after thinning it. But you still want to be sure that there aren’t any loose fuzzy pieces hanging out along the side.
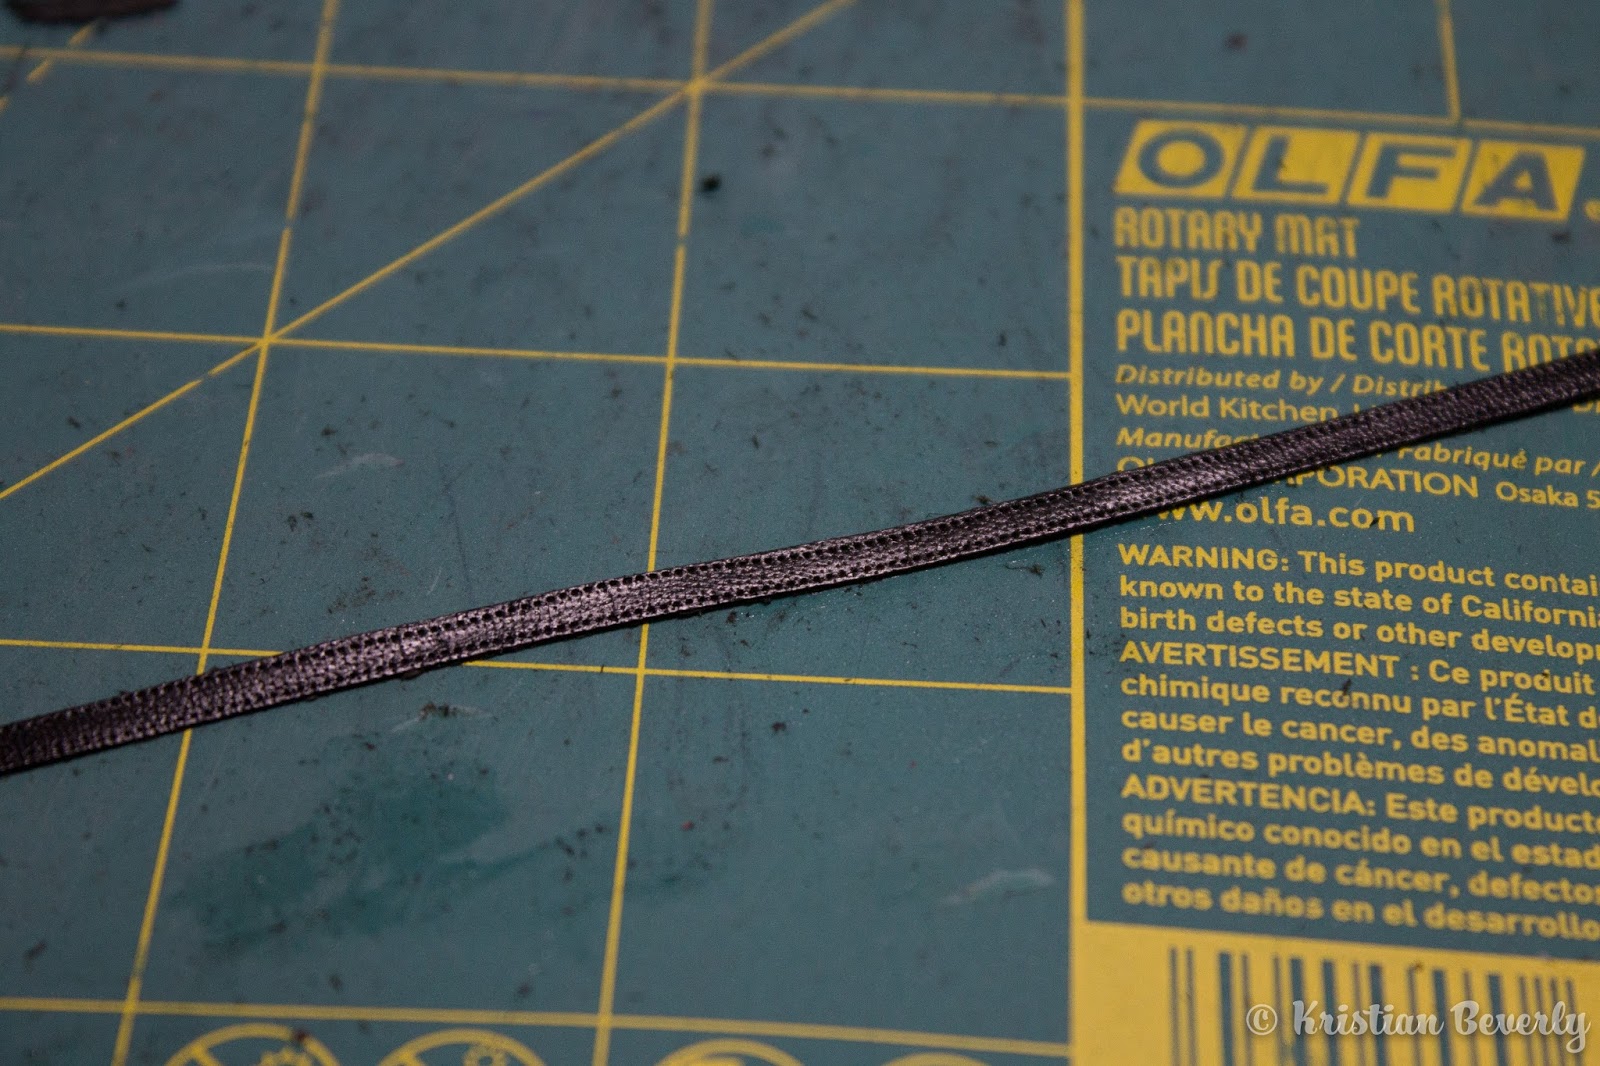
The last part to prepping lace is to to stitch mark. You want it to line the outside of the lace and to be able to see the impressions. Being able to get the lines straight takes some practice.
Video:
Feel free to let me know what you think about this! This is a new way I’m hoping to do how-to things, so any feedback would be great. :)