What Clay I use For Customizing and Some Other Supplies
(Plus a mini history on me customizing)
When I first started customizing, I researched alot about how to go about doing so. The JAH I bought at one of my first model horse shows showed how to customize models using an exacto knife. It did work, even though my results did not show it. I have become a slightly more patient person since I was young, but making thousands of tiny itty bitty sized lines on a model and not seeing results quickly, yeah that didn’t work for my pre-teen self and barely for myself now.

Then when searching online, I found that one could use hot boiling water to move model legs. I did try it and thank goodness all I got was a burned finger. In reading, I have heard that models can explode from such things. Being most likely around 10-12 I did not think about such possibilities. Nope, nope, nope. If this website with an 1970 article about model horses could do it, so could I.
(No Pics Of Those Experiments. They’re Quite Scary)
Hallelujah I moved from the boiling stage and gained a heat gun. It’s an embossing gun for scrapbooking that I bought at JoAnn’s fabrics. THIS WAS SUCH A GREAT INVESTMENT! Now customizing models is not the safest of hobbies, but the heat gun is one of the safer type of techniques that one can learn. Granted I did stupid things with it and still now do stupid things, but this is what I use!
 |
| Source |
There are two ways to go about doing it. Only one is a good idea. First is the heat, cut, and move technique. You do not make gaping gorges into your model, but instead do it in the least amount of cuts. You heat up the model slightly and make cuts into it, and then move the body parts.
The other technique really does not work at all. You heat up said model until there are bubbles sprouting on the spot that you held the heat gun too long. You get your exacto knife to cut a slice out of your model, but instead it won’t cut. The model’s plastic has melted that much. Instead of picking up on the plastic being melted, you crack out the heat gun, and like some demented Greek god, you hold the heat gun close to the model until smoke begins to filter through the air.
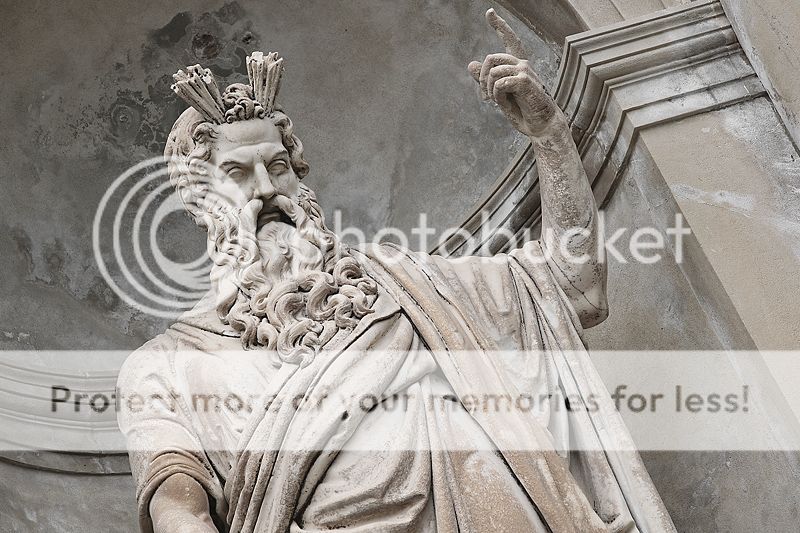 |
| “I Shall Burn Thee”–Source |
You realize that if you don’t stop, your house will be on fire, and that will not make your parents happy. Not one bit. So that model horse is axed for the day.
When I first started customizing, I heard that people used a type of clay called apoxie. Then the mighty putty commercials started coming on TV. I thought that that stuff was perfect. So one day at some local store, I saw packets upon packets of it for five dollars. I thought I had hit the motherload. Five Dollars? Better than paying 30!
The moral of the story is: if it sounds or seems too good to be true, it probably is. When using mighty putty, you only have a time slot of five minutes to work with it before it hardens. Five minutes isn’t long enough to do details, make muscles, or really do any sculpting. Still, I used that for a year or two (could have been more).
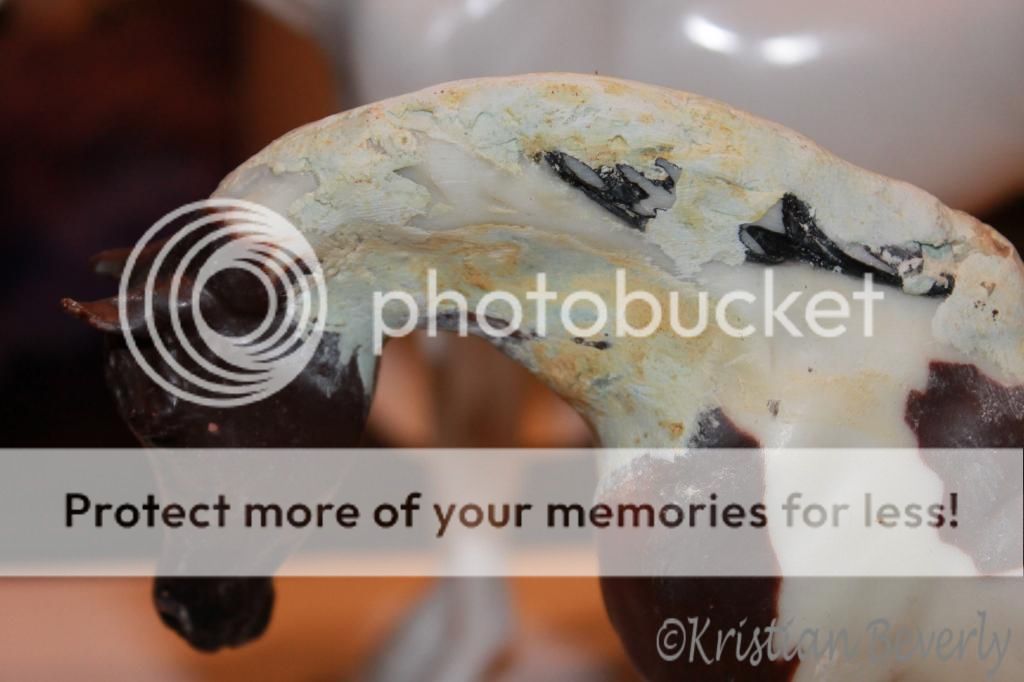 |
| Poor thing never was finished, and I can’t say that it ever will….. |
The next clay I moved to was Gapoxie sold by RioRondo. Now, this stuff was a huge improvement from Mighty Putty, but it still was missing something. It left a nasty residue on your fingers and it wasn’t soft, or as soft as I wanted my clay to be. I used that stuff until it was completely gone.
There was a middle period where I used Crayola’s Natural Colored Clay. I will have to find one of those horses, but if I do, the model is probably crumbled. The thing about Crayola clay is that it breaks down very quickly(less than a year) and the beautiful model you had made no longer is a model anymore.
Then Aves Apoxie was introduced to me. My friend showed it to me, and I haven’t looked back since. I love it. It is soft, sand able and well, it stays soft for hours during customization. People also use Magic Sculpt, but I’m so happy with Apoxie that I don’t feel a need to try Magic Sculpt, but never say never!