Today was my last day of winter break. It went by very fast.
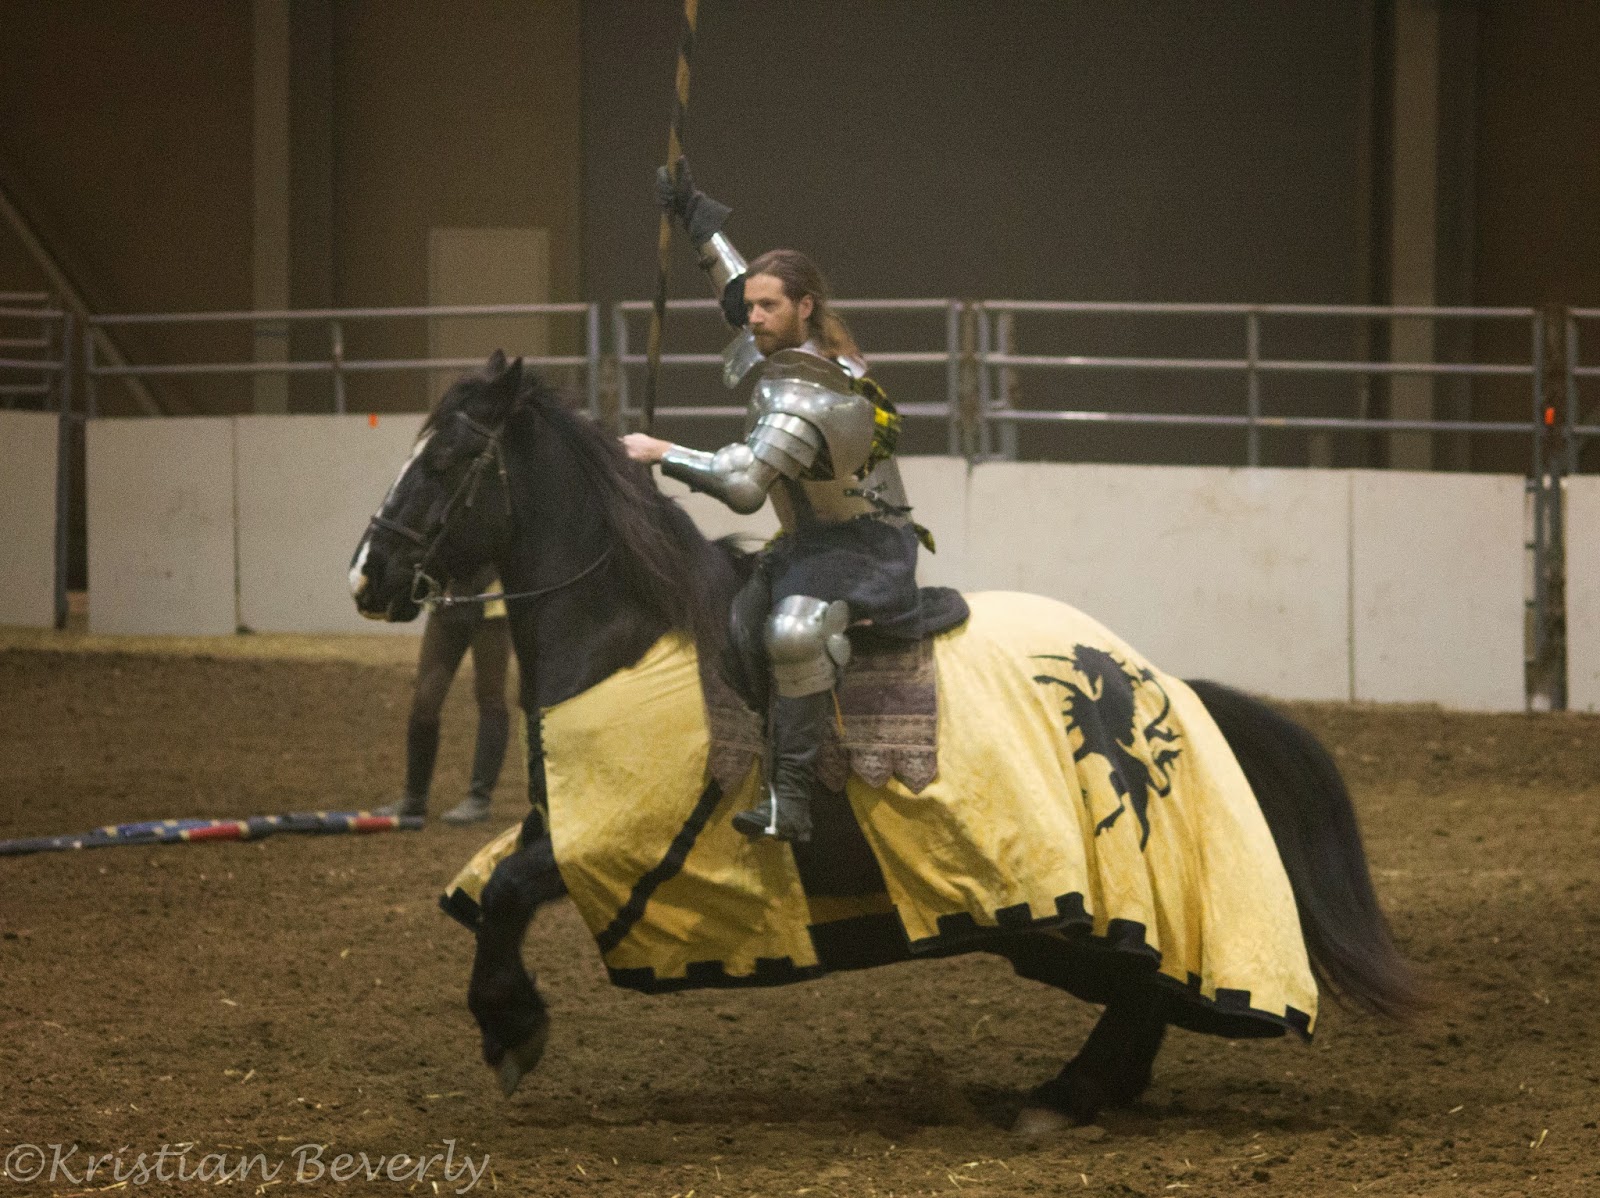
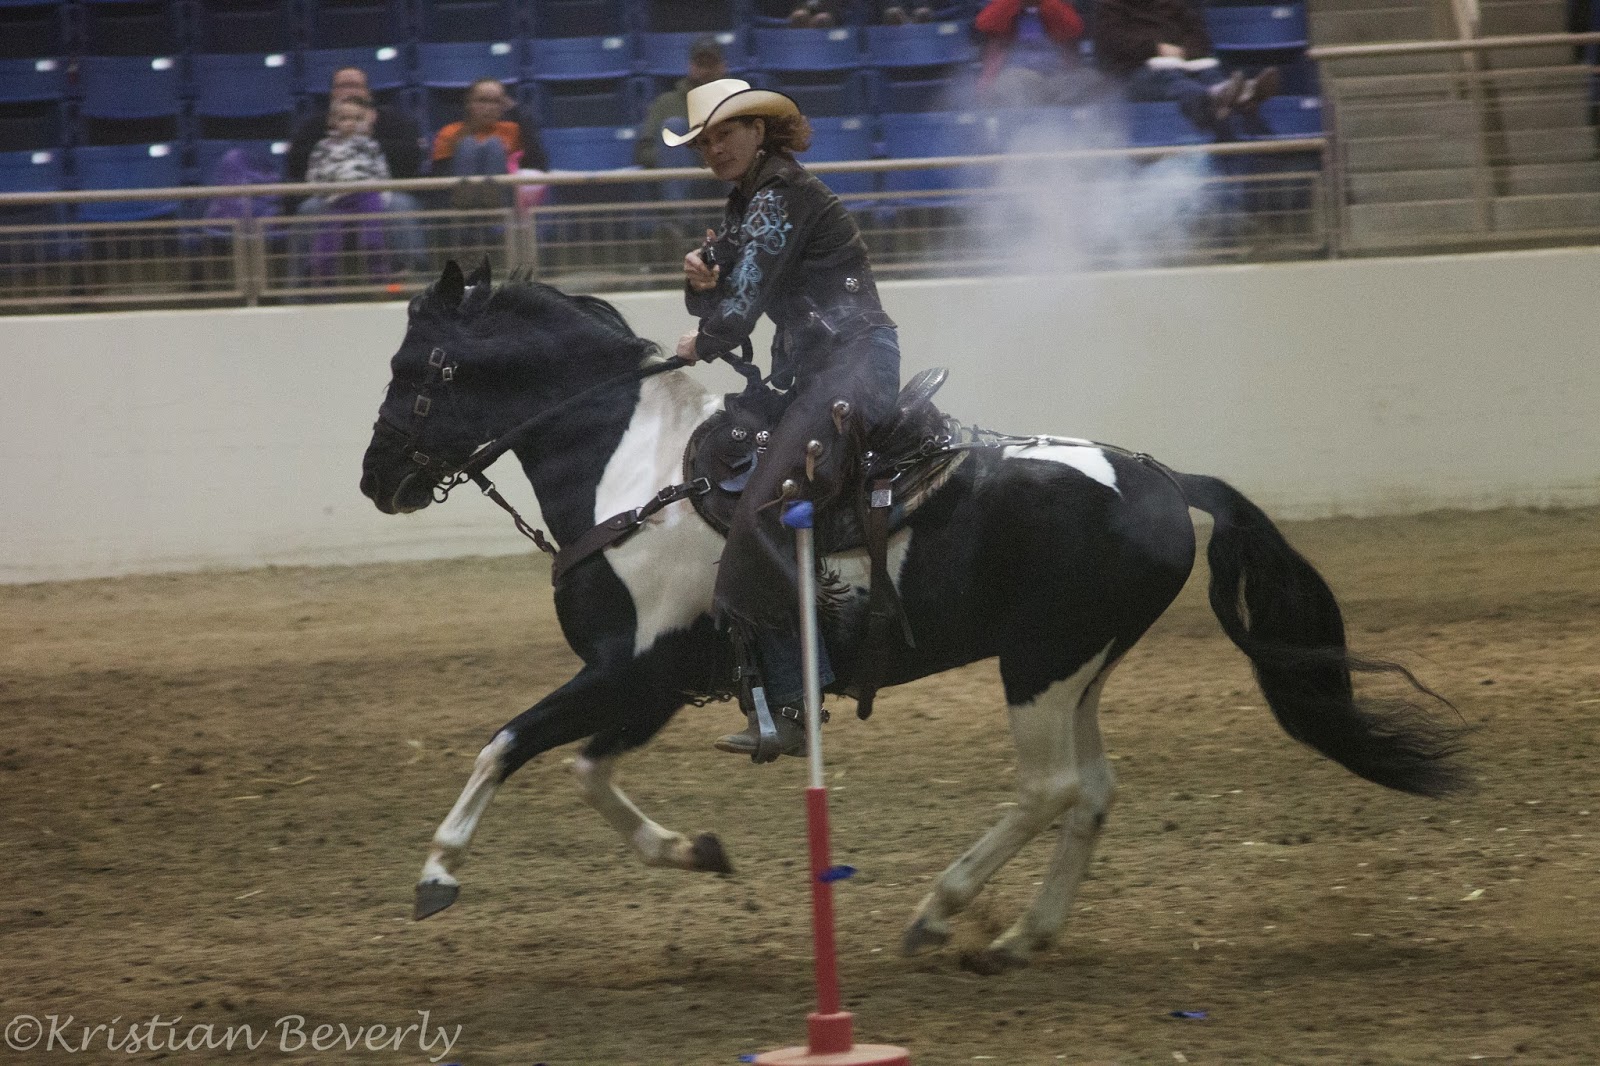
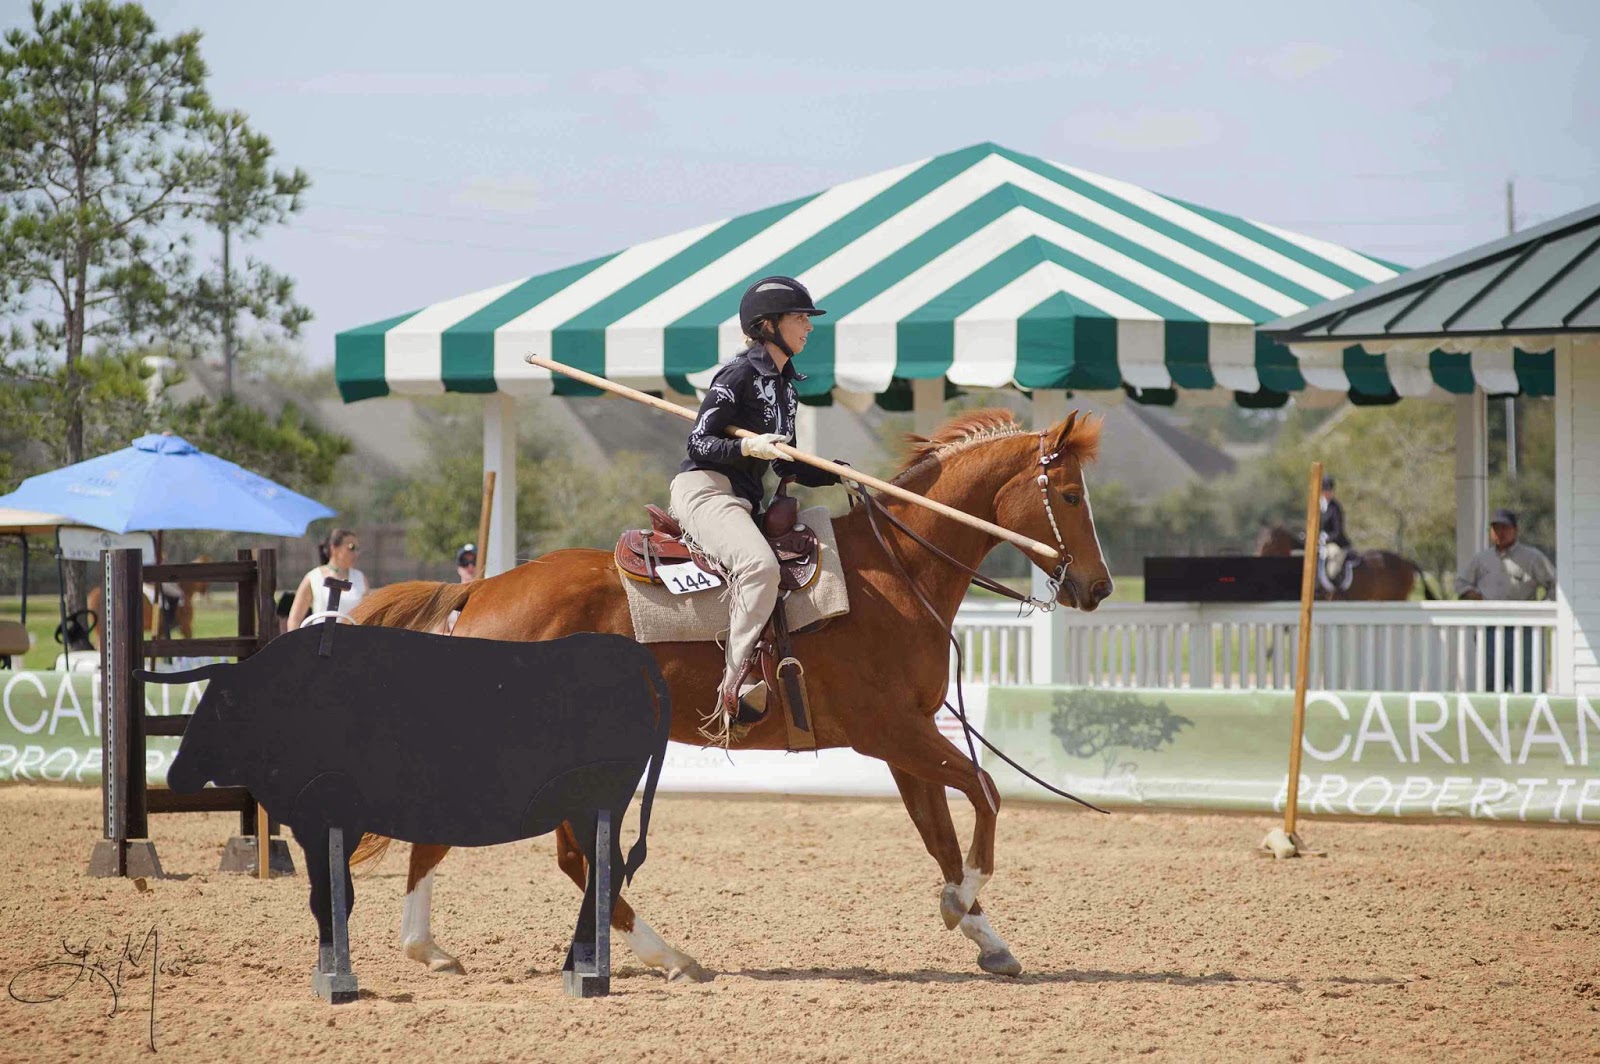
There’s an event called Working Equitation, whose goal is to “enhance the equestrian techniques developed in countries whose riders use horses in different aspects of ranch and fieldwork.”
There are many parts to it, which makes the event a dream. There are so many parts that one could use for performance, that to me, the possibilities seem endless. :)
There are four tests that make up Working Equitation and one of them is called Ease of Handling. There are different obstacles to it, but the one I zeroed in on is the Skewer Ring. The United States Working Equitation summed up what was supposed to happen with it, along with other obstacles seen.
Skewer Ring
a. Description. The obstacle consists of a pole and a ring. (If using multiple rings, the rings can be set at varying heights.) The rings can be made out of wood, metal, or plastic and should be approximately 13-15 cm (5-6 in.) in diameter.
b. Execution. With the tip of the pole the competitor must skewer the ring(s). The horse must maintain gait.
c. Assessment Criteria (EOH). The judge will evaluate the manner in which the horse approaches the obstacle, maintaining a good posture and not slowing down, and the fluidity with which the rider completes the exercise. Any break in the horse’s movement with loss of fluidity will be penalized. Striking any part of the obstacle will result in a lower score. Skewering the ring is not nearly as important as the style/approach to the obstacle and the continuity of the horse and rider. Dropping the ring after picking it up will result in a negative score.
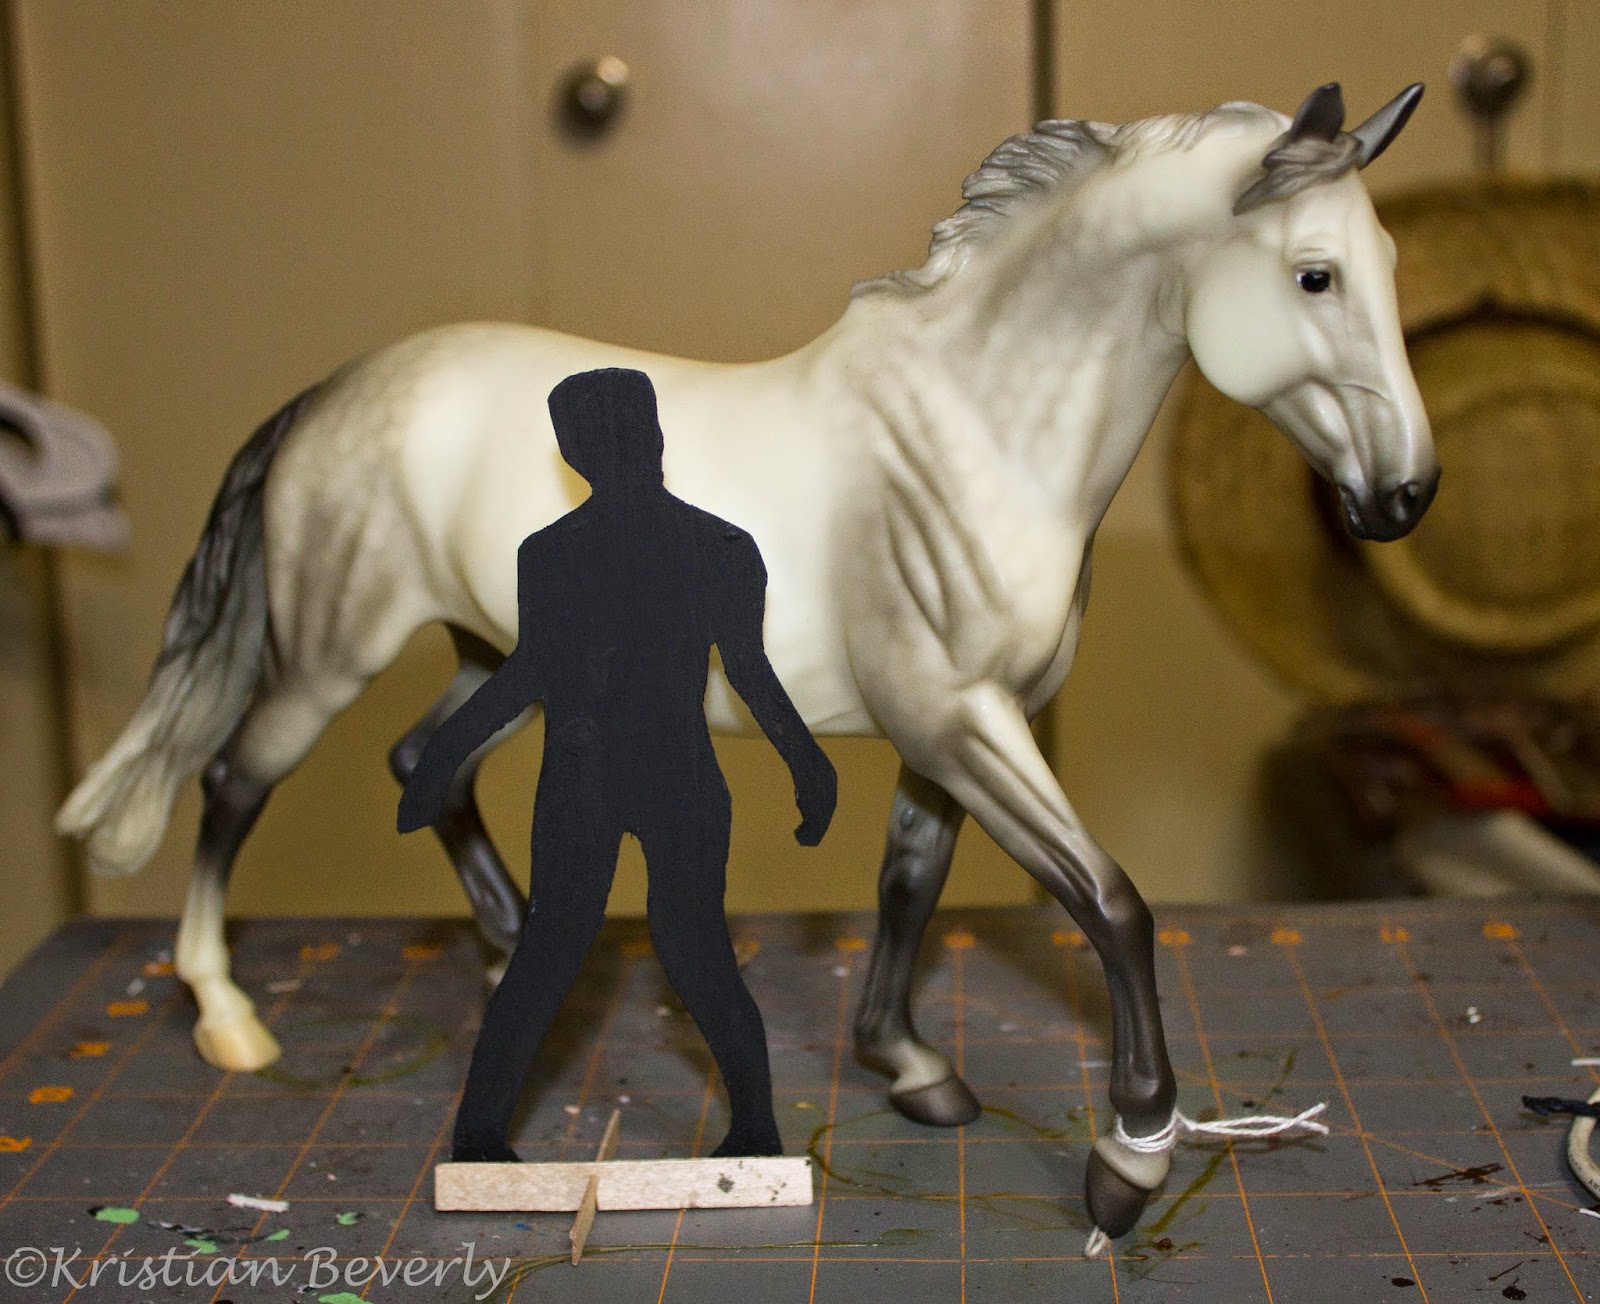
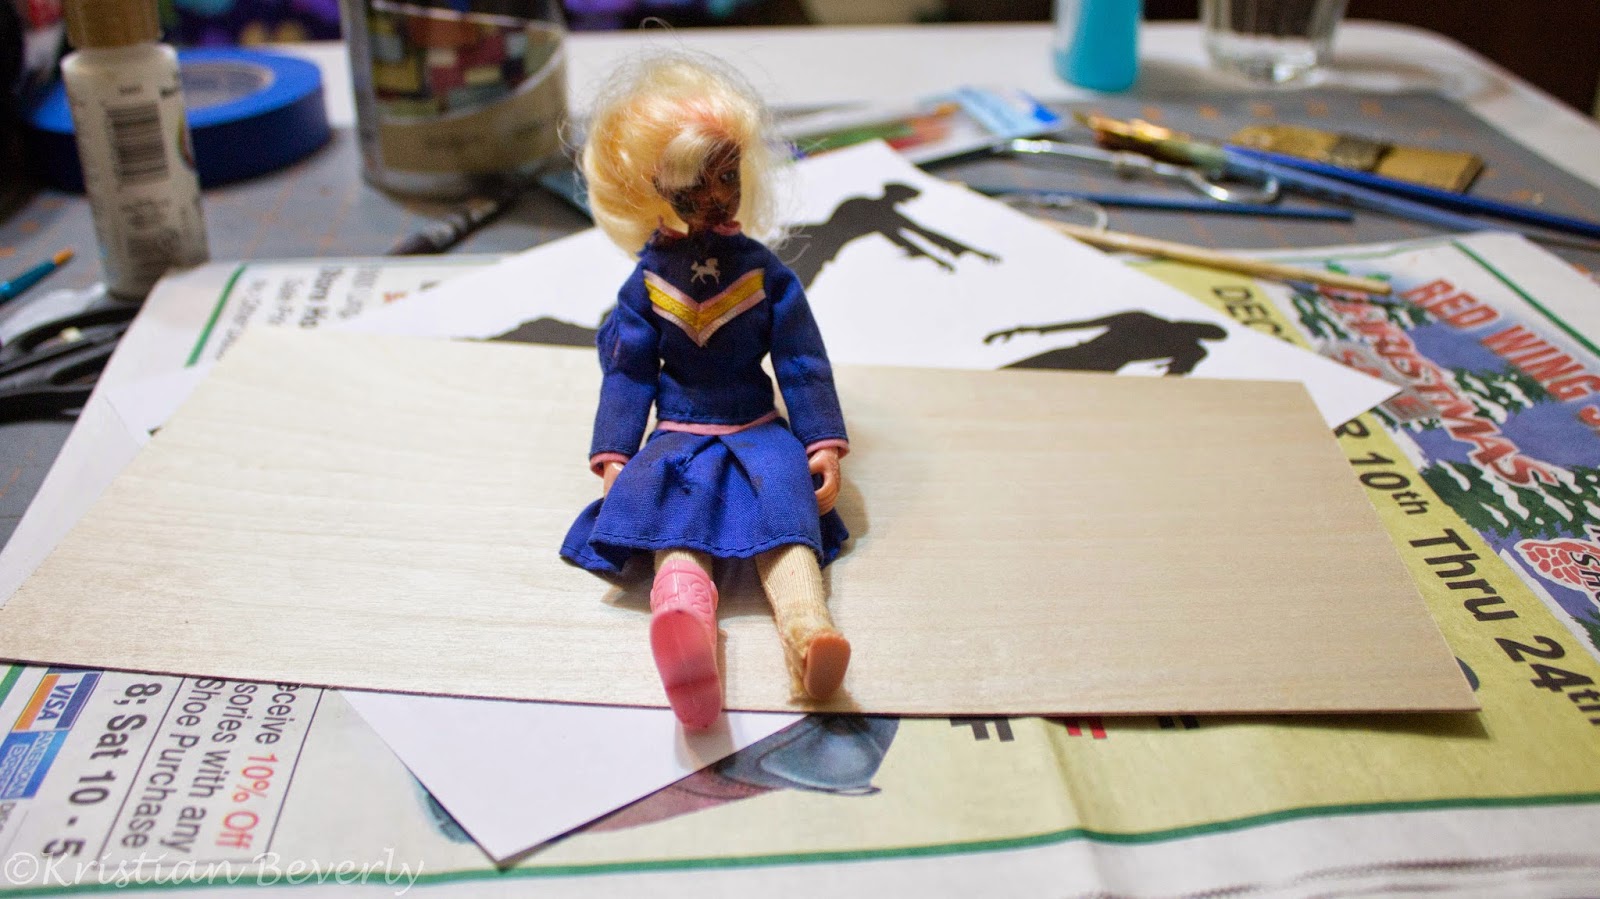
Today I wanted to make my own version of it.
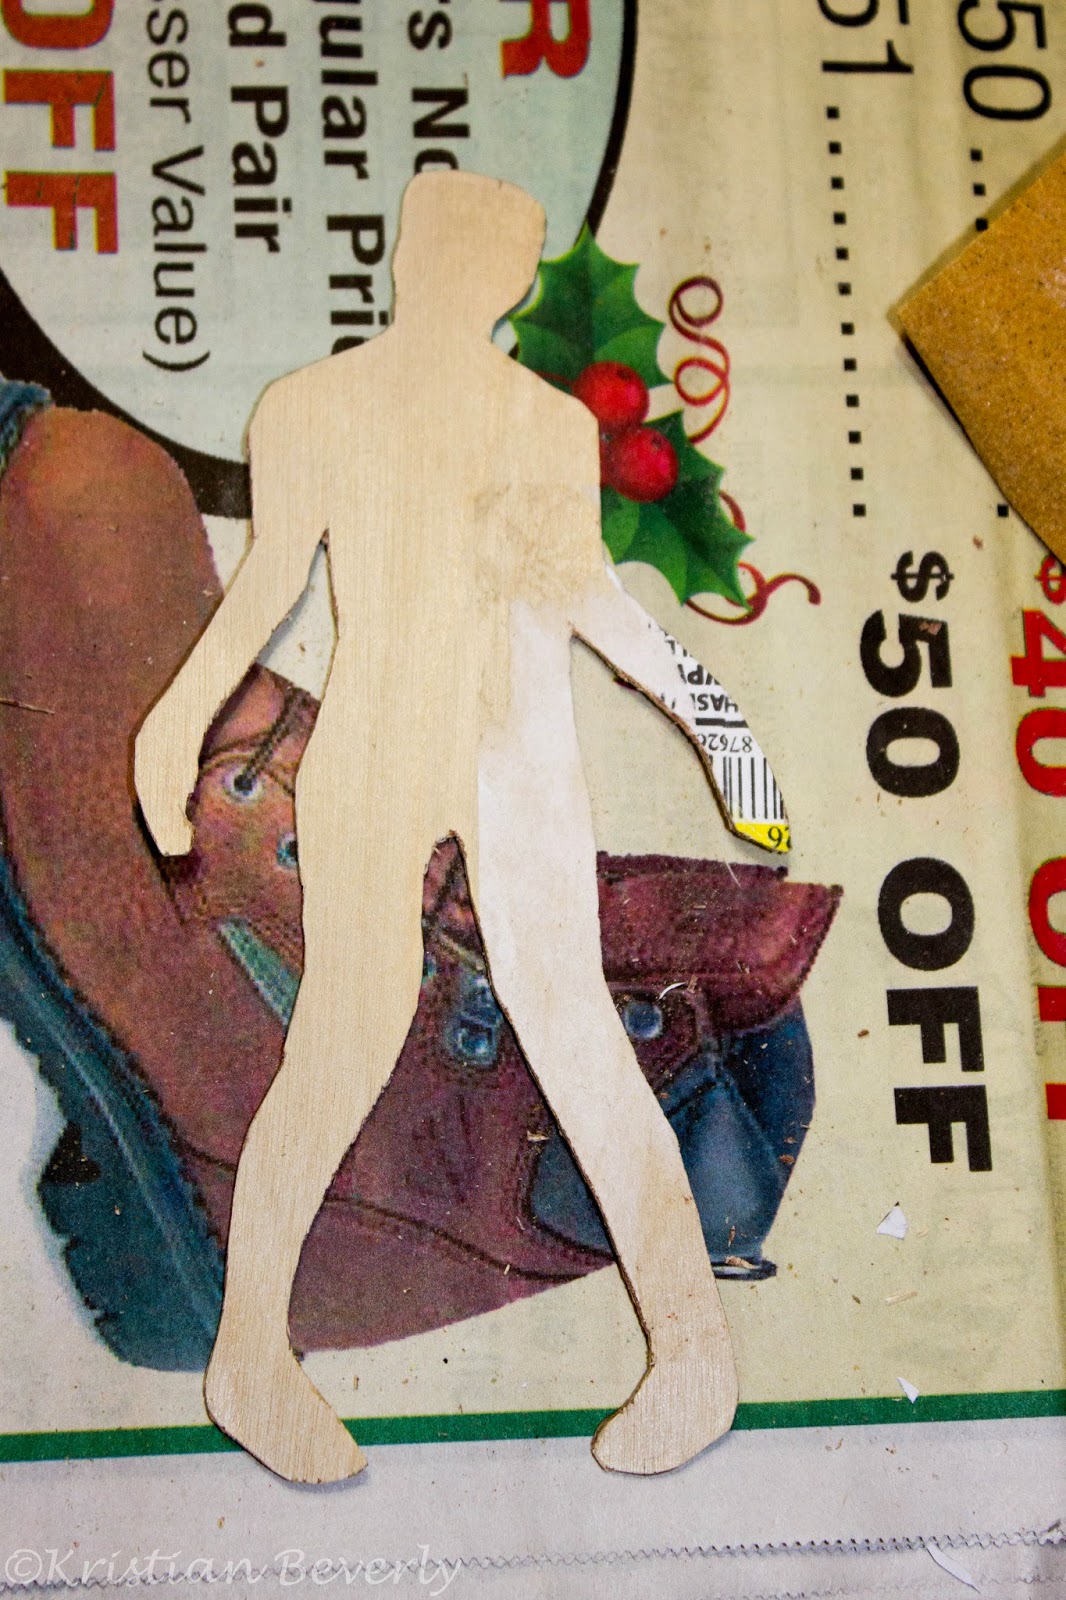
I made a zombie one. It’ll belong in some sort of fun class.
The discipline was made to enhance equestrian techniques in countries where the riders use horses for different reasons, so I thought why not zombie world too?
One day I’ll make a realistic one like the one below, but making a zombie one sounded like more fun today!
I grabbed some wood, found a template on google, modified it so it was easier to cut, and bam. Here’s the zombie.
It needs painted black, along with a ring connected to the top but it’s a start. Just like how the next semester of college starts tomorrow (The weather channels around here have been calling for extreme weather, so I’m crossing my fingers about that. Maybe a cancellation?)