Here’s part 2 of my BCC entry.
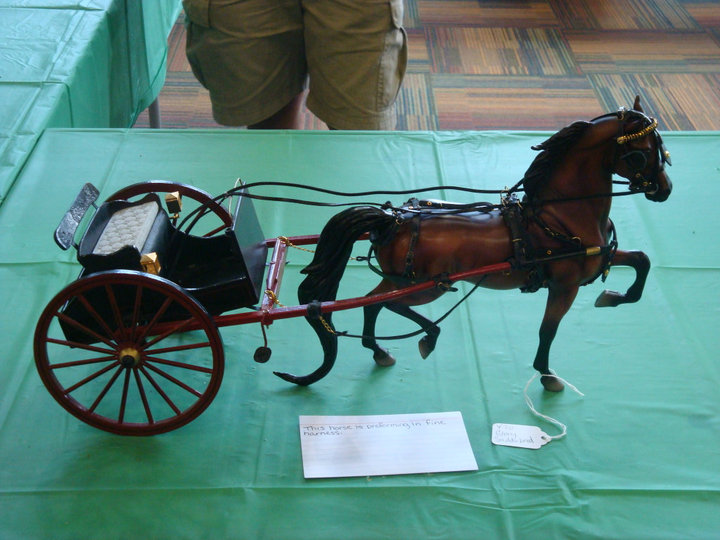
I think the last time I’d started and completed a harness was when I showed in the Breyerfest C/Y show. I hadn’t made the harness from scratch. I’d frankensteined together the Breyer Country Gig cart harness and added upgrades here and there. I don’t know where that harness is now, but it wasn’t great. It was more fragile than the cart, which is saying something because if I look at the cart wrong, even now, it falls apart.
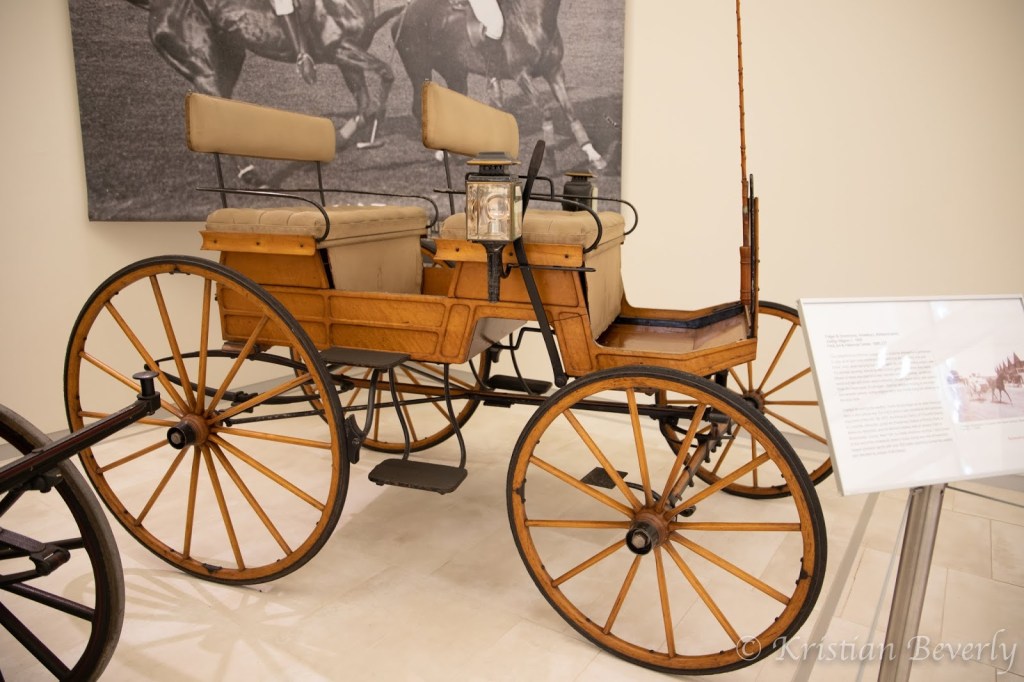
A few years ago when I visited Pittsburgh, I’d checked out The Frick Museum. It’d been awesome because there’ hadn’t been ‘d been a whole exhibit about transformation. It featured many carts.
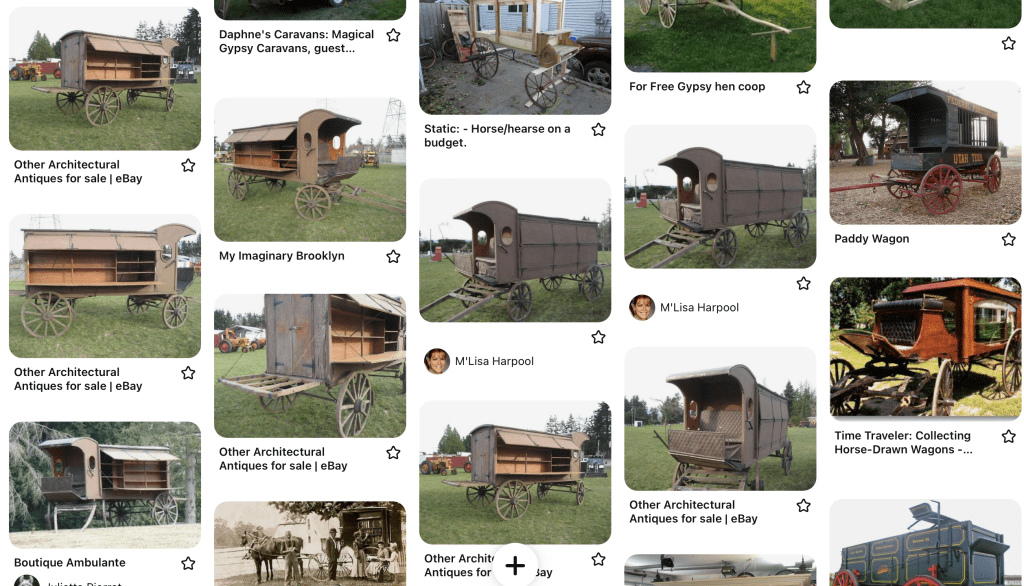
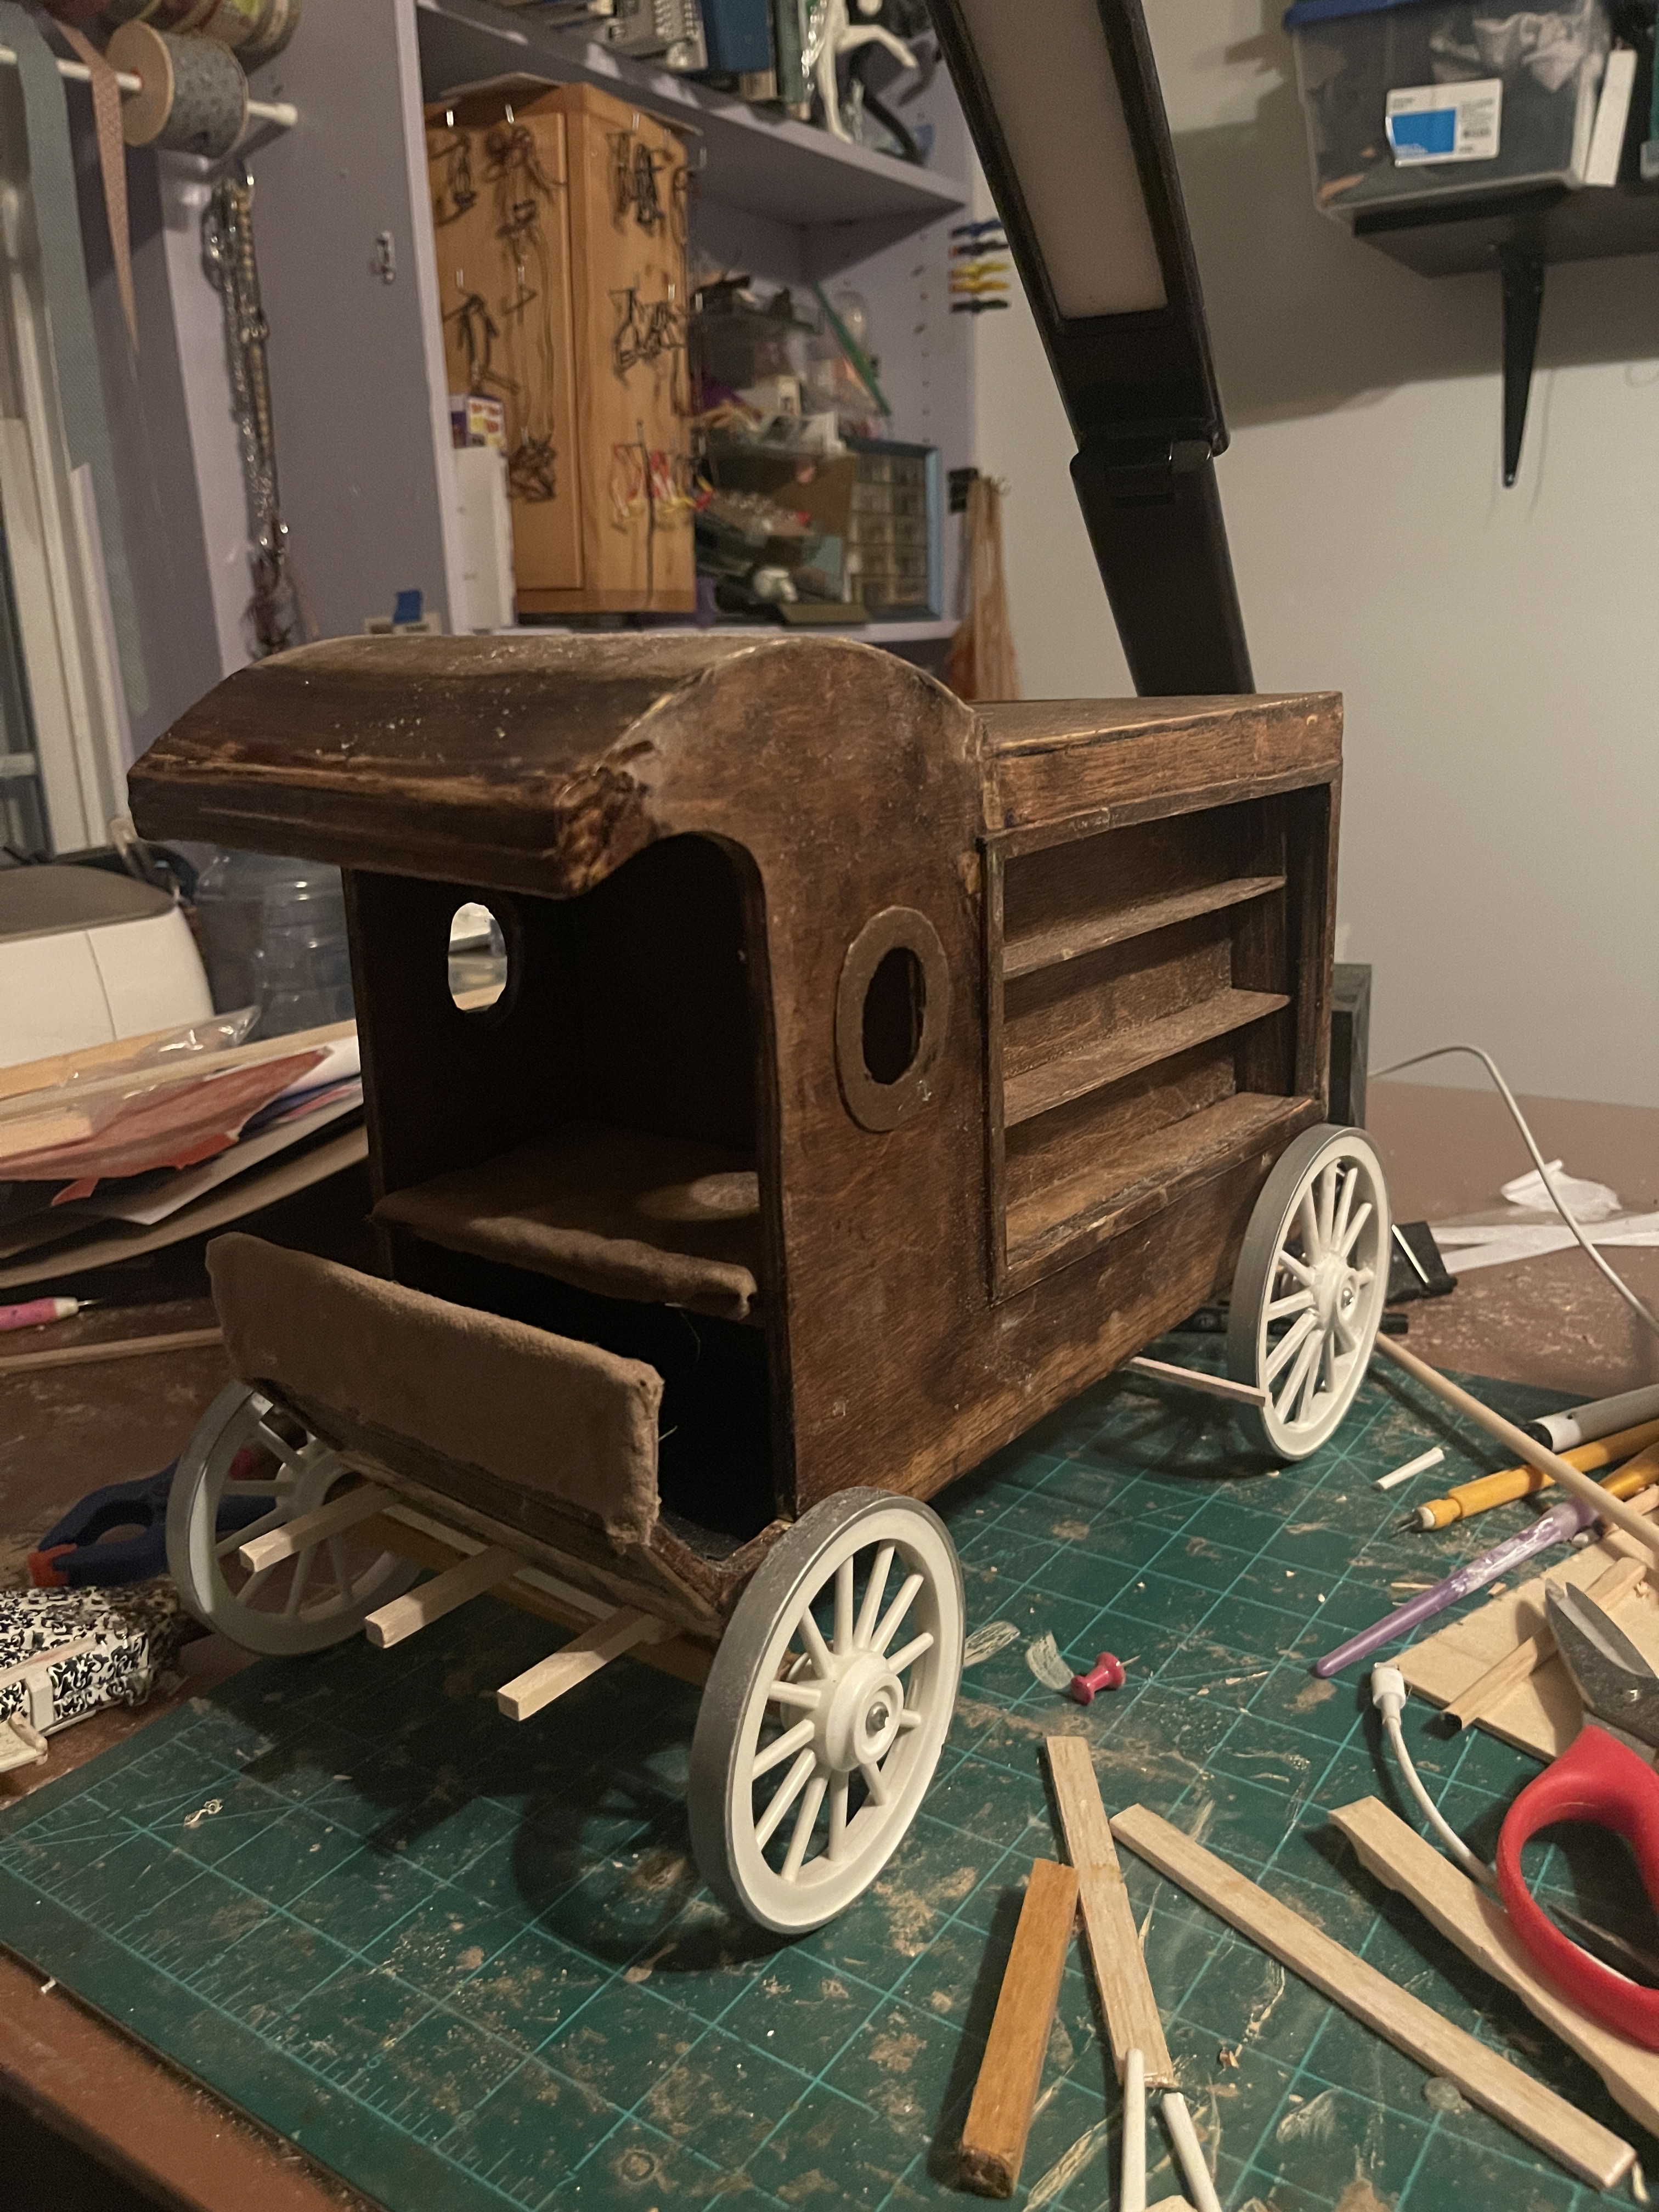
I decided not to do any of those. I’d saved this cart years ago on Pinterest and decided to make it. It’s a circa 1920s Library bookmobile that’d been at the Canadian Exposition. I needed more than just that one angle, which meant going down a rabbit hole of the history of bookmobiles, over a decade old eBay listings, and vintage library photos. I learned so much during the time and told myself I couldn’t make the harness until I had the cart figured out.
After much researching, I figured out that there hadn’t been a standard bookmobile. The first one was an adapted Conestoga wagon. I pieced together various angles of the 1920s one, photos from others, and delivery wagons.
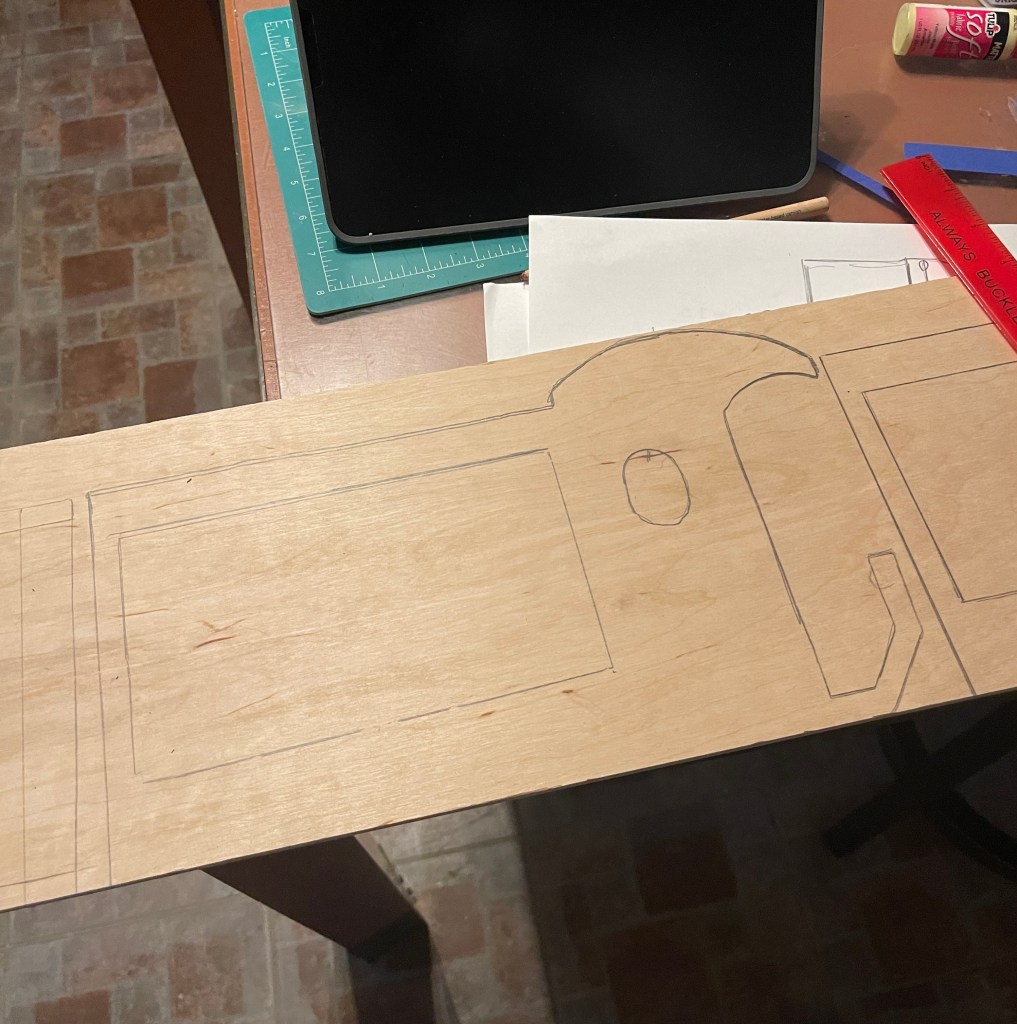
Next came pattern making. I approached it as I would making a new piece of tack. I drew out what I wanted and then broke it down. I couldn’t find the exact measurements and calculated by eye. I compared similar vehicles to get an idea of scale of size compared to a horse. I drew a dummy image for size and then contacted hobbyists and real horse driver, Kate. (Thanks again Kate!).
I made the real pattern using poster board
before transferring it to wood. I pulled out power tools and went at it. I’m very happy that no blood was spilled. I had a pile of pieces cut out and decided to work on the harness, but I’ll keep onward with the cart!
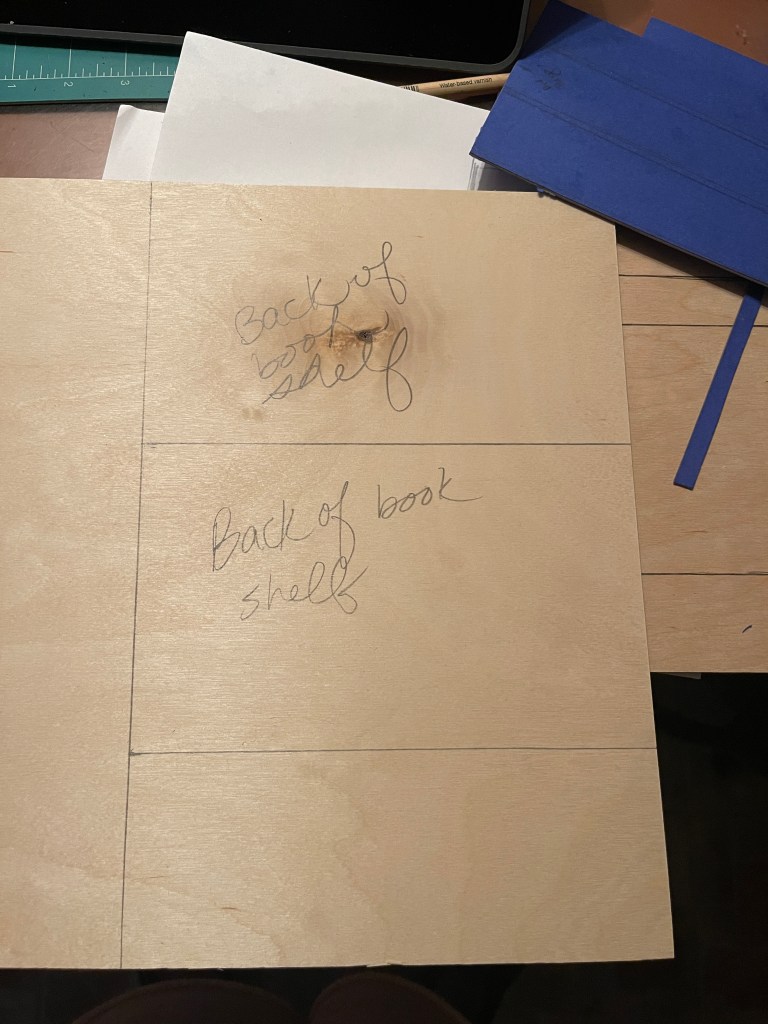
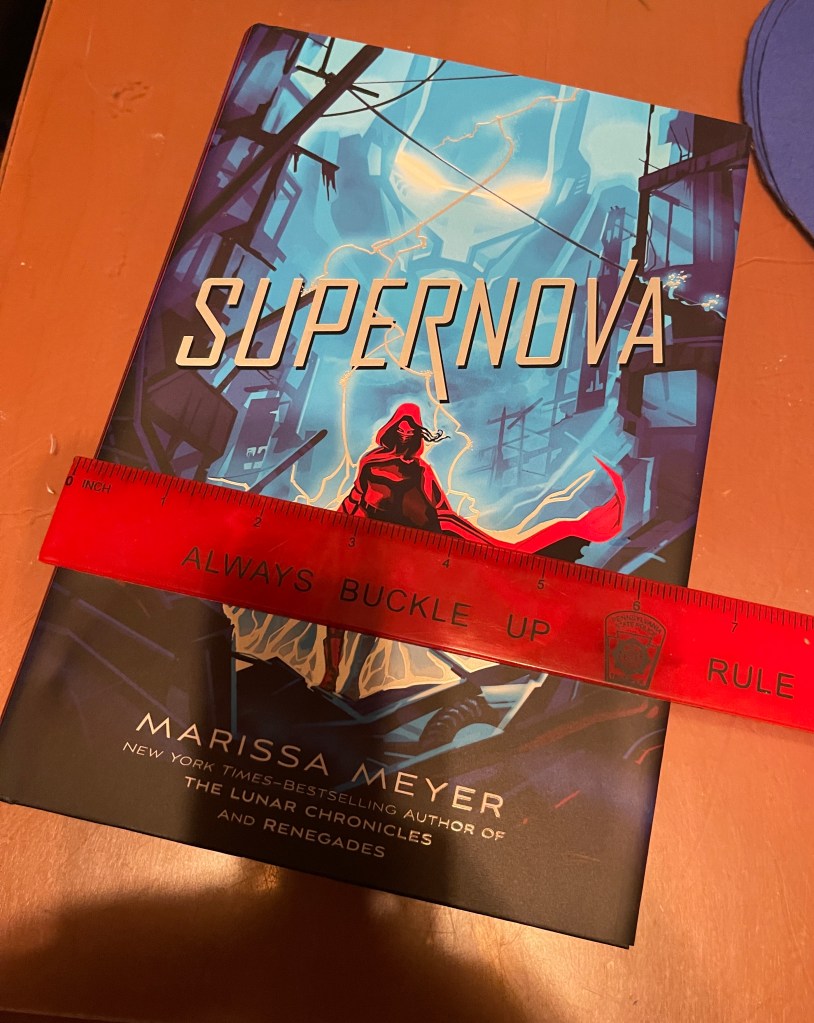
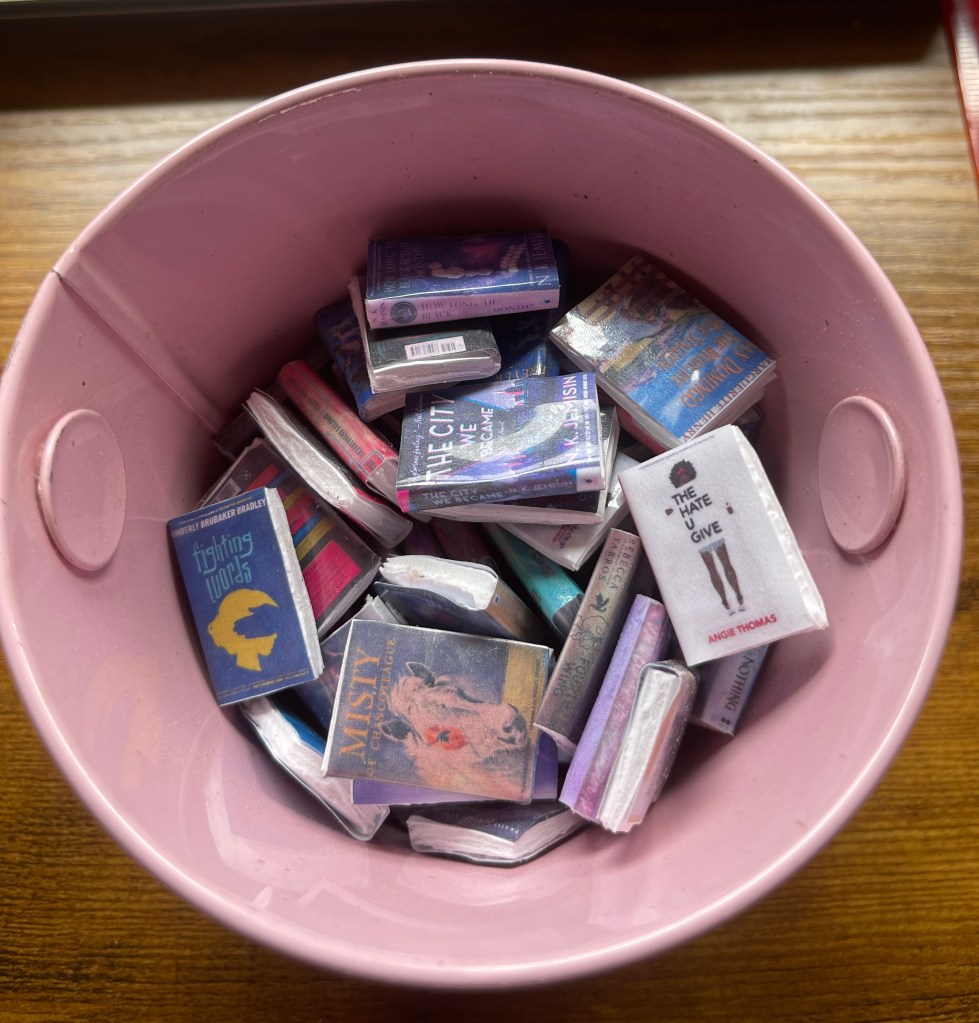
Dyeing the wood came next. I also began assembling the bookshelves. I own many books. I took a hardback, measured it, and scaled it down to 1/9th scale. I made a few dummy books to make sure they would fit on the shelves.
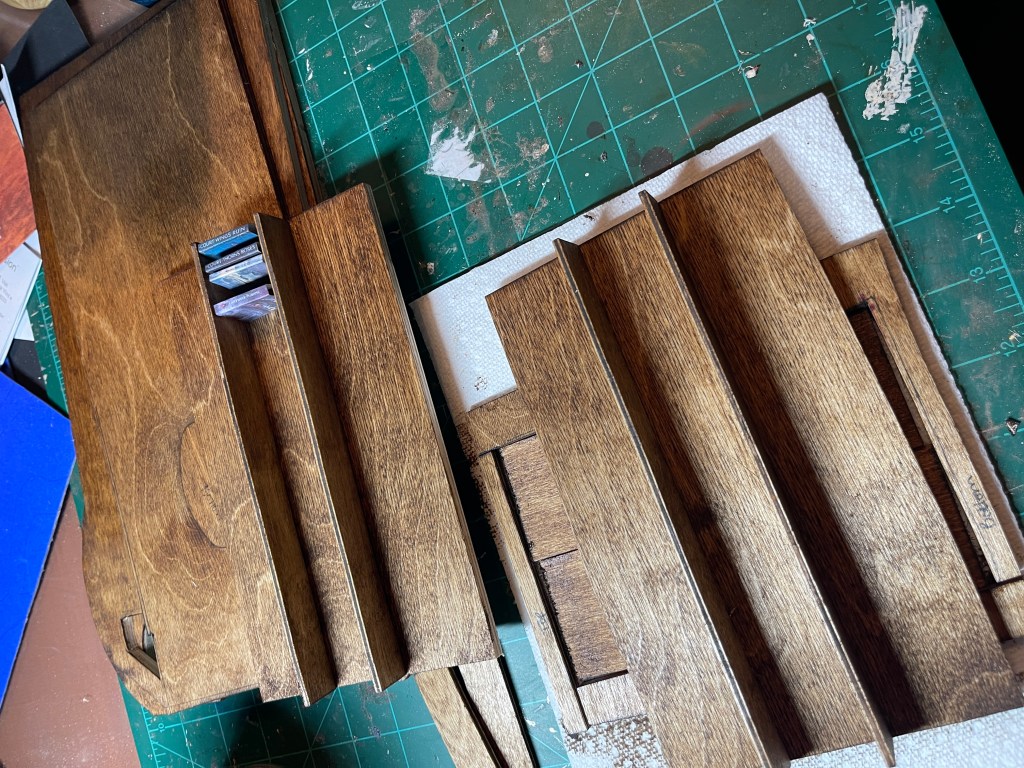
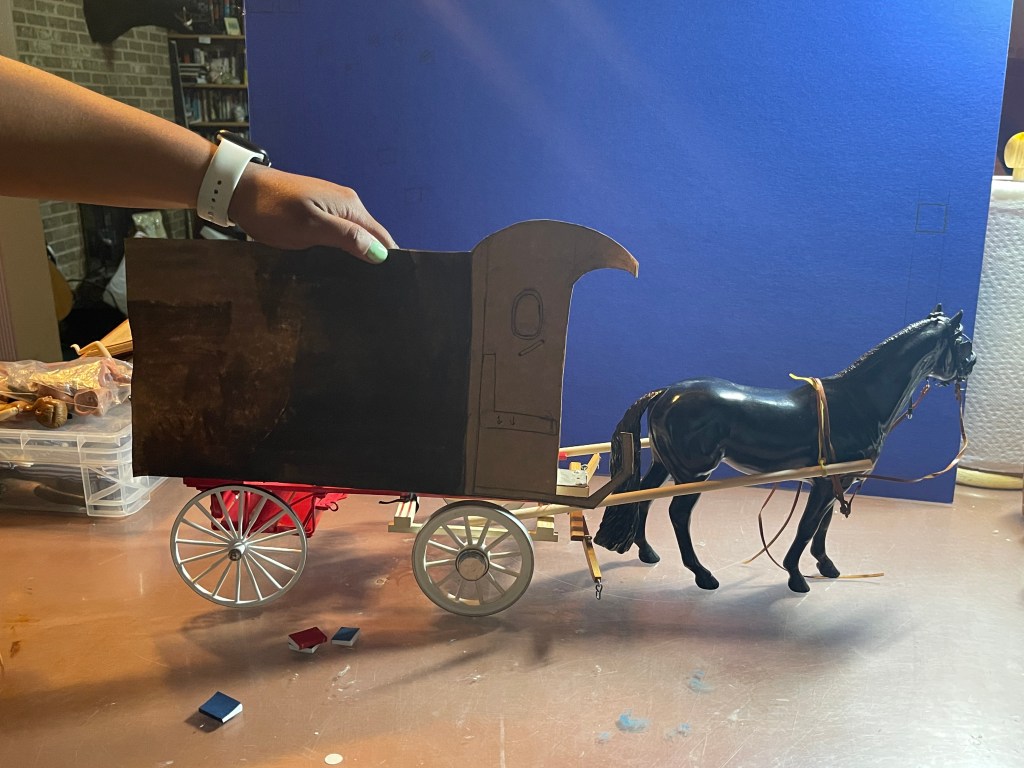
I started assembling the bones of the cart.

And shaped parts.
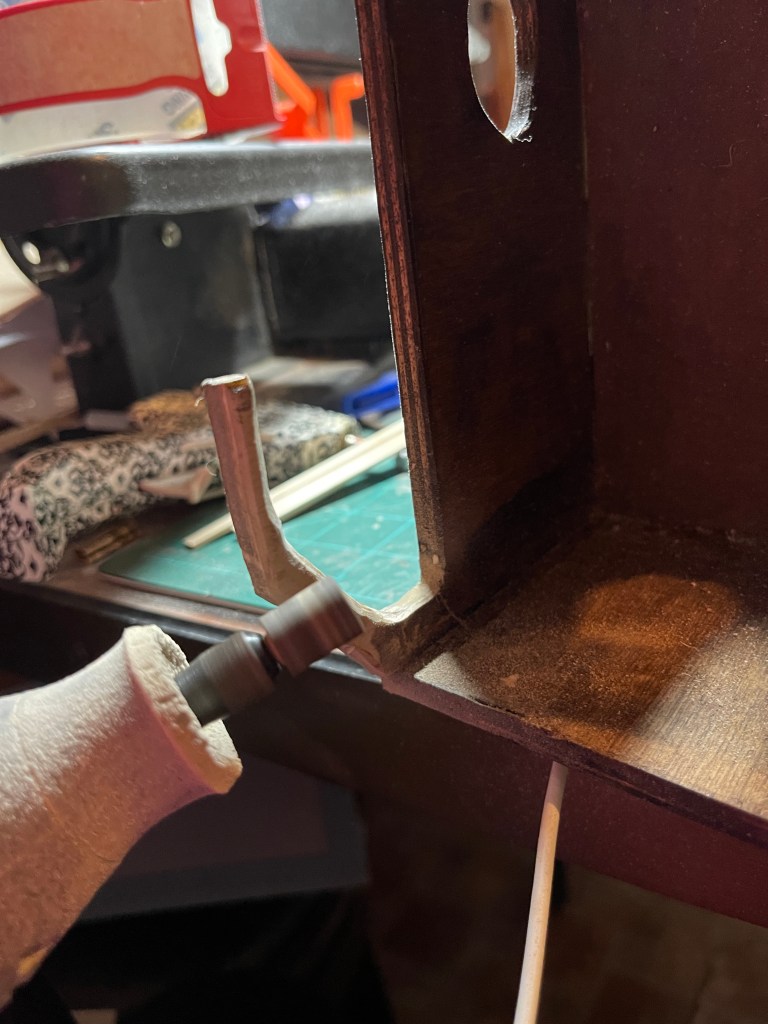
One of the hardest parts to make was the rounded top. I found out that you could boil wood to shape it. The deadline was coming so I forgot to take more photos! But I added the seat, underside.
I’d bought a wagon years ago with broken wheels and repurposed them for this. I cut out similar sized pieces of wood to fill in the missing parts.
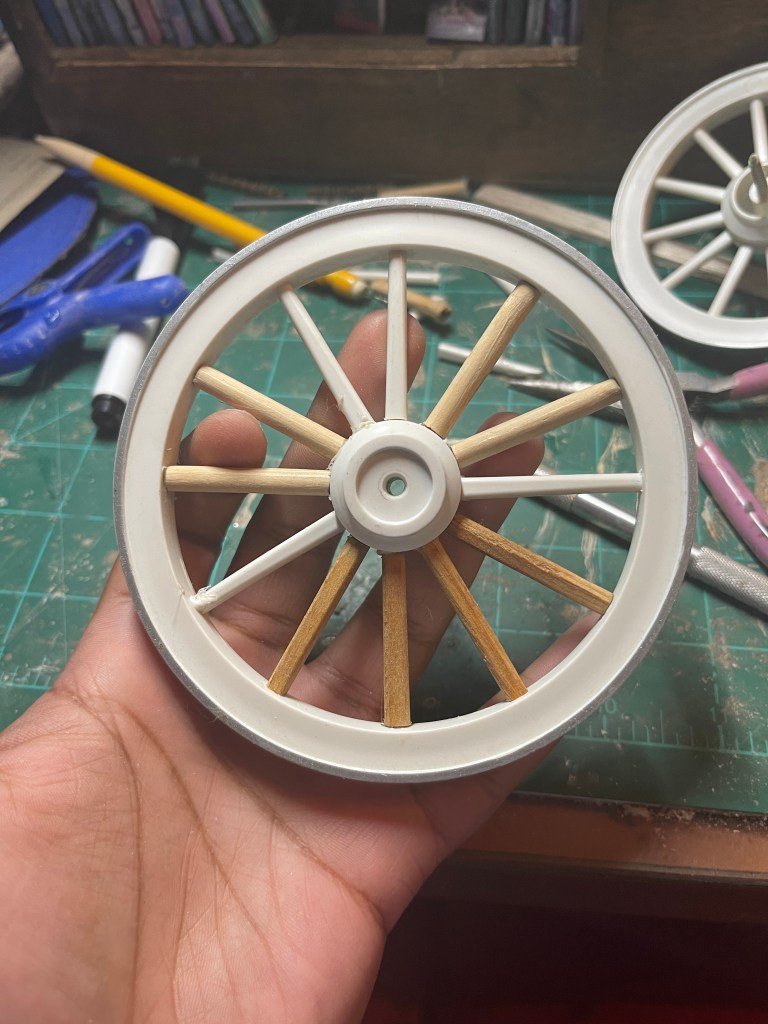
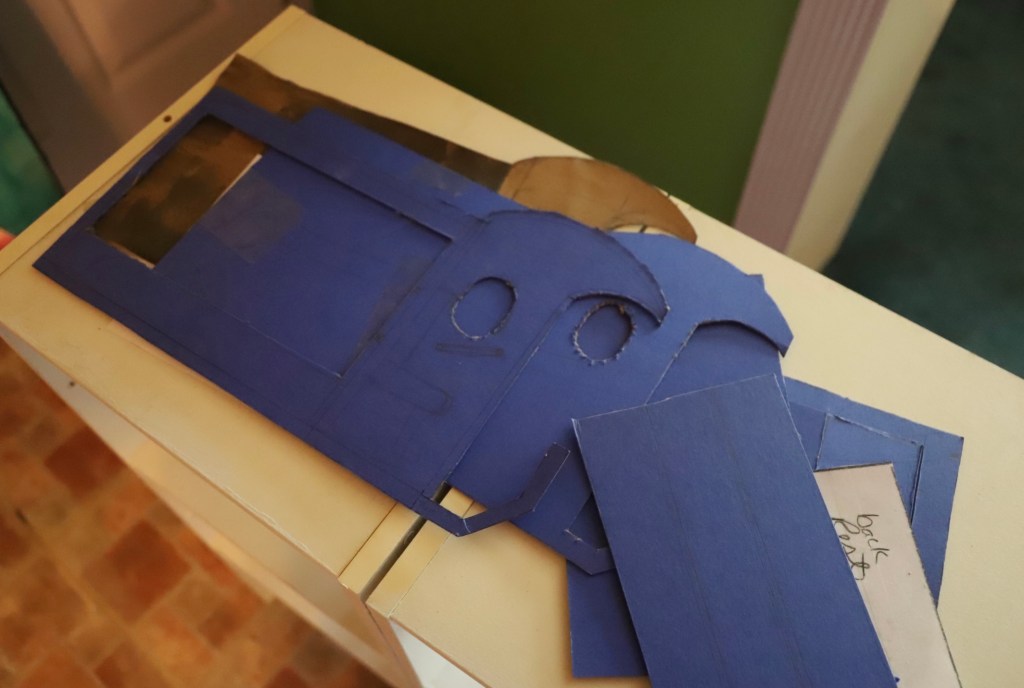
I added the wheels and then began decorating.
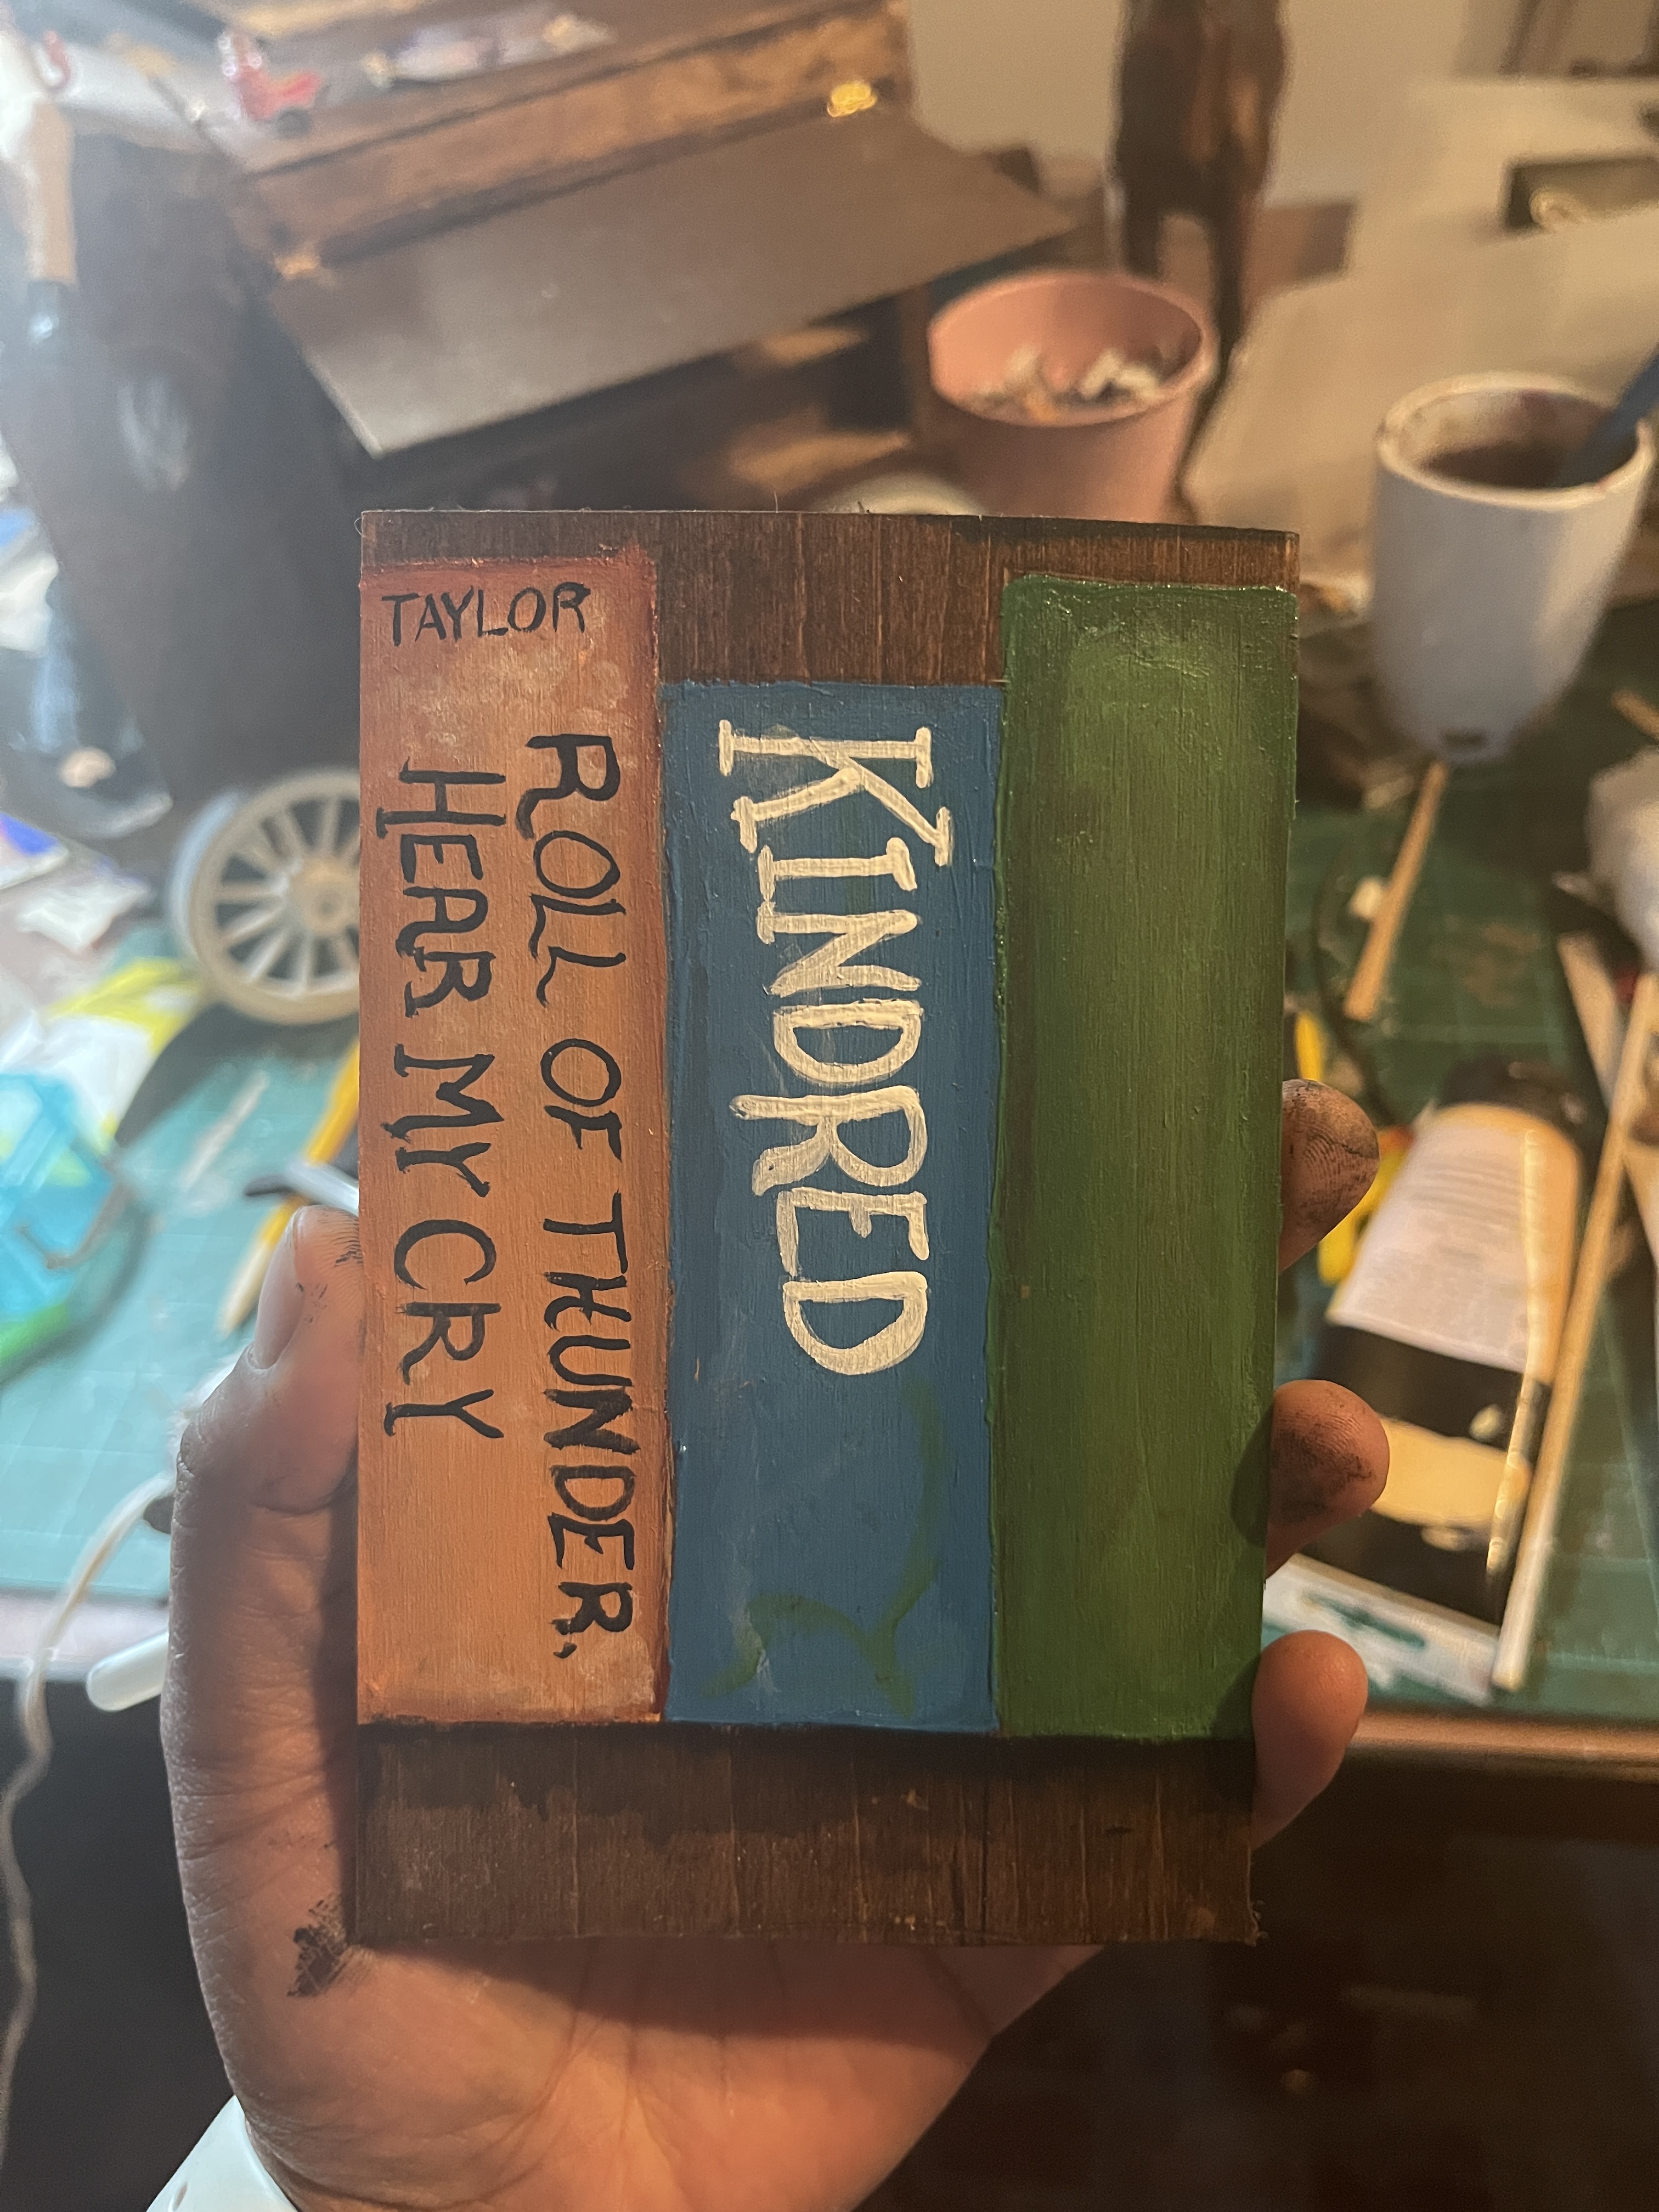
Initially I was going to paint the back door with book spines, but I didn’t like the way it was coming out. I decided to add a quote to the back instead.
There’s the finished cart!
Next came making the miniature books. I wanted a range, so I photographed the dust jackets of numerous books. Others I’d saved on Pinterest years ago and the model horse ones are from Desktop Stables!
Okay this post is long. Part three will be the harness!
